Learn to save hundreds of dollars painting your own furniture!
I would have to say painting wood furniture is probably my favorite DIY project. I enjoy playing with different mediums, and when there isn’t a lot of money spent on the furniture in the first place, it gives me the confidence to try new things.
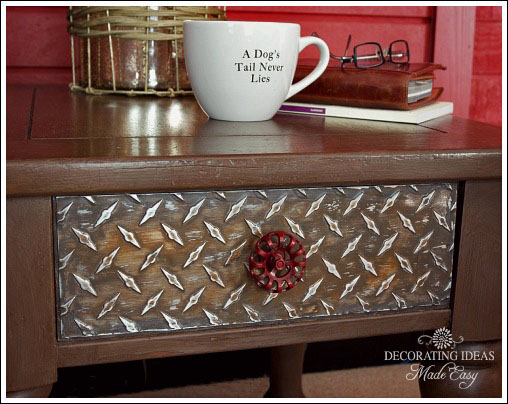
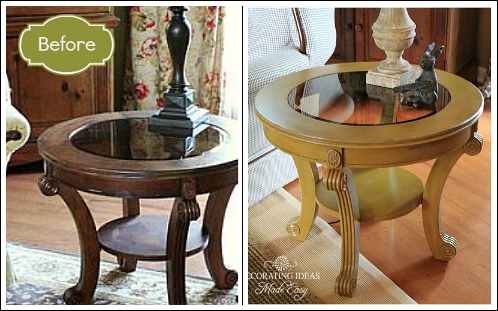
From Old 80’s Style Table to Cool Industrial Style Table
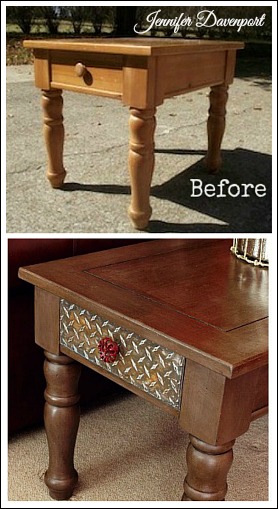
I actually have two of these tables, and paid $10 a piece for them! They are Broyhill, and extremely heavy and durable.
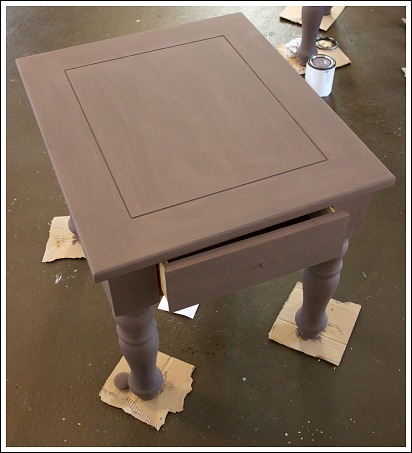
I have really fallen in love with chalk paint. No sanding, and no prepping, just start painting. I used the color “Kembel” , by Amy Howard.
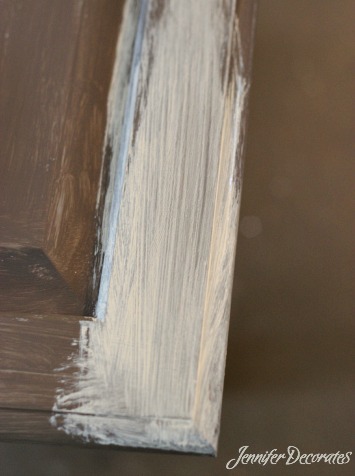
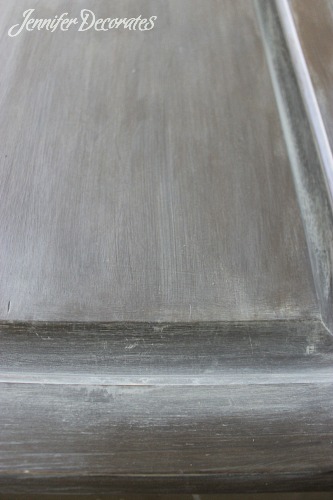
The key to painting wood furniture, is keeping your paint strokes going in the direction of your wood grain. Paint your first coat thin to avoid drips. Let dry one hour and paint your second coat.
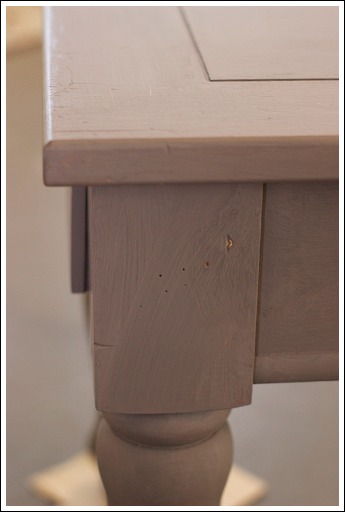
When painting your second coat, be sure to get the paint in every nook and cranny.
Antiquing Painted Wood Furniture
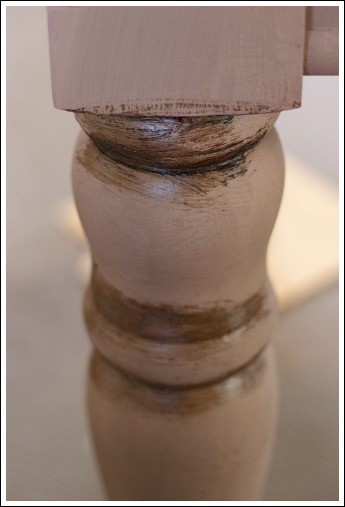
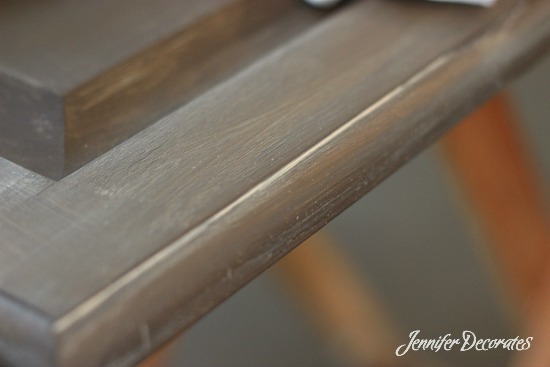
I love the look of distressed painted furniture. Usually, wherever you purchase chalk paint, they also sell light and dark wax. Waxes add texture, sheen, and protection to your furniture. If you want your furniture to have a distressed look, then you will need to use dark wax.
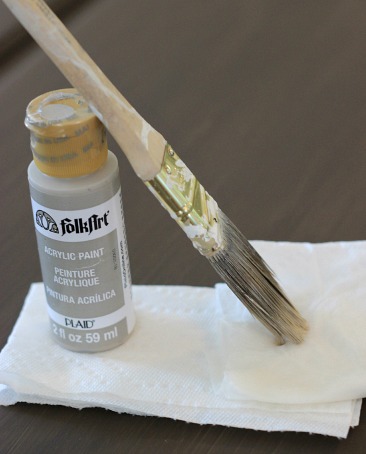
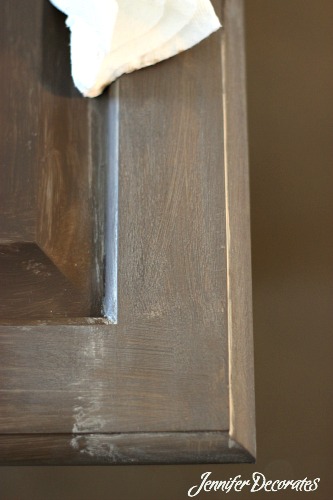
I apply the wax in the crevices first with a small brush. Then I add more wax in the larger areas and smooth the wax out with a rag.
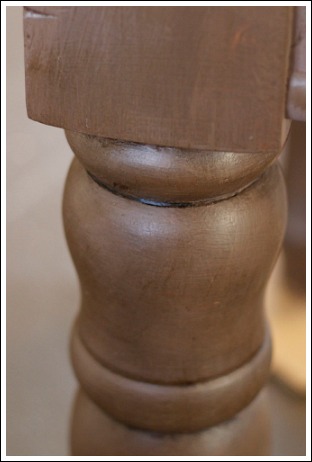
The trick to making furniture look naturally aged, is applying the dark wax heavier in areas that would commonly collect dirt. See how naturally aged the table leg looks in the photo above?
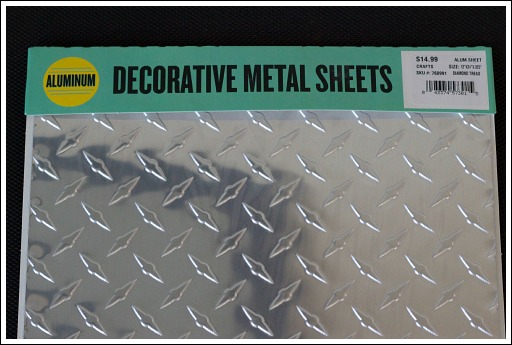
Because these two tables are located in our bonus room, I decided to really have some fun with them. I purchased aluminum diamond plate sheets from the craft store. What guy doesn’t love diamond plating?
I decided to only cover the front of the drawers with the diamond plating.
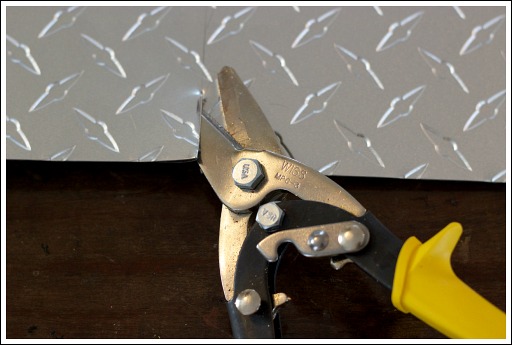
You will need metal cutters to trim your diamond plate. Measure your drawer, and mark the back of your diamond plate with a pencil. Next, re-mark your lines measuring in 1/4″ smaller all the way around. (more on that in a minute)
Be careful the edges are sharp!
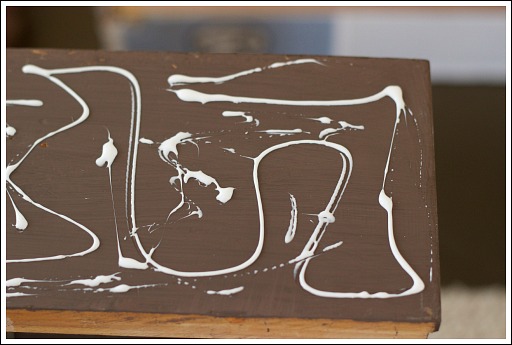
I used Tacky Glue to apply my diamond plate to the top of the drawer. Make sure to add a substantial amount.
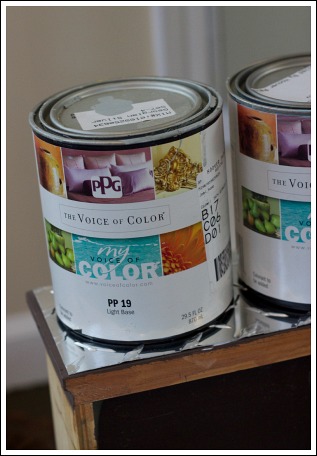
Put something heavy on top of the diamond plate and let it dry over night.
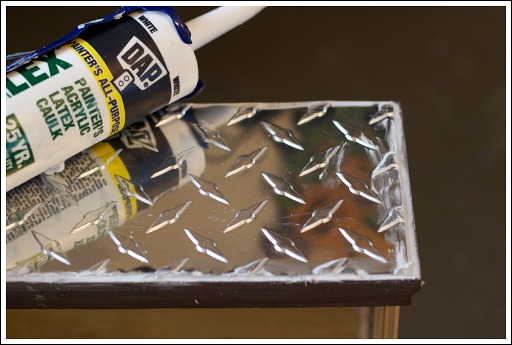
Next, apply latex caulk around the edges to fill in the gaps. Once caulk is dry, take some sandpaper and smooth out the edges.
Creating Faux Rust
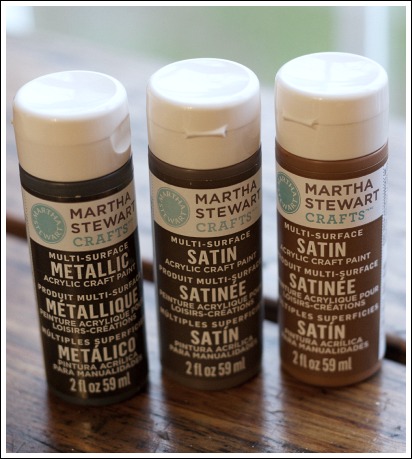
I used Martha Stewart’s multi-surface paints on this project. The three colors I used are “Chestnut Brown”, “Black Nickel”, and “Vanilla Bean”.
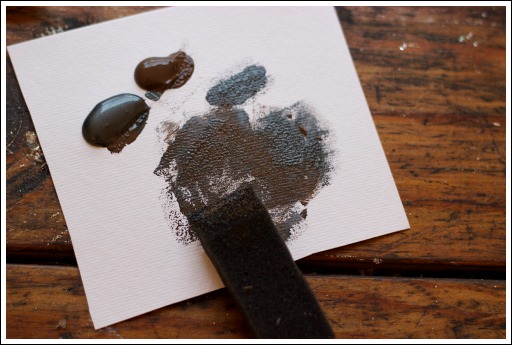
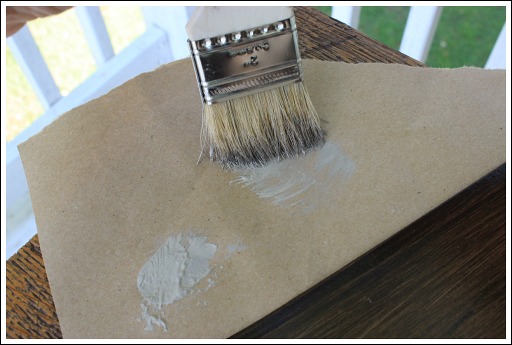
Start with “Vanilla Bean” and “Black Nickel” and pour a dab of both onto a plate or piece of paper. Mix a little of the “Black Nickel”, with more of the “Vanilla Bean”, then paint onto your diamond plate swiping your brush in the same direction with smooth even strokes.
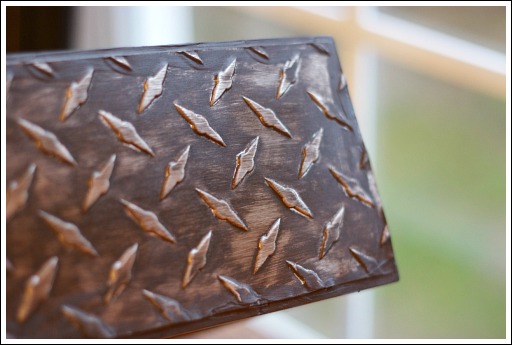
You will see that the paint really adheres to the chalk and creates a unique darker edge. This is why I had you cut the diamond plate 1/4″ smaller than the drawer. You want the edges to be darker. Only paint one coat. It will not cover evenly, and that is exactly the look we want.
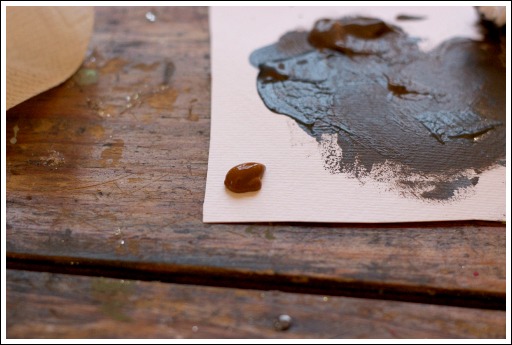
The last step is mixing “Chestnut Brown” and “Vanilla Bean” together. The “Chestnut Brown” has more red/brown color, and will really give the diamond plate the look and feel of rust. Apply in a few spots, wiping on sparingly.
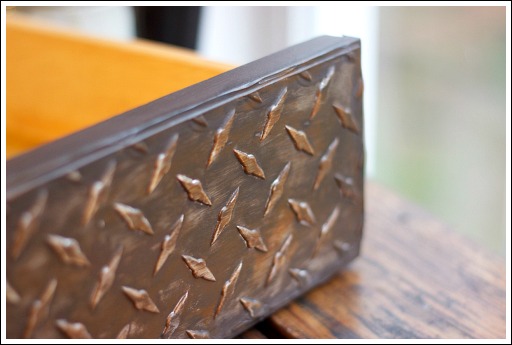
See in the photo above where I only added the “Chestnut Brown” mix in a few areas?
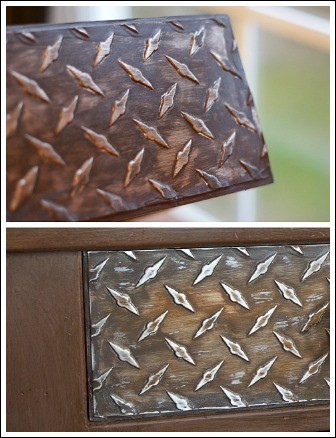
Once your paint is completely dry, take some fine grit sandpaper and lightly sand your diamond plate, going in one smooth direction. The last step is to spray a coat or two of sealer. I used Miniwax Polyurethane spray.
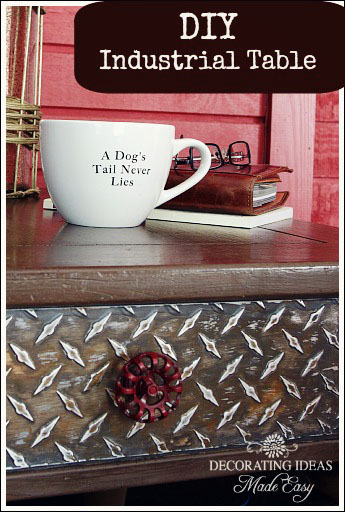
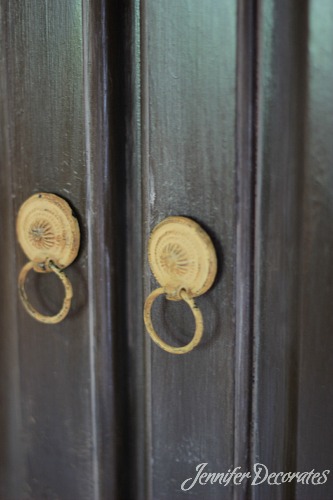
I found these cool drawer knobs at the craft store! Love them!
