I literally could look at painted furniture ideas all day long! Reading about how someone applies a faux painting technique that adds an instant patina of age is always so interesting and intriguing. Someone that is able to see an old beat up piece of furniture, and realize its’ potential is a special person.
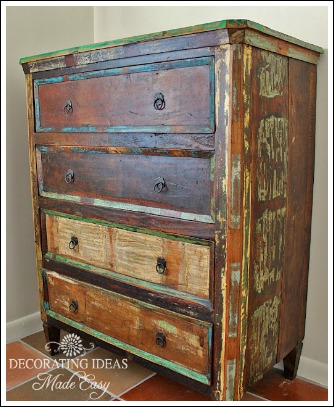
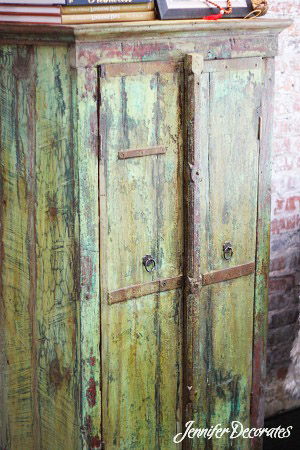
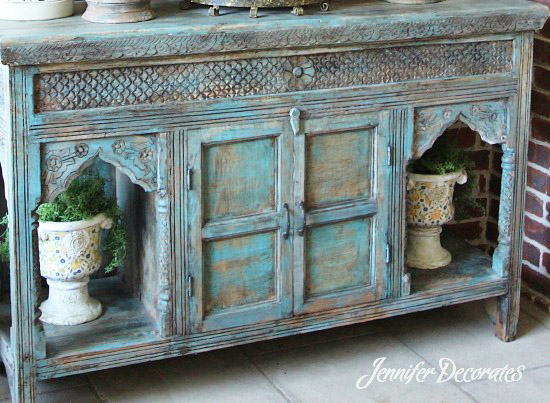 I love how this distressed piece of furniture has different hues of color throughout.
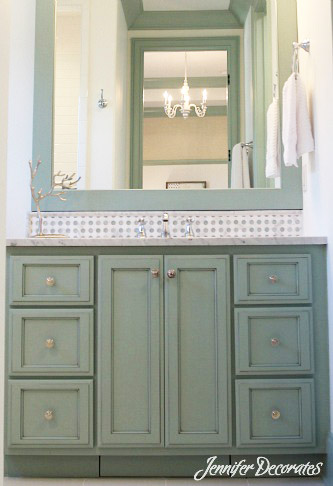 If you have a dated bathroom cabinet in your home, don’t replace it, give it a makeover with paint!
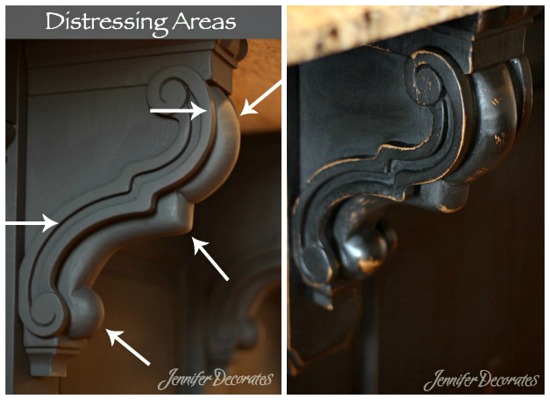
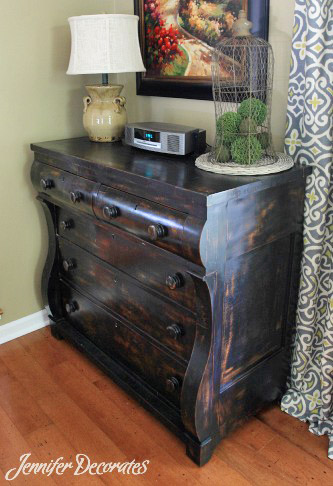 This is one of my favorite pieces in my home. I found it at our local flea market already painted and distressed.
 The wood showing through the black paint, as well as the pronounced curves, gives this piece so much character.
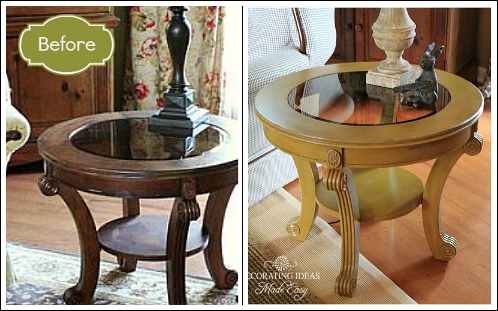
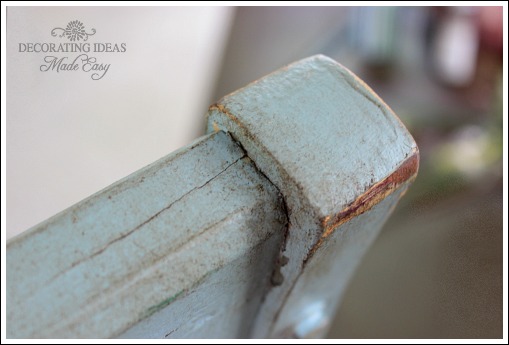
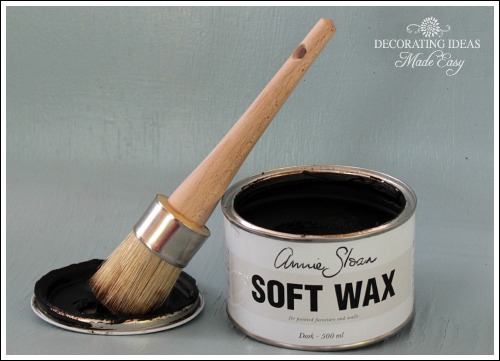
Here is one of my garage sale finds! This table was $20, and I used chalk paint and dark wax to give it a much needed makeover!
 My armoire was a beauty in the 90’s, but it was time for an update. Below are the easy steps to creating the Restoration Hardware look, in 3 easy steps.
Step 1 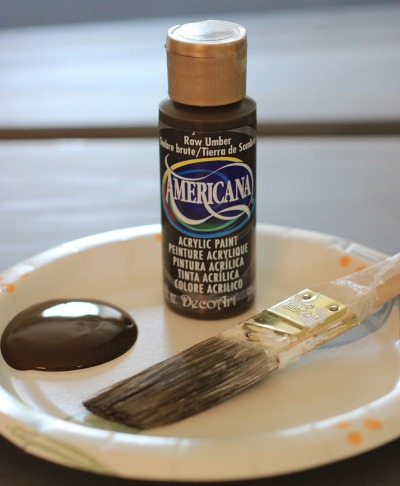
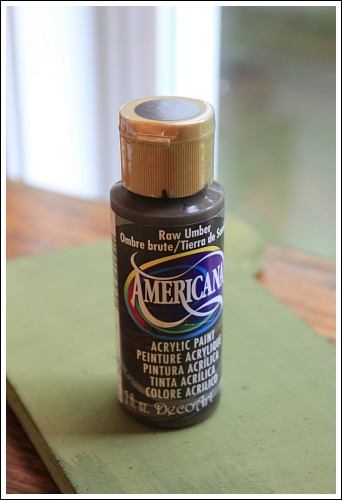
Your first coat of paint will be “Raw Umber” from Americana. There are different brands of acrylic paint, but the color “Raw Umber” by Americana is my favorite, and will achieve the DIY Restoration Hardware look. You will want to apply 2 coats to your furniture piece.
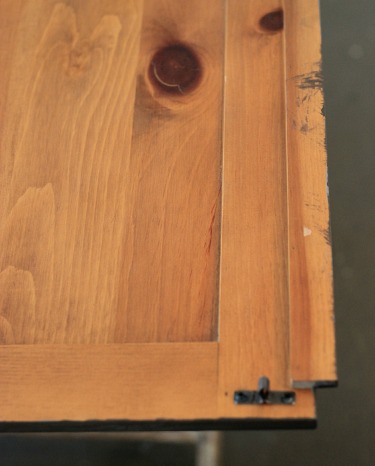 This is what the door looked like before applying paint.
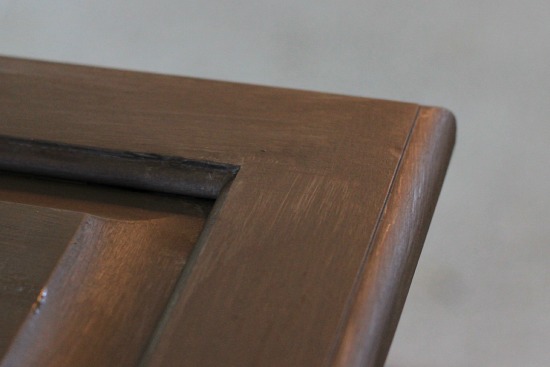 Here are two coats finished on the front of the door.
Step 2
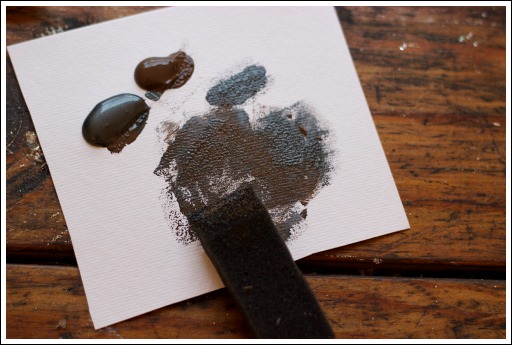
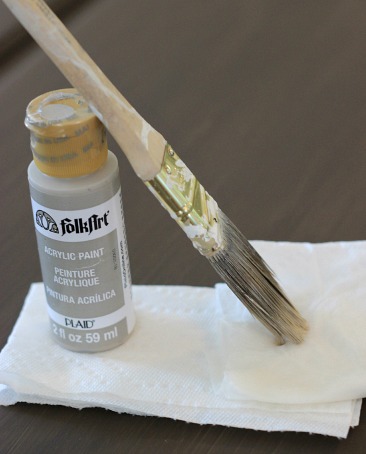 For this next step, you will need some gray and white acrylic paint. You are ready to begin the process of adding a color-wash look to your furniture.
 I mixed a little of the gray paint with the white. You don’t want to add stark white paint to your furniture. The white paint needs to be toned down with the gray.
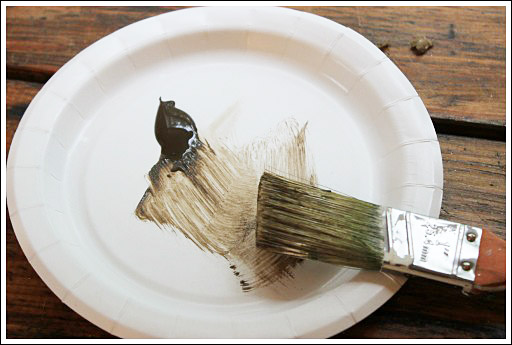
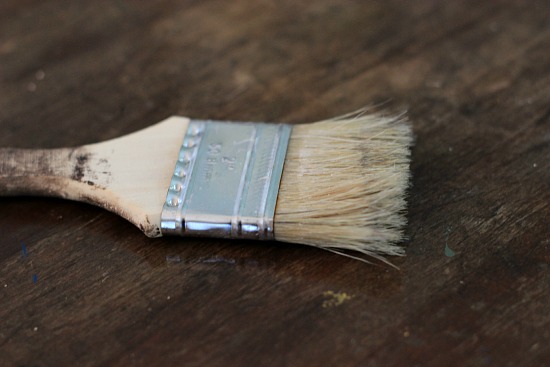 For this part of the project, if you have an old scruffy paint brush, that would be perfect.
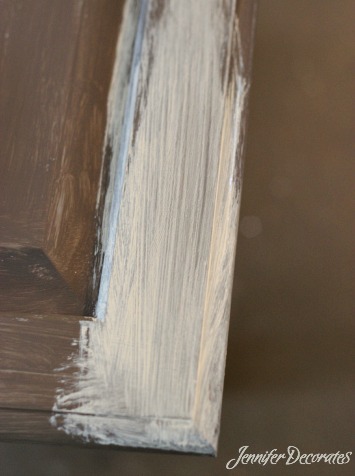 Have a slightly damp rag, and some paper towels handy for this next part. Paint a small section of your gray/white mix onto the furniture, like in photo above.
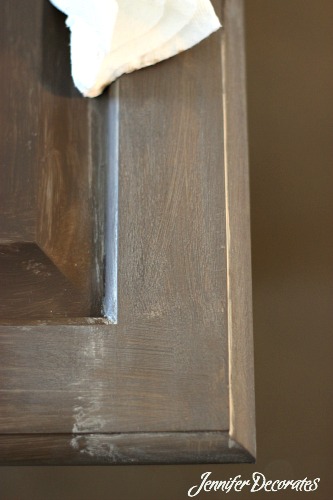 Next, gently wipe off the paint with a dry paper towel. If the paint has dried too much, and isn’t coming off like in the photo above, then use your damp rag.
NOTE: For the first few times you try this, you may rub too much off, or not enough. It takes just a bit of practice to get it right.
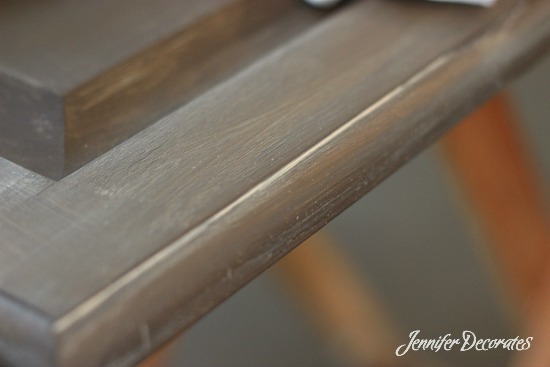 Make sure you don’t rub off the paint in the cracks and groves. When rubbing off the paint, most of the time the paint stays right in the grooves.
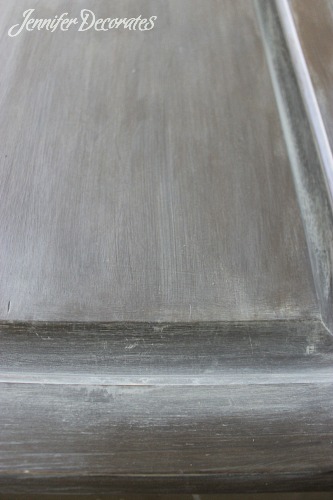 If there are areas where you want more of the gray/white paint mix, you can easily go back and add more, wiping off gently with a towel.
Step 3
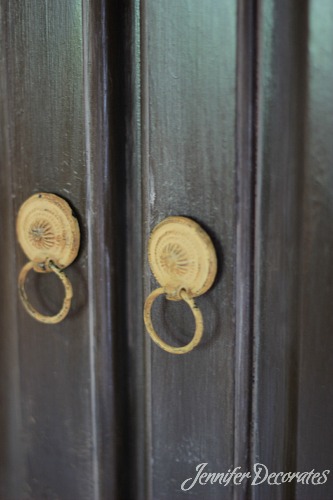
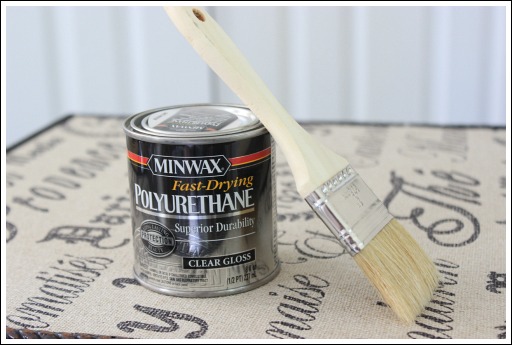
Once you are finished, let it dry completely, and add two coats of polyurethane in a satin finish. I found these awesome door pulls from Hobby Lobby!
Using Spray Paint
Okay, this next painted furniture idea is so bloomin’ easy! And, I LOVED the way my bookshelf turned out!
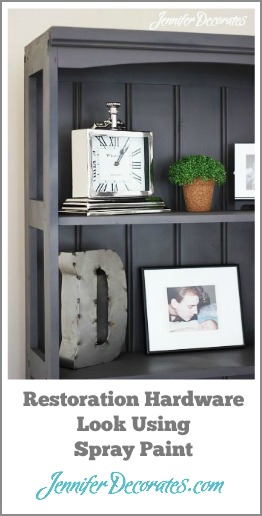 My bookshelf used to be an off-white color. Before beginning any spray paint project, you always want to clean your furniture with great detail. Spray paint, unlike latex paint will pick up any form of dust, and highlight it!
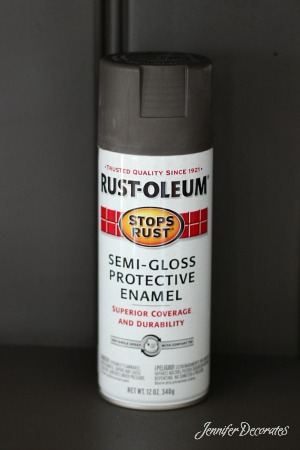 Here is my secret weapon. Rust-oleum semi-gloss protective enamel spray paint in the color “Anodized Bronze”.
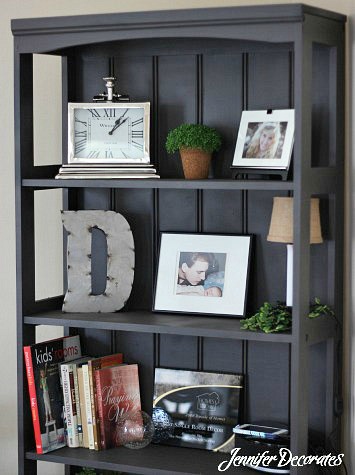 Two coats of spray paint is all it took to turn my bookshelf into a really cool and updated piece! Well, I’ve got to go find something to paint.
