Painting Wood Furniture
Learn to save hundreds of dollars painting your own furniture!
I would have to say painting wood furniture is probably my favorite DIY project. I enjoy playing with different mediums, and when there isn’t a lot of money spent on the furniture in the first place, it gives me the confidence to try new things.
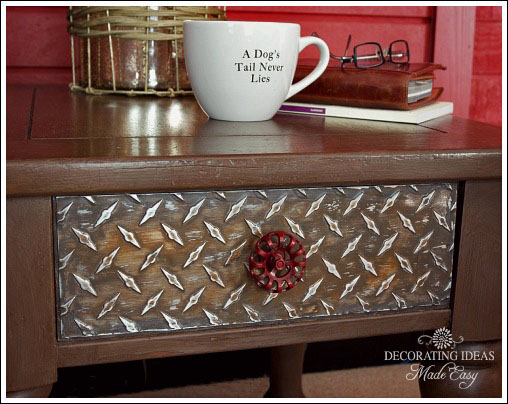
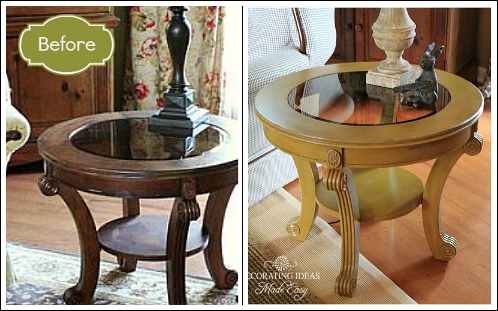
From Old 80’s Style Table to Cool Industrial Style Table
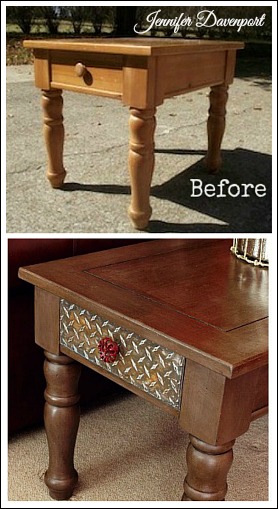
I actually have two of these tables, and paid $10 a piece for them! They are Broyhill, and extremely heavy and durable.
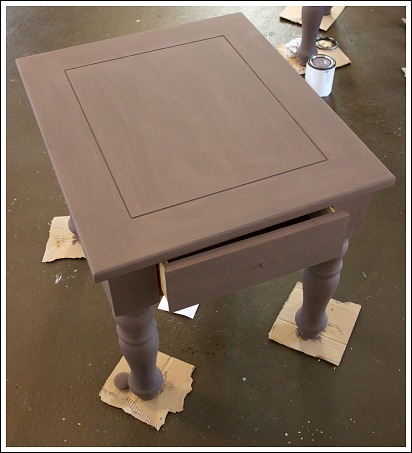
I have really fallen in love with chalk paint. No sanding, and no prepping, just start painting. I used the color “Kembel” , by Amy Howard.
The key to painting wood furniture, is keeping your paint strokes going in the direction of your wood grain. Paint your first coat thin to avoid drips. Let dry one hour and paint your second coat.
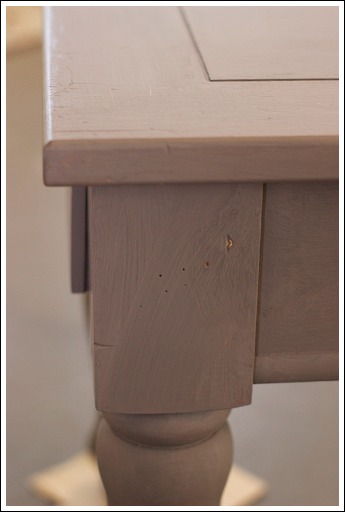
When painting your second coat, be sure to get the paint in every nook and cranny.
Antiquing Painted Wood Furniture
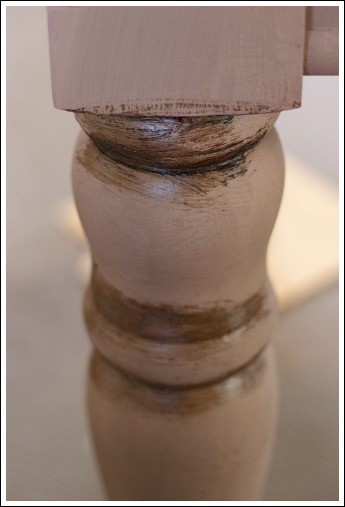
I love the look of distressed painted furniture. Usually, wherever you purchase chalk paint, they also sell light and dark wax. Waxes add texture, sheen, and protection to your furniture. If you want your furniture to have a distressed look, then you will need to use dark wax.
I apply the wax in the crevices first with a small brush. Then I add more wax in the larger areas and smooth the wax out with a rag.
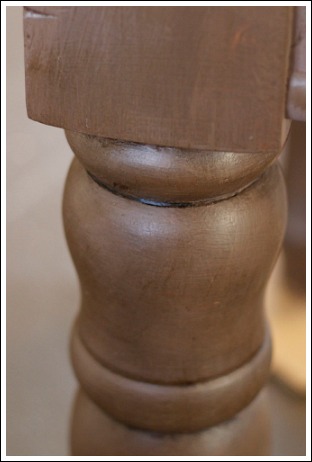
The trick to making furniture look naturally aged, is applying the dark wax heavier in areas that would commonly collect dirt. See how naturally aged the table leg looks in the photo above?
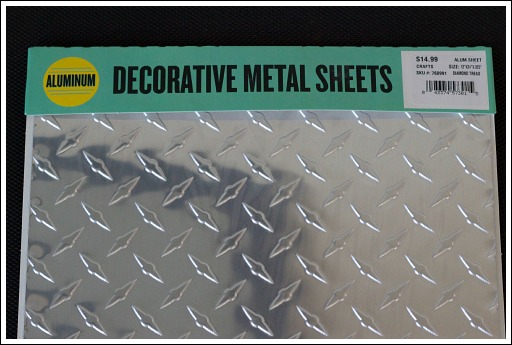
Because these two tables are located in our bonus room, I decided to really have some fun with them. I purchased aluminum diamond plate sheets from the craft store. What guy doesn’t love diamond plating?
I decided to only cover the front of the drawers with the diamond plating.
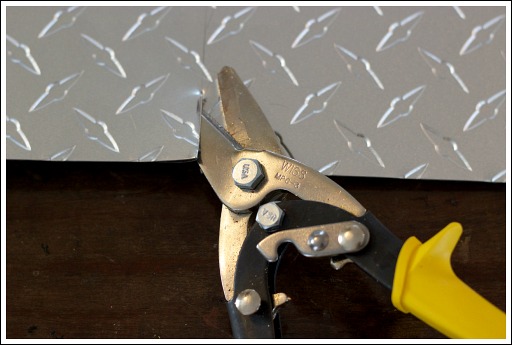
You will need metal cutters to trim your diamond plate. Measure your drawer, and mark the back of your diamond plate with a pencil. Next, re-mark your lines measuring in 1/4″ smaller all the way around. (more on that in a minute)
Be careful the edges are sharp!
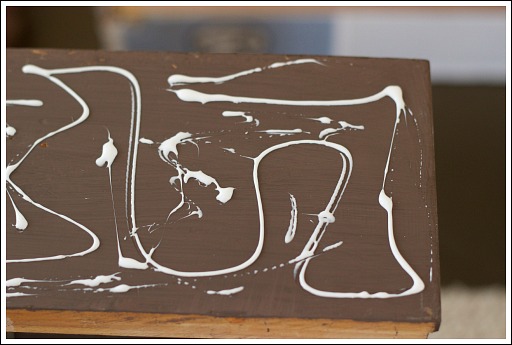
I used Tacky Glue to apply my diamond plate to the top of the drawer. Make sure to add a substantial amount.
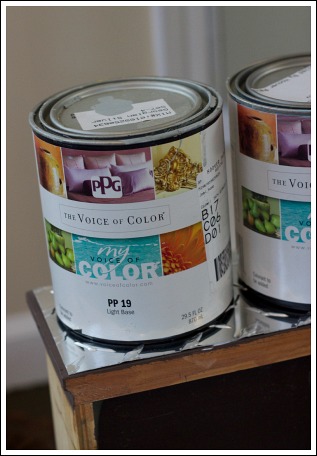
Put something heavy on top of the diamond plate and let it dry over night.
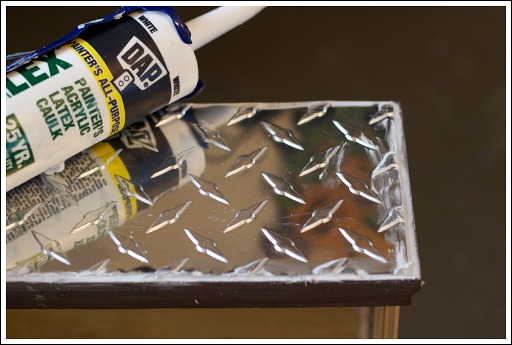
Next, apply latex caulk around the edges to fill in the gaps. Once caulk is dry, take some sandpaper and smooth out the edges.
Creating Faux Rust
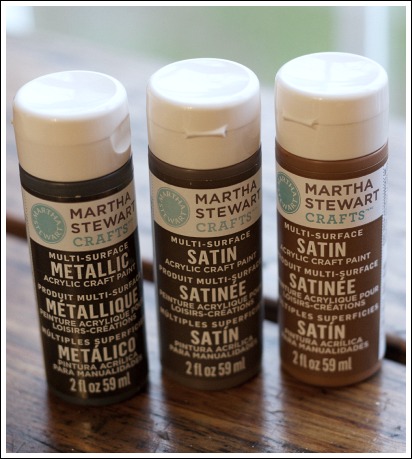
I used Martha Stewart’s multi-surface paints on this project. The three colors I used are “Chestnut Brown”, “Black Nickel”, and “Vanilla Bean”.
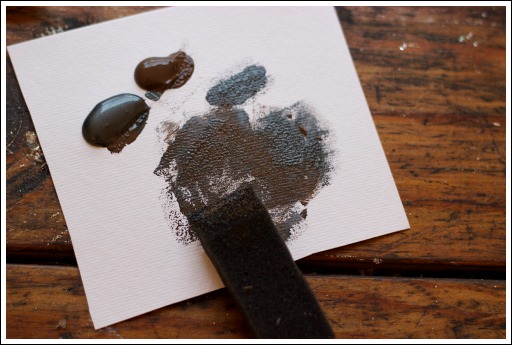
Start with “Vanilla Bean” and “Black Nickel” and pour a dab of both onto a plate or piece of paper. Mix a little of the “Black Nickel”, with more of the “Vanilla Bean”, then paint onto your diamond plate swiping your brush in the same direction with smooth even strokes.
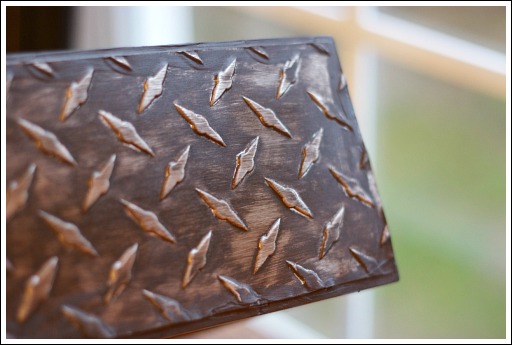
You will see that the paint really adheres to the chalk and creates a unique darker edge. This is why I had you cut the diamond plate 1/4″ smaller than the drawer. You want the edges to be darker. Only paint one coat. It will not cover evenly, and that is exactly the look we want.
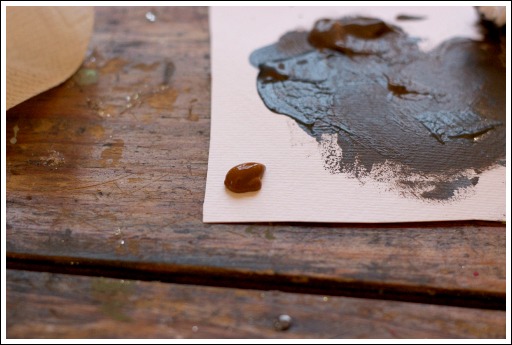
The last step is mixing “Chestnut Brown” and “Vanilla Bean” together. The “Chestnut Brown” has more red/brown color, and will really give the diamond plate the look and feel of rust. Apply in a few spots, wiping on sparingly.
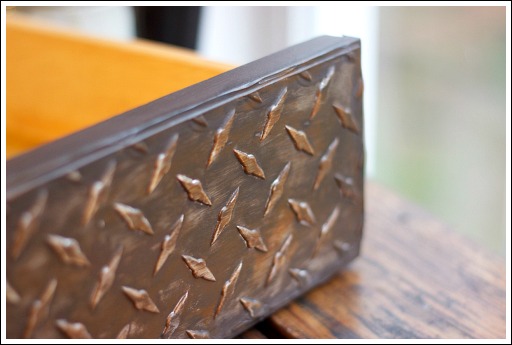
See in the photo above where I only added the “Chestnut Brown” mix in a few areas?
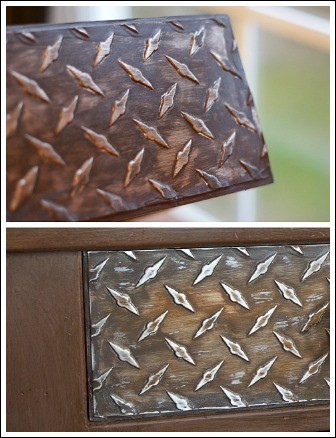
Once your paint is completely dry, take some fine grit sandpaper and lightly sand your diamond plate, going in one smooth direction. The last step is to spray a coat or two of sealer. I used Miniwax Polyurethane spray.
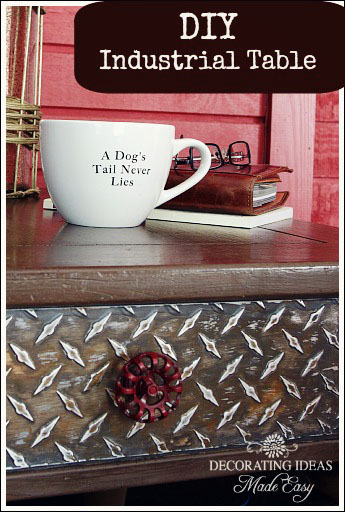
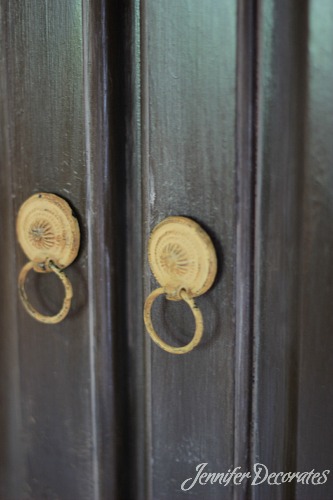
I found these cool drawer knobs at the craft store! Love them!
With this DIY project not only can you learn about painting wood furniture, but you can create a unique and one-of-a-kind piece.
Painted Furniture Ideas
I literally could look at painted furniture ideas all day long! Reading about how someone applies a faux painting technique that adds an instant patina of age is always so interesting and intriguing. Someone that is able to see an old beat up piece of furniture, and realize its’ potential is a special person.
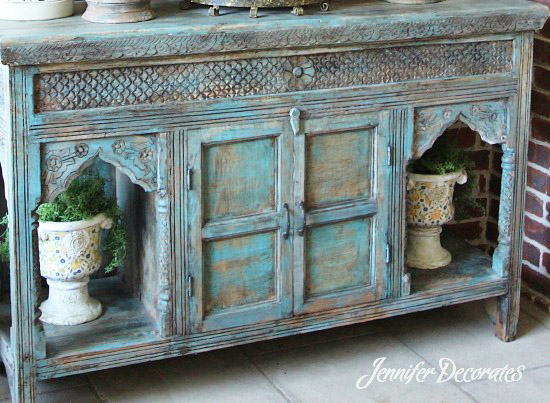 I love how this distressed piece of furniture has different hues of color throughout.
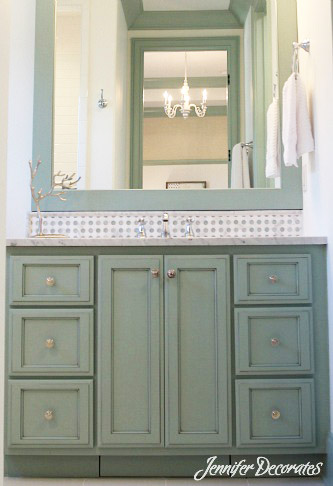 If you have a dated bathroom cabinet in your home, don’t replace it, give it a makeover with paint!
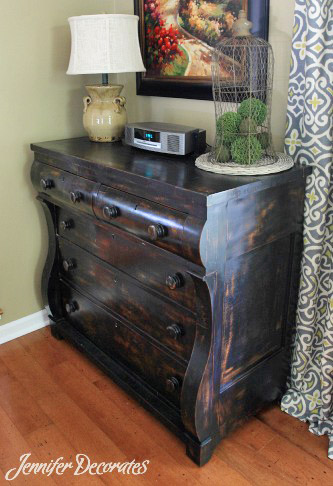 This is one of my favorite pieces in my home. I found it at our local flea market already painted and distressed.
 The wood showing through the black paint, as well as the pronounced curves, gives this piece so much character.
Here is one of my garage sale finds! This table was $20, and I used chalk paint and dark wax to give it a much needed makeover!
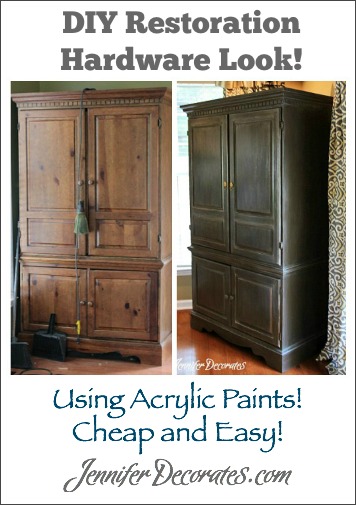 My armoire was a beauty in the 90’s, but it was time for an update. Below are the easy steps to creating the Restoration Hardware look, in 3 easy steps.
Step 1 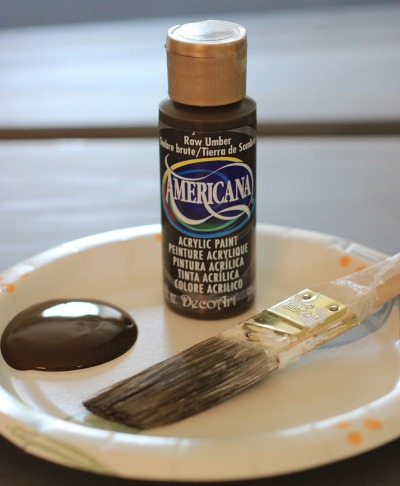
Your first coat of paint will be “Raw Umber” from Americana. There are different brands of acrylic paint, but the color “Raw Umber” by Americana is my favorite, and will achieve the DIY Restoration Hardware look. You will want to apply 2 coats to your furniture piece.
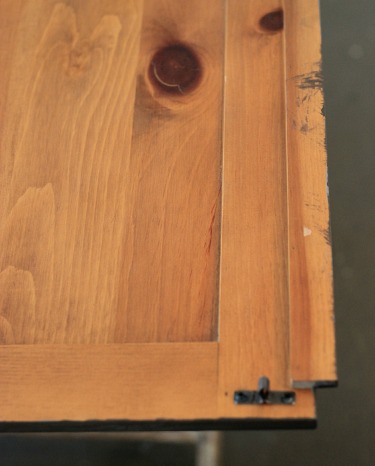 This is what the door looked like before applying paint.
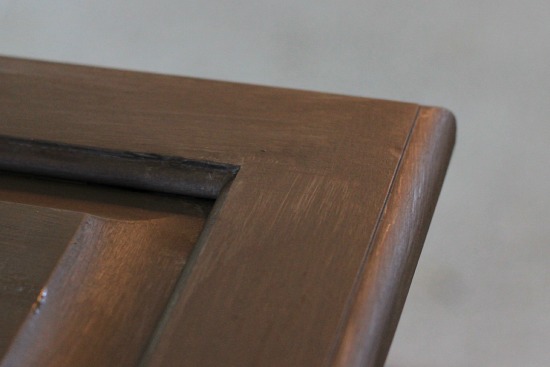 Here are two coats finished on the front of the door.
Step 2
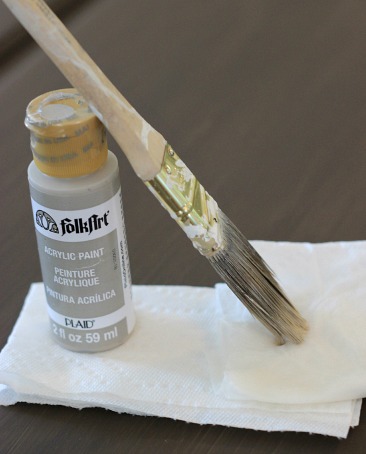 For this next step, you will need some gray and white acrylic paint. You are ready to begin the process of adding a color-wash look to your furniture.
 I mixed a little of the gray paint with the white. You don’t want to add stark white paint to your furniture. The white paint needs to be toned down with the gray.
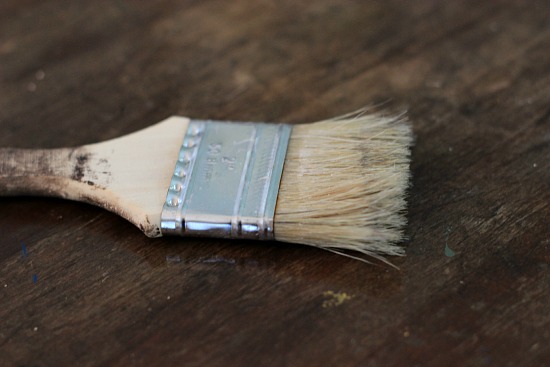 For this part of the project, if you have an old scruffy paint brush, that would be perfect.
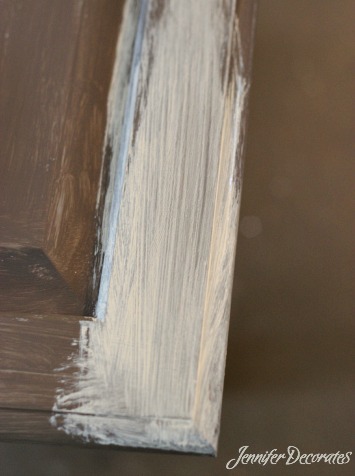 Have a slightly damp rag, and some paper towels handy for this next part. Paint a small section of your gray/white mix onto the furniture, like in photo above.
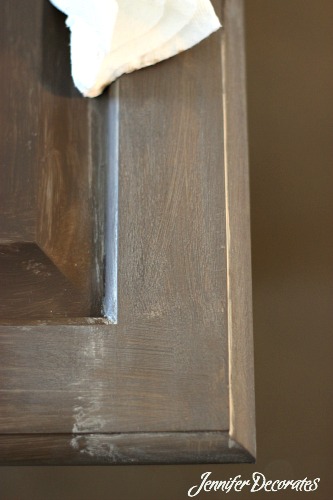 Next, gently wipe off the paint with a dry paper towel. If the paint has dried too much, and isn’t coming off like in the photo above, then use your damp rag.
NOTE: For the first few times you try this, you may rub too much off, or not enough. It takes just a bit of practice to get it right.
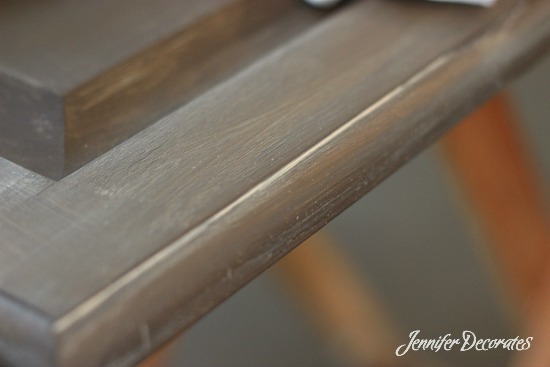 Make sure you don’t rub off the paint in the cracks and groves. When rubbing off the paint, most of the time the paint stays right in the grooves.
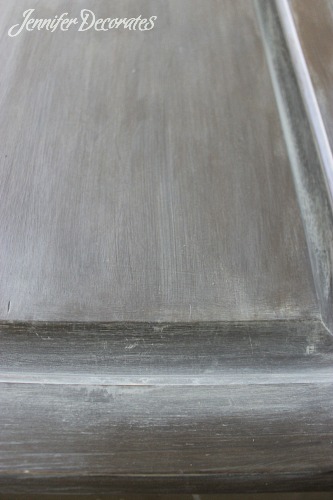 If there are areas where you want more of the gray/white paint mix, you can easily go back and add more, wiping off gently with a towel.
Step 3
Once you are finished, let it dry completely, and add two coats of polyurethane in a satin finish. I found these awesome door pulls from Hobby Lobby!
Using Spray Paint
Okay, this next painted furniture idea is so bloomin’ easy! And, I LOVED the way my bookshelf turned out!
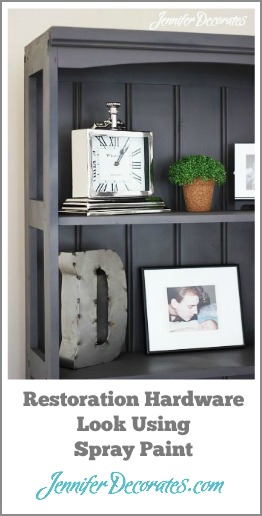 My bookshelf used to be an off-white color. Before beginning any spray paint project, you always want to clean your furniture with great detail. Spray paint, unlike latex paint will pick up any form of dust, and highlight it!
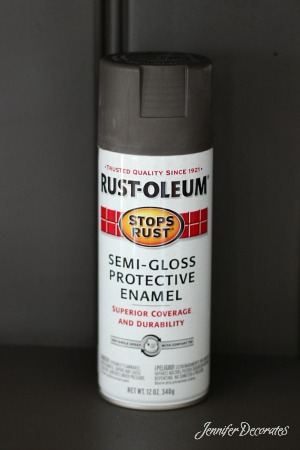 Here is my secret weapon. Rust-oleum semi-gloss protective enamel spray paint in the color “Anodized Bronze”.
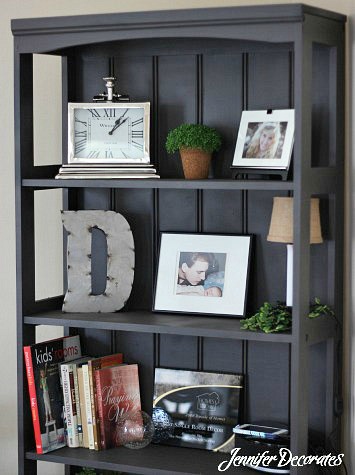 Two coats of spray paint is all it took to turn my bookshelf into a really cool and updated piece! Well, I’ve got to go find something to paint.
Painting a Deck
A new product by Behr that made this project so easy!
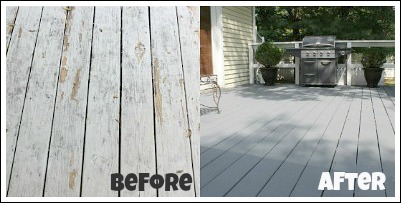
Painting a deck is no easy DIY project! My deck has been my nemesis for years. I have painted it, stained it, and still it peels, cracks, and stains horribly! When I try to pressure wash the dirt away, many times small sections of the paint or stain would come off!
I found a new product from Behr that worked wonderfully. It is called “Deck Over”. This project can be used painting a wood deck or it can be used on concrete.
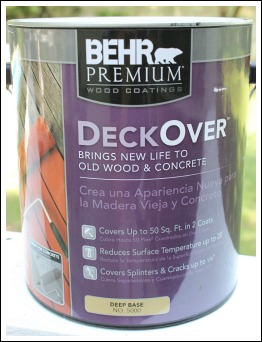
The first thing that caught my eye with this product, was that it stated it covers splinters and cracks up to 1/4 of an inch.
What a Mess!
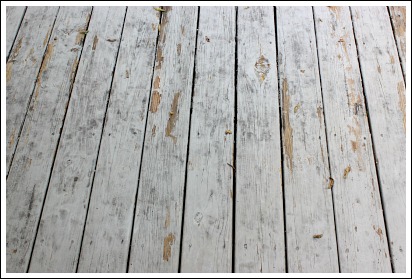
As you can see, my deck is in need of a makeover! There are many cracks, splinters, and places where the paint has peeled off.
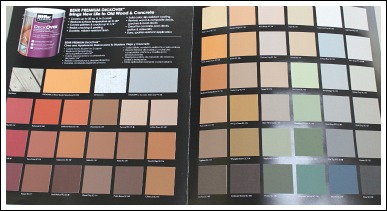
Another great feature was all of the different colors. I decided to go with a darker gray. I chose the color called “Flat Top”.
You want to wash your deck with a deck cleaner before applying this product. Make sure your deck is completely dry before you begin painting.
Time to Start Painting
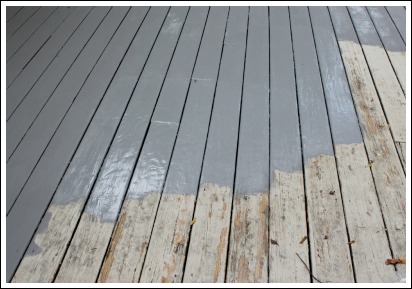
You can apply “Deck Over” with either a roller or a brush. I chose a brush for the first application. Using a brush helped me concentrate on filling in all of the splinters and cracks. It is a slower process this way, but it paid off in the end.
You have to apply two coats. For the second coat, I applied the paint with a roller. Be prepared, this paint has a very strong odor! It dries quickly, which I loved! Drying time is 4-6 hours in between coats. It dries to touch in 4 hours.
My pup wanted to write her own post on painting a deck!
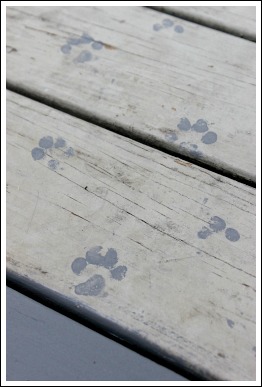
It never fails! Emma always gets in the middle of my painting projects!
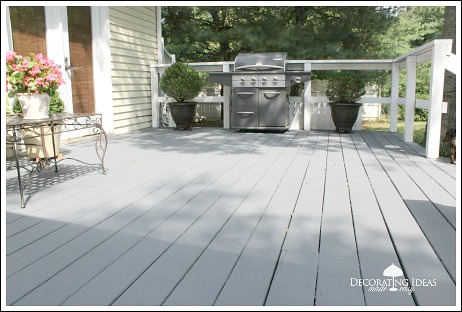
My finished deck! I love it! I applied two coats of Behr “Deck Over”. Painting a deck is not an easy job. This is my third time in over eight years. But, this was by far, the easiest and quickest time ever. I will add updates later, on how well this product holds up under weather and cleaning.
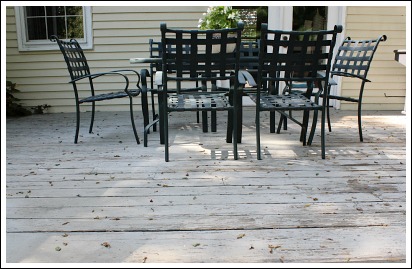
It was time for some new deck decor! I decided to sell the table and chairs since we really weren’t using them, and I wanted to open up the space.
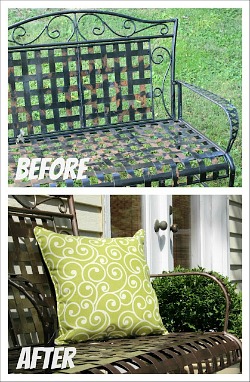
This bench was a flea market find. It needed a little TLC. Spray paint from Rust-oleum covered the bench beautifully.

Well, Emma approved of the deck. Although, she was unhappy about me painting over her paw prints. Oh well…..
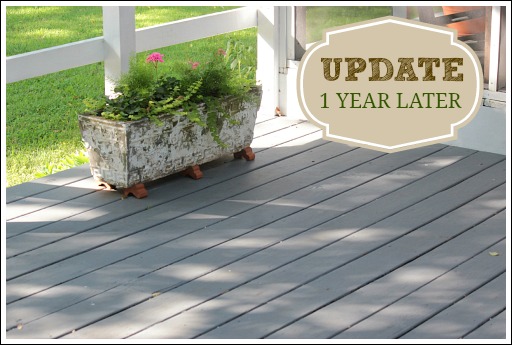
This is my deck one year later! Still looking great. I saved a ton of money with Behr DeckOver, by not having to replace my deck. I love it!
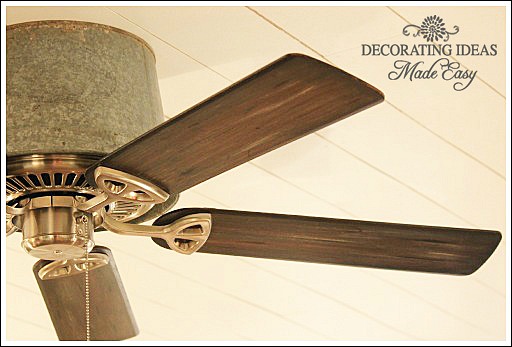
Painted Fan Blades – Give your fan blades a faux wood look!
I’ve seen painted fan blades on Pinterest, but I really wanted a look of faux barnwood. The blades that came with our new fan were not attractive at all! So, when in doubt, I paint it!
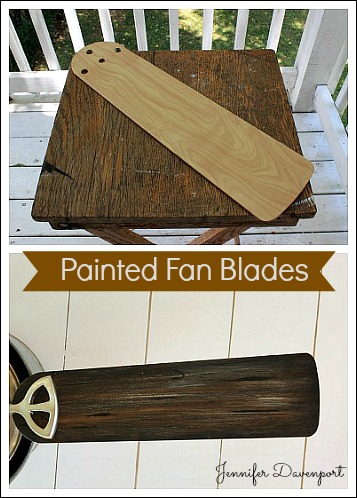
I promise this faux paint treatment isn’t hard at all! So, let’s get started learning how to make your ceiling fan go from boring to fabulous!
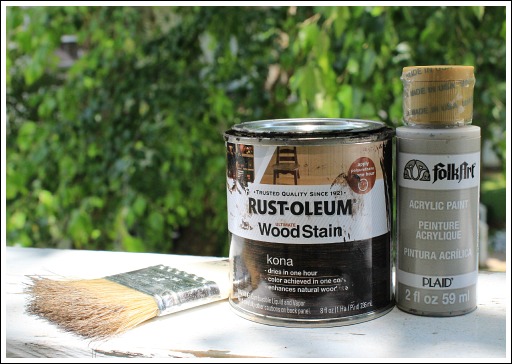
I really love Rust-oleum products. They hold up, and dry super fast! I purchased Rust-oleum wood stain in the color “Kona”. You will need one small bottle of acrylic paint in the color light gray and black.
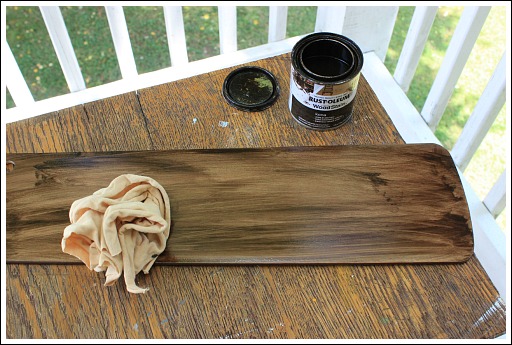
Your first step is to apply the Rust-oleum. (I did not apply a primer.) Use a rag to apply the stain. Go back and forth until you get the look of wood grain.
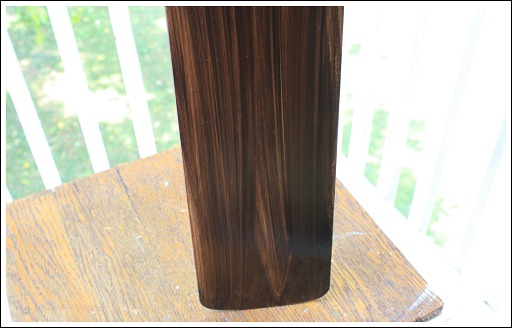
If your blades have a dark and a light side, choose the lighter side to apply your wood stain. You want that lighter color to peek through.
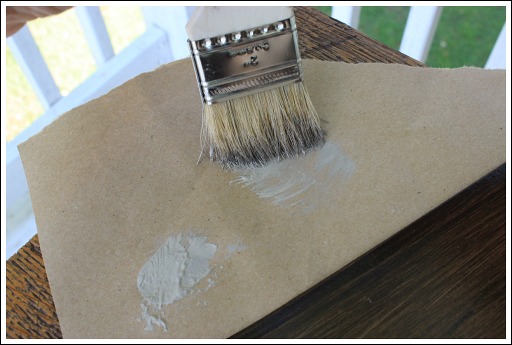
Once your your paint is completely dry, you are ready to apply the gray paint. Use a cheap scruffy brush to apply the paint. You want to apply the paint using a technique called “dry brushing”. The trick to doing this technique is to dip your brush into the paint, and then wipe off as much of the paint as possible.
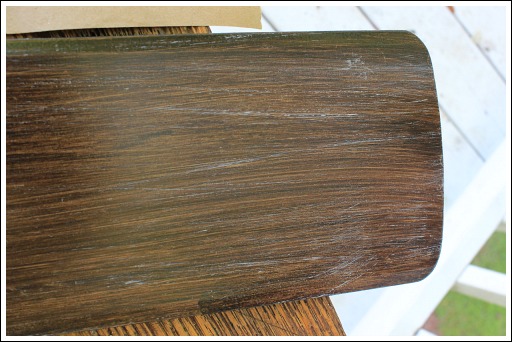
Go back and forth gently. Keep your brush in a straight line.
Adding Faux Wood Grain to The Painted Fan Blades
The last step is to add the darker wood grain. What makes faux painting look real is having layers of colors that are dark, medium, and light.
The light color is the acrylic gray and the original pine color. The wood stain color is the medium color, and the dark layer will be created using black acrylic paint.
Below is a drawing of how you will want to paint your wood grain. Use a thin brush to paint your lines and small markings.
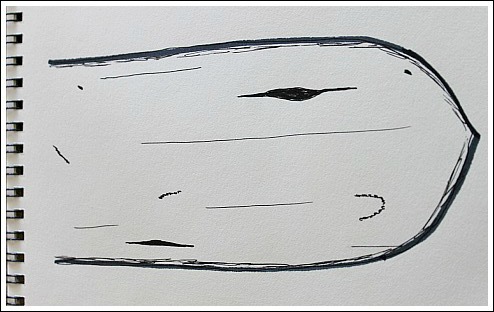
On the edge of the fan paint a medium line with the black paint, then take your finger and smudge back and forth to create a worn look on the edges. Once the paint is completely dry, add a coat of poly-acrylic. What a difference!
