How to Make a Bow
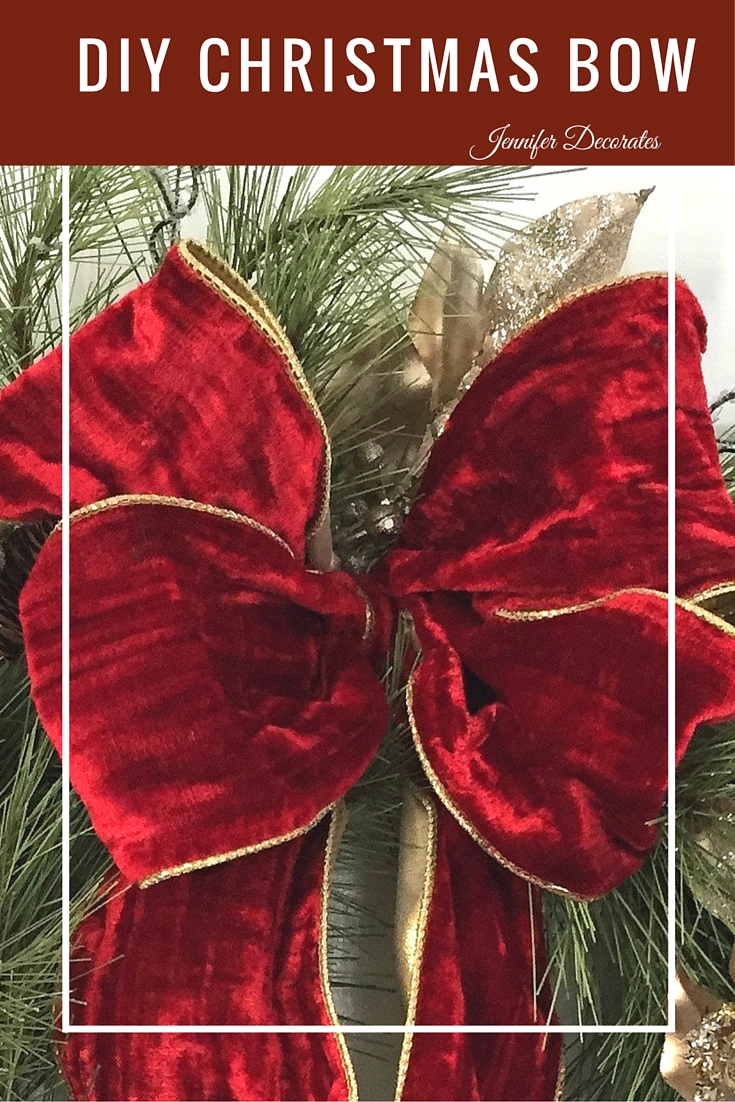 Have you always wanted to know how to make a bow? I love, love, love making bows! I start making Christmas bows in October! I have created a video with step-by-step instructions on how to make three different bows.
Four Looped Wired Bow
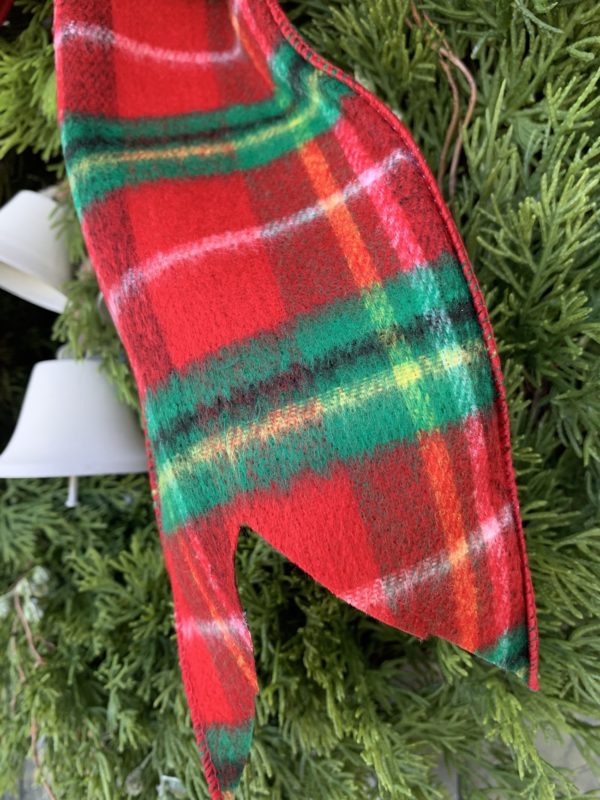
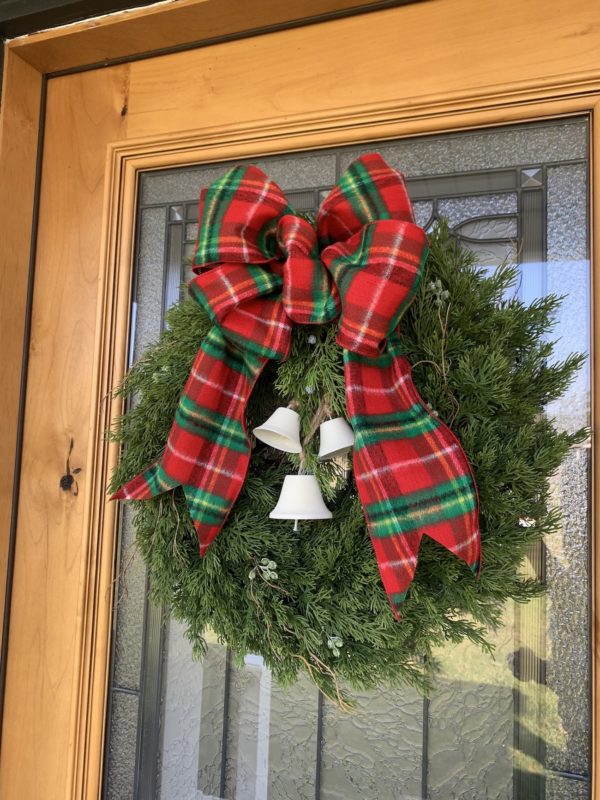
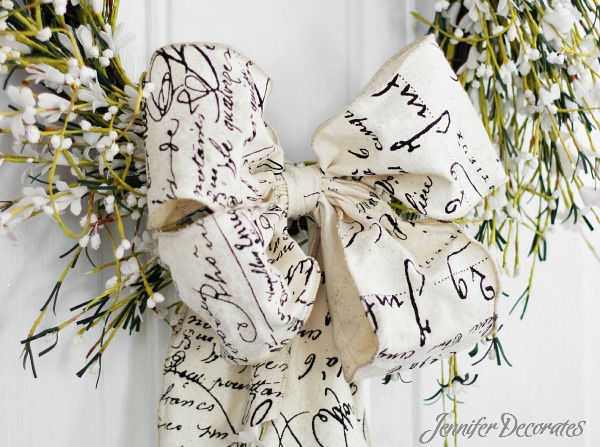 Don’t you adore this ribbon? It is a very thick cloth material with wired edges. Here is my advice about choosing ribbon; for 9 out of 10 of the bows I make, I choose wired ribbon. It does cost more, but you can reshape it so easily. And if you are making a holiday bow for a wreath, and you pack your wreath away at the end of the season, when you unpack it the next year, it is very easy to reshape the bow!
Christmas Bow Using Two Ribbons
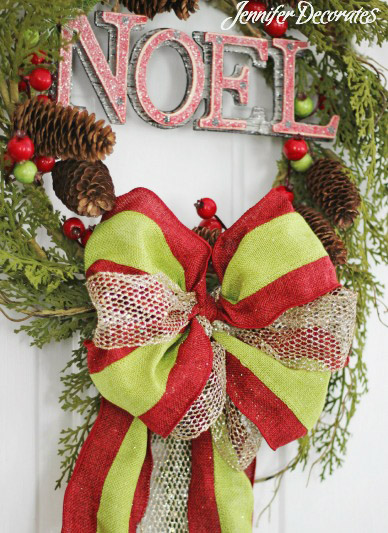
Isn’t this a yummy bow? The red and lime green ribbon is SO beautiful. I paired it with a glittery gold wired ribbon. When I make Christmas bows, I usually try to add a sparkly ribbon so that the Christmas lights sparkle off of the bow.
Wedding Bow – Extra Wide Ribbon
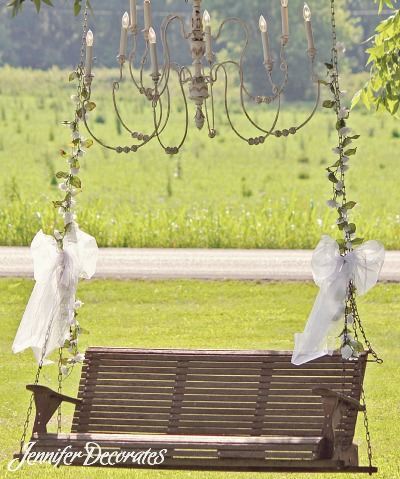 I recently decorated a wedding, and I used extra wide ribbon to make several bows. I still chose wired ribbon. Don’t be intimidated by extra wide ribbon, it really isn’t difficult to work with!
So, check out my video if you want to learn how to make a bow! Have a great day!
Want to Learn How to Make a Perfect Sash Bow?
Trying to tie a bow that only ends up crooked? Here is a very quick and easy video on how to tie the perfectly straight sash bow!
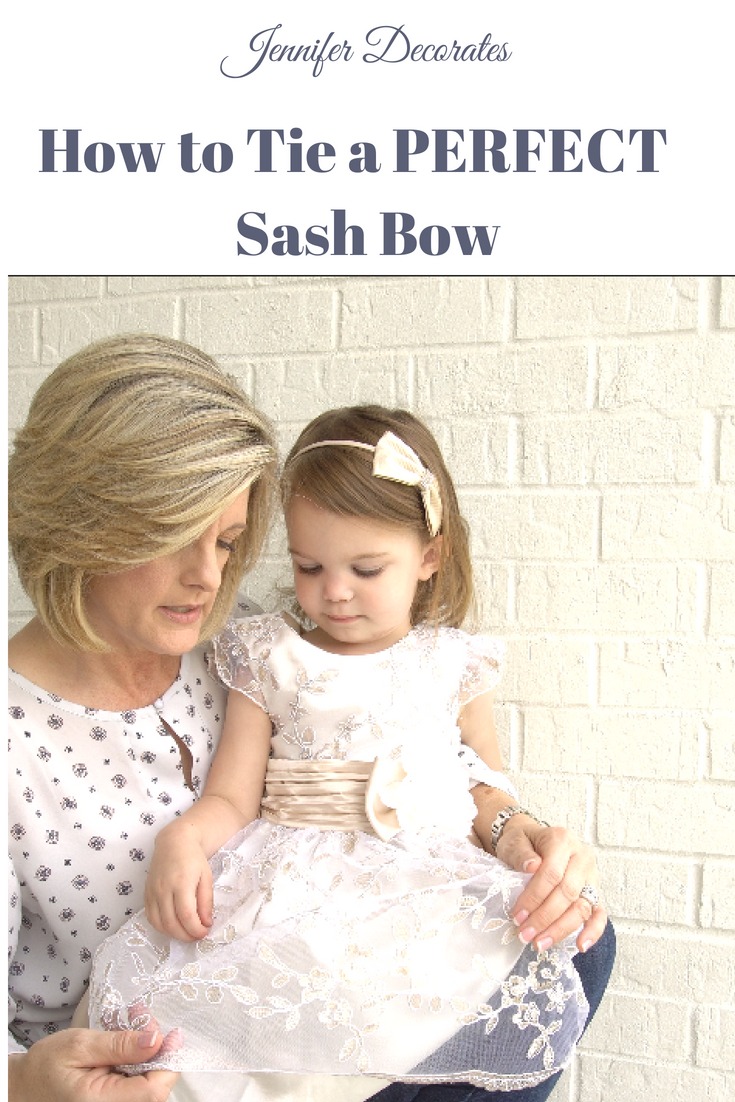
Tired of crooked bows? Here is an easy and quick video for creating the perfect bow!
Front Door Wreaths
Create fabulous curb appeal with gorgeous front door wreaths!
Don’t you LOVE decorative front door wreaths? If you are looking for front door decorating ideas, a wreath can make any door look spectacular! A well decorated front door creates eye catching curb appeal!
I’ve taken some photos to help give you inspiration for your front door! Whether you are going to learn how to make a wreath, or have one made, the two important factors to consider are the colors of the flowers and ribbon, and the size of your wreath.
Many times I see small wreaths on large doors, or large wreaths on small doors! Choose flowers that coordinate with the color of your door, and really show up from the street.
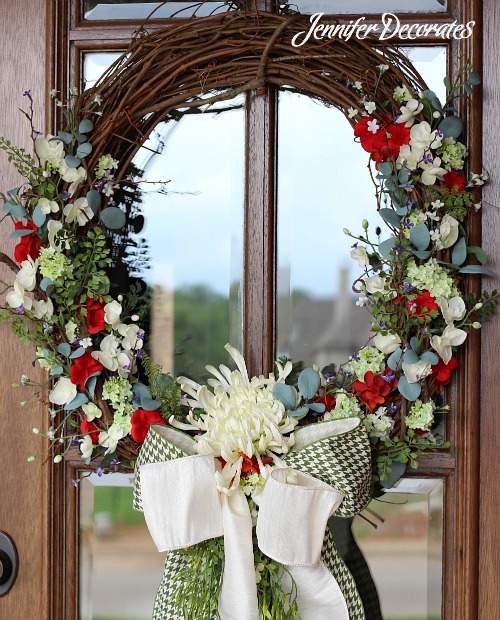 This is a wreath I made for a client. I paired two different ribbons for the bow. I chose red, green, white, and just a touch of purple for my color scheme in the wreath.
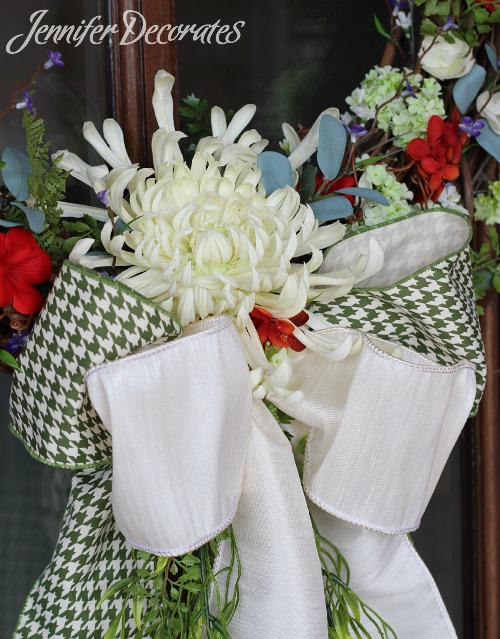 I placed a large white chrysanthemum in front of the bow.
Front Door Wreaths for a Double Door

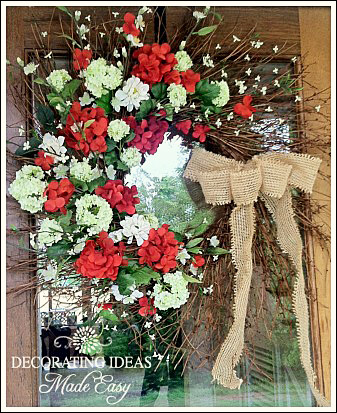 Here is a close-up of the wreath from the top photo. I made this wreath using what is called a “twig wreath”. I wanted some of the twig wreath to show, so I only put flowers on 3/4’s of the wreath. Burlap ribbon is probably my favorite ribbon to make wreath bows with! Love this wreath.
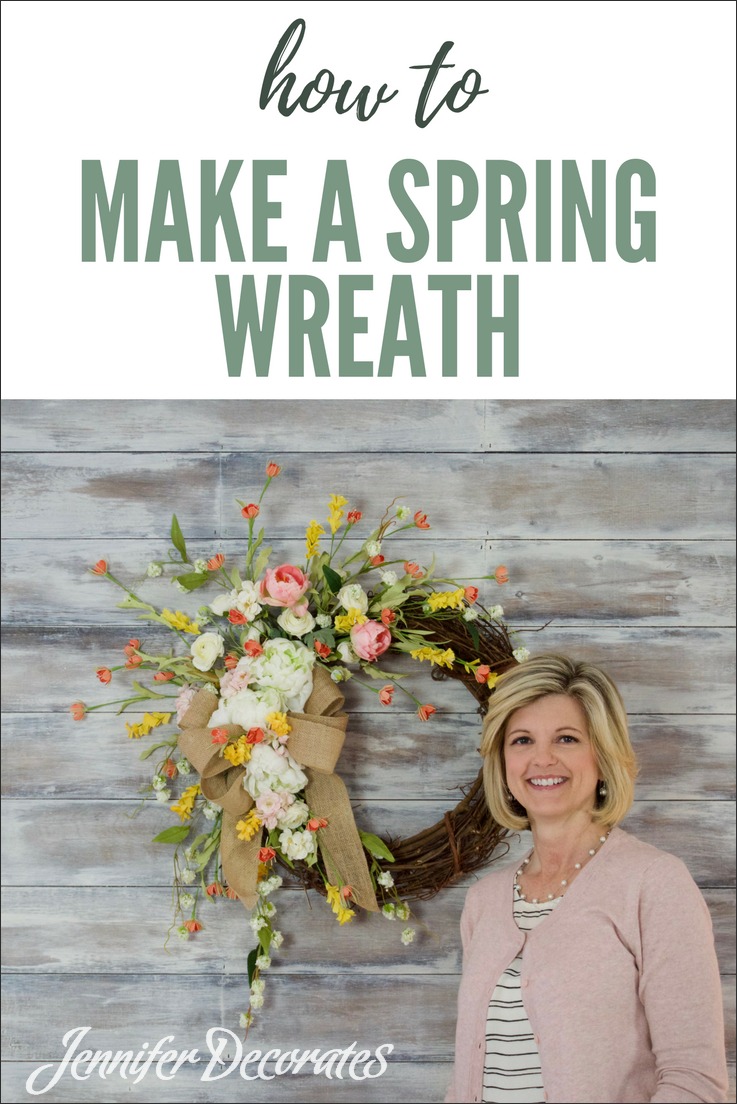
Learn How to Make a Spring Wreath
Here is my video showing your how to make a spring wreath! It is easy! And you can do it!
Quick Tip on Hanging Your Front Door Wreath
I have given up using suction cup hooks! I find that after awhile they pop off the glass, and I usually drive up with my wreath on the ground! I have found the best product for hanging front door wreaths is 3M Command adhesive hooks. Believe me, this product will save you some frustration!
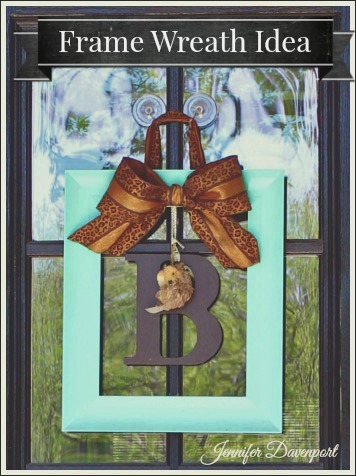
I saw this unique wreath idea in Nashville, and just had to show you! A frame for a wreath! I love it. Do you see the little garden critter they have hanging from the monogrammed letter?

I love the simplicity of this wreath. It is made from dried boxwood, and looks like a fresh wreath. Of course, the gorgeous black door, and huge planters help complete this fabulous look!

Purple is a great color choice for this door. It gives just the right “pop” of color. If you want to make this wreath yourself, you will want to start with what is called a “twig” wreath.
Purchase dark green dried moss and apply it with a hot glue gun. Attach three simple purple hydrangeas and small white flowers with hot glue also.
Use three different ribbons to make your bow stand out. The burlap ribbon paired with soft purple and green ribbon is perfect!
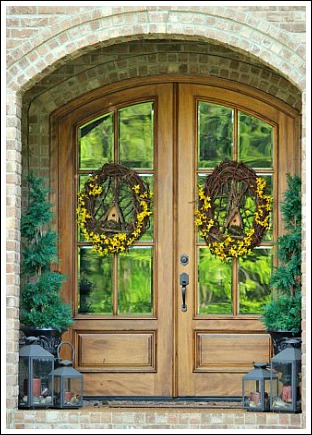
Aren’t these doors gorgeous? I love the birdhouses that are attached to the door wreaths! There are so many unique items you could incorporate in your design. Sometimes, I really get my best ideas from strolling up and down the craft aisles. You never know what may stand out and make a unique decorative wreath.
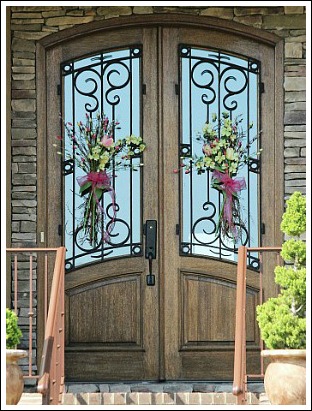
How unique is this door decoration? They opted for gathered flowers! How simple and easy is that? Shop for some flowers with coordinating colors. Lay them on a table at varied heights, then tie with floral wire. Next, add a ribbon around the floral wire.
Fall Front Door Wreaths
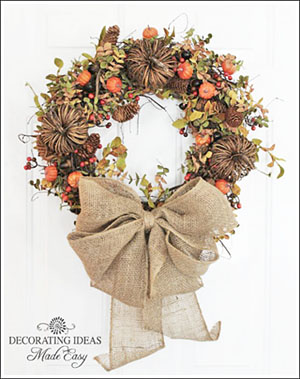
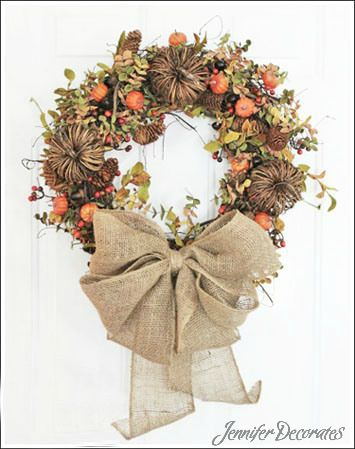
This is my wreath I hang on my door for fall. I love the grapevine pumpkins and burlap bow!
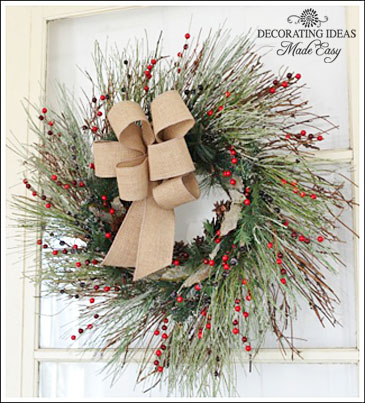
For Christmas, I used a twig wreath and added berries and pine greenery. The little red berries make this wreath stand out!
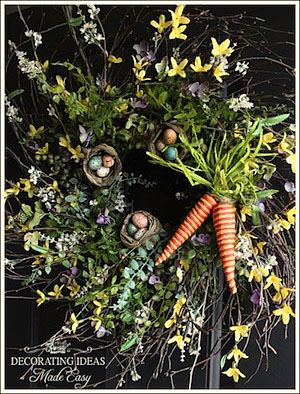
Paper carrots, bird’s nest, and soft colored flowers make the perfect Easter wreath.
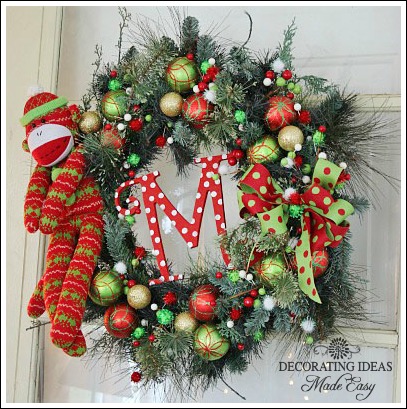
I make several different kinds of Christmas wreaths. They range from very traditional to whimsical like this sock monkey wreath!
I absolutely love making front door wreaths! If you have a hot glue gun and you can tie a bow, YOU can make your own beautiful wreaths! Don’t be afraid to give it a try! It’s easy, and you will be the envy of your neighbors!
 Link Party Luv:
Wreaths for Fall
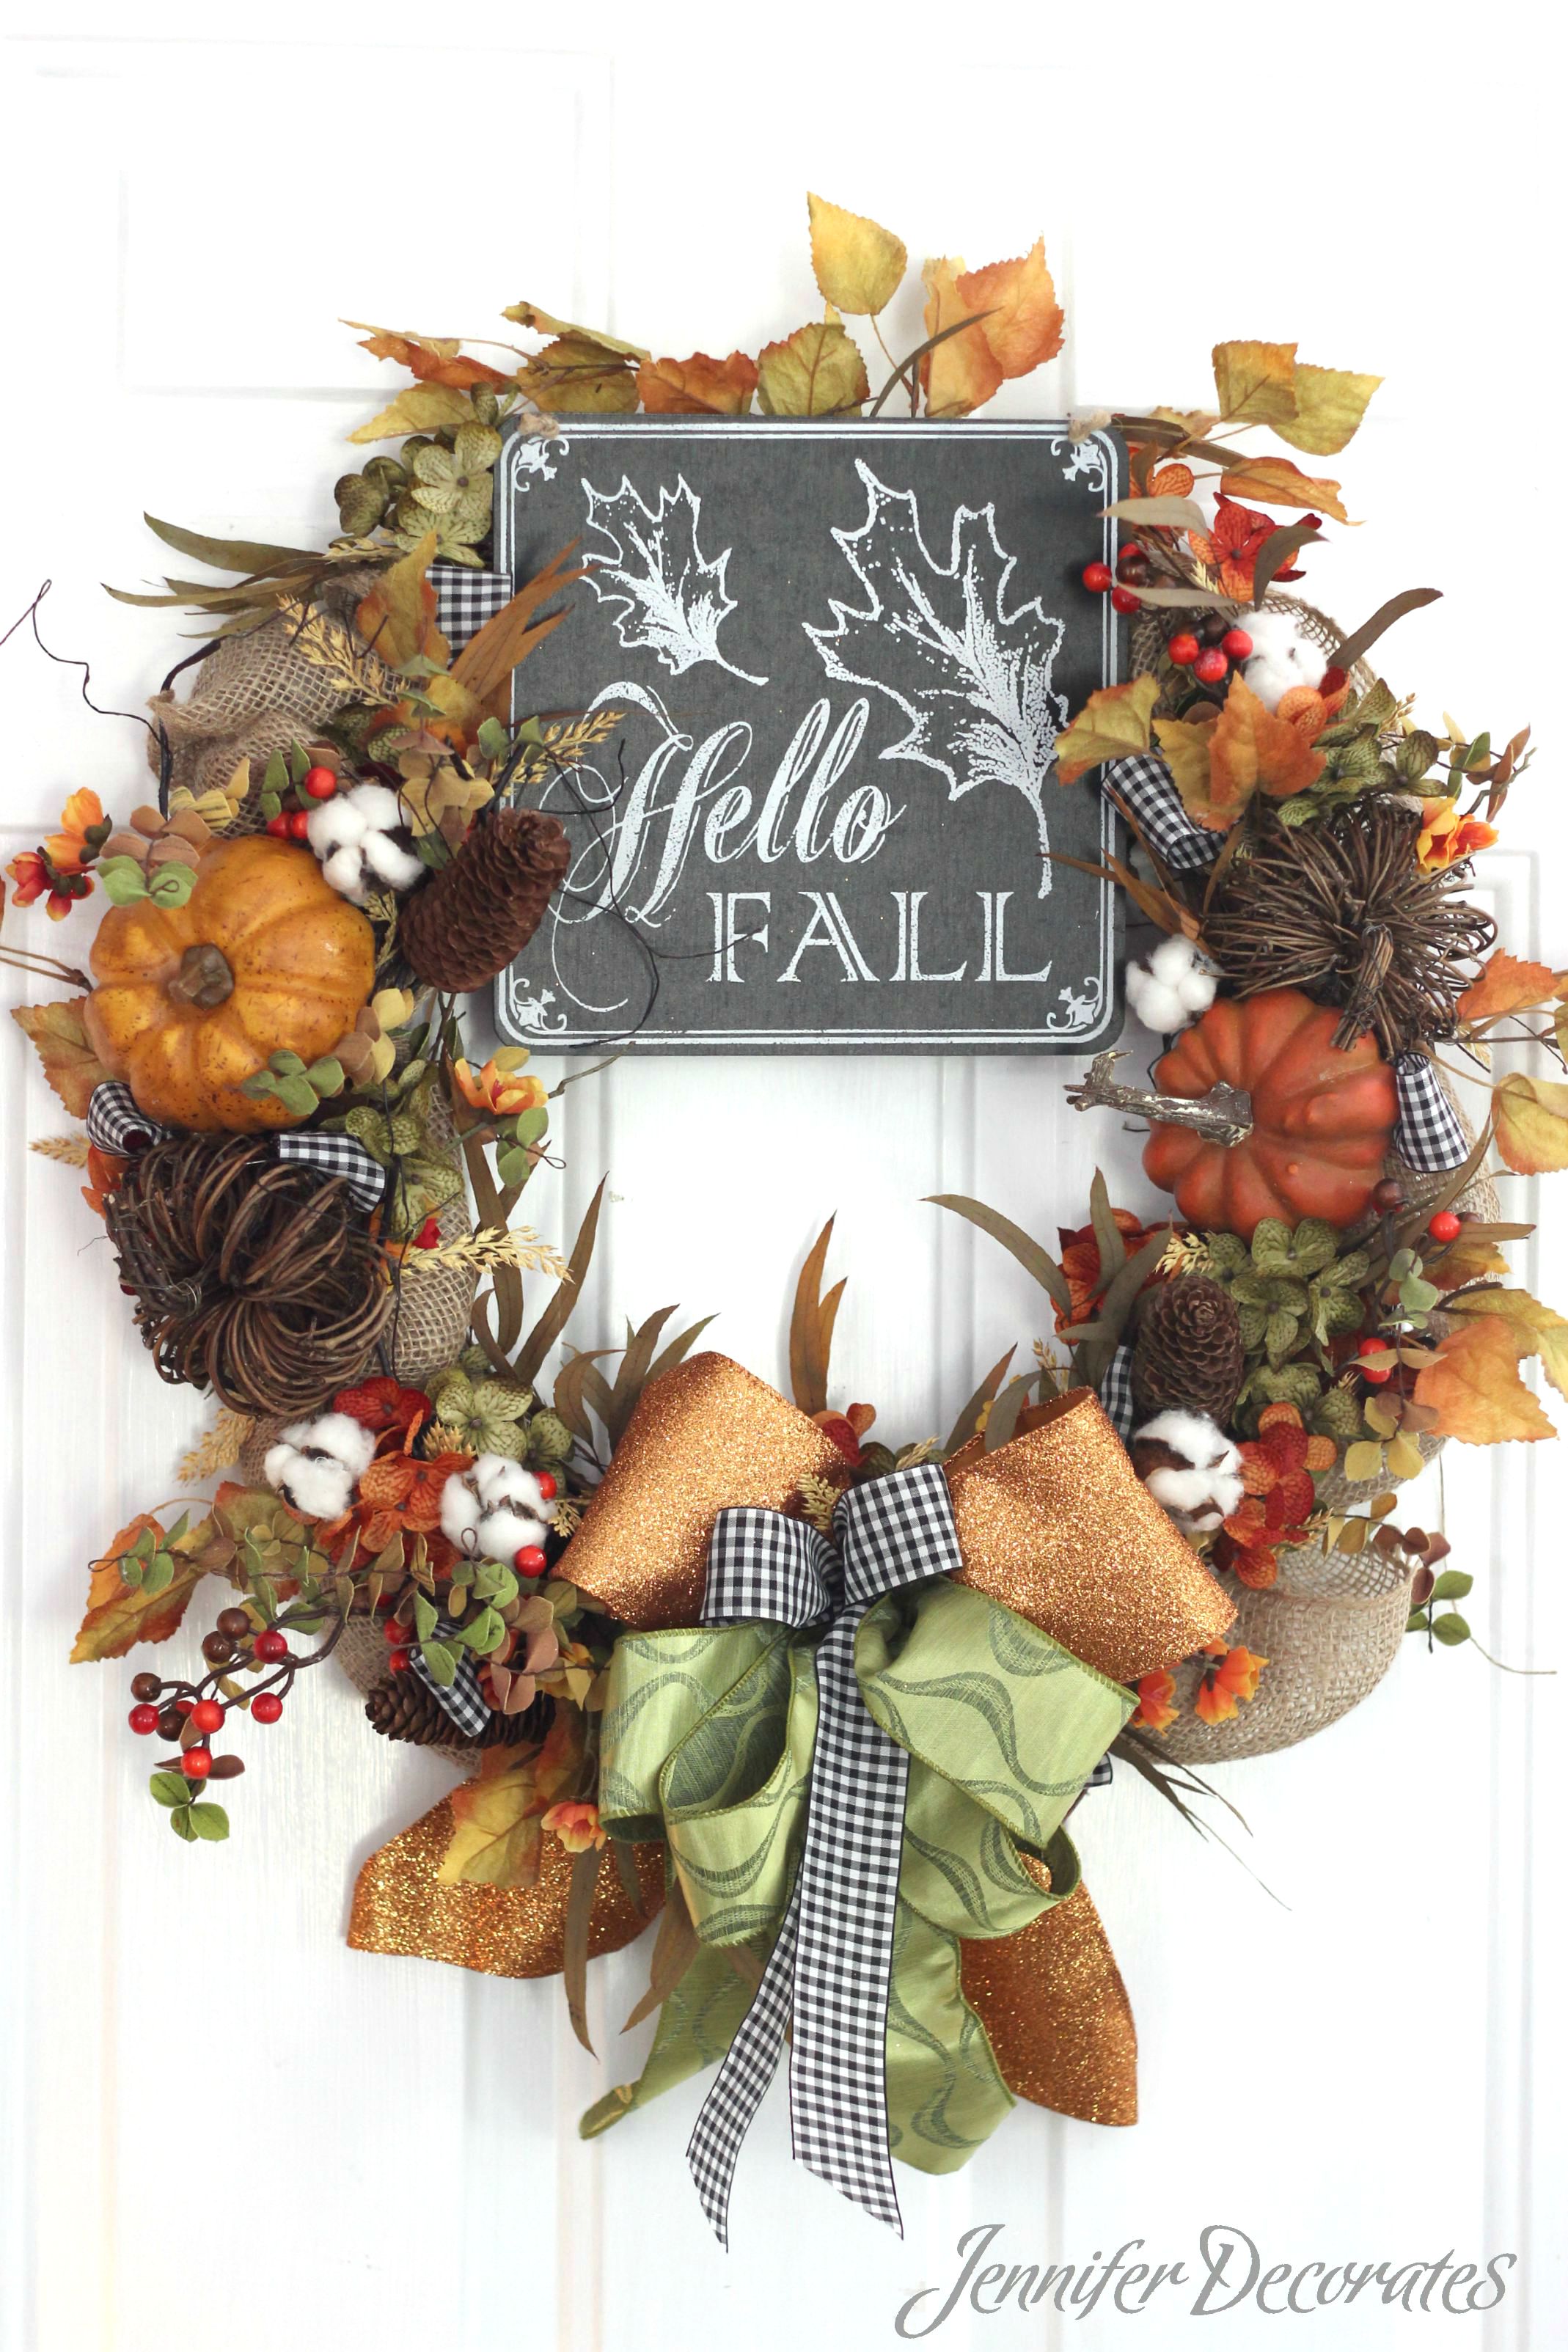 Learning to make wreaths for fall isn’t difficult at all, if you follow the correct steps. Below is an easy tutorial on making a fall wreath.
 Remember, “it’s all about that bow, ’bout that bow”. Okay, sorry, I love that song. But really, choose your ribbon wisely to create the highlight of the fall wreath.
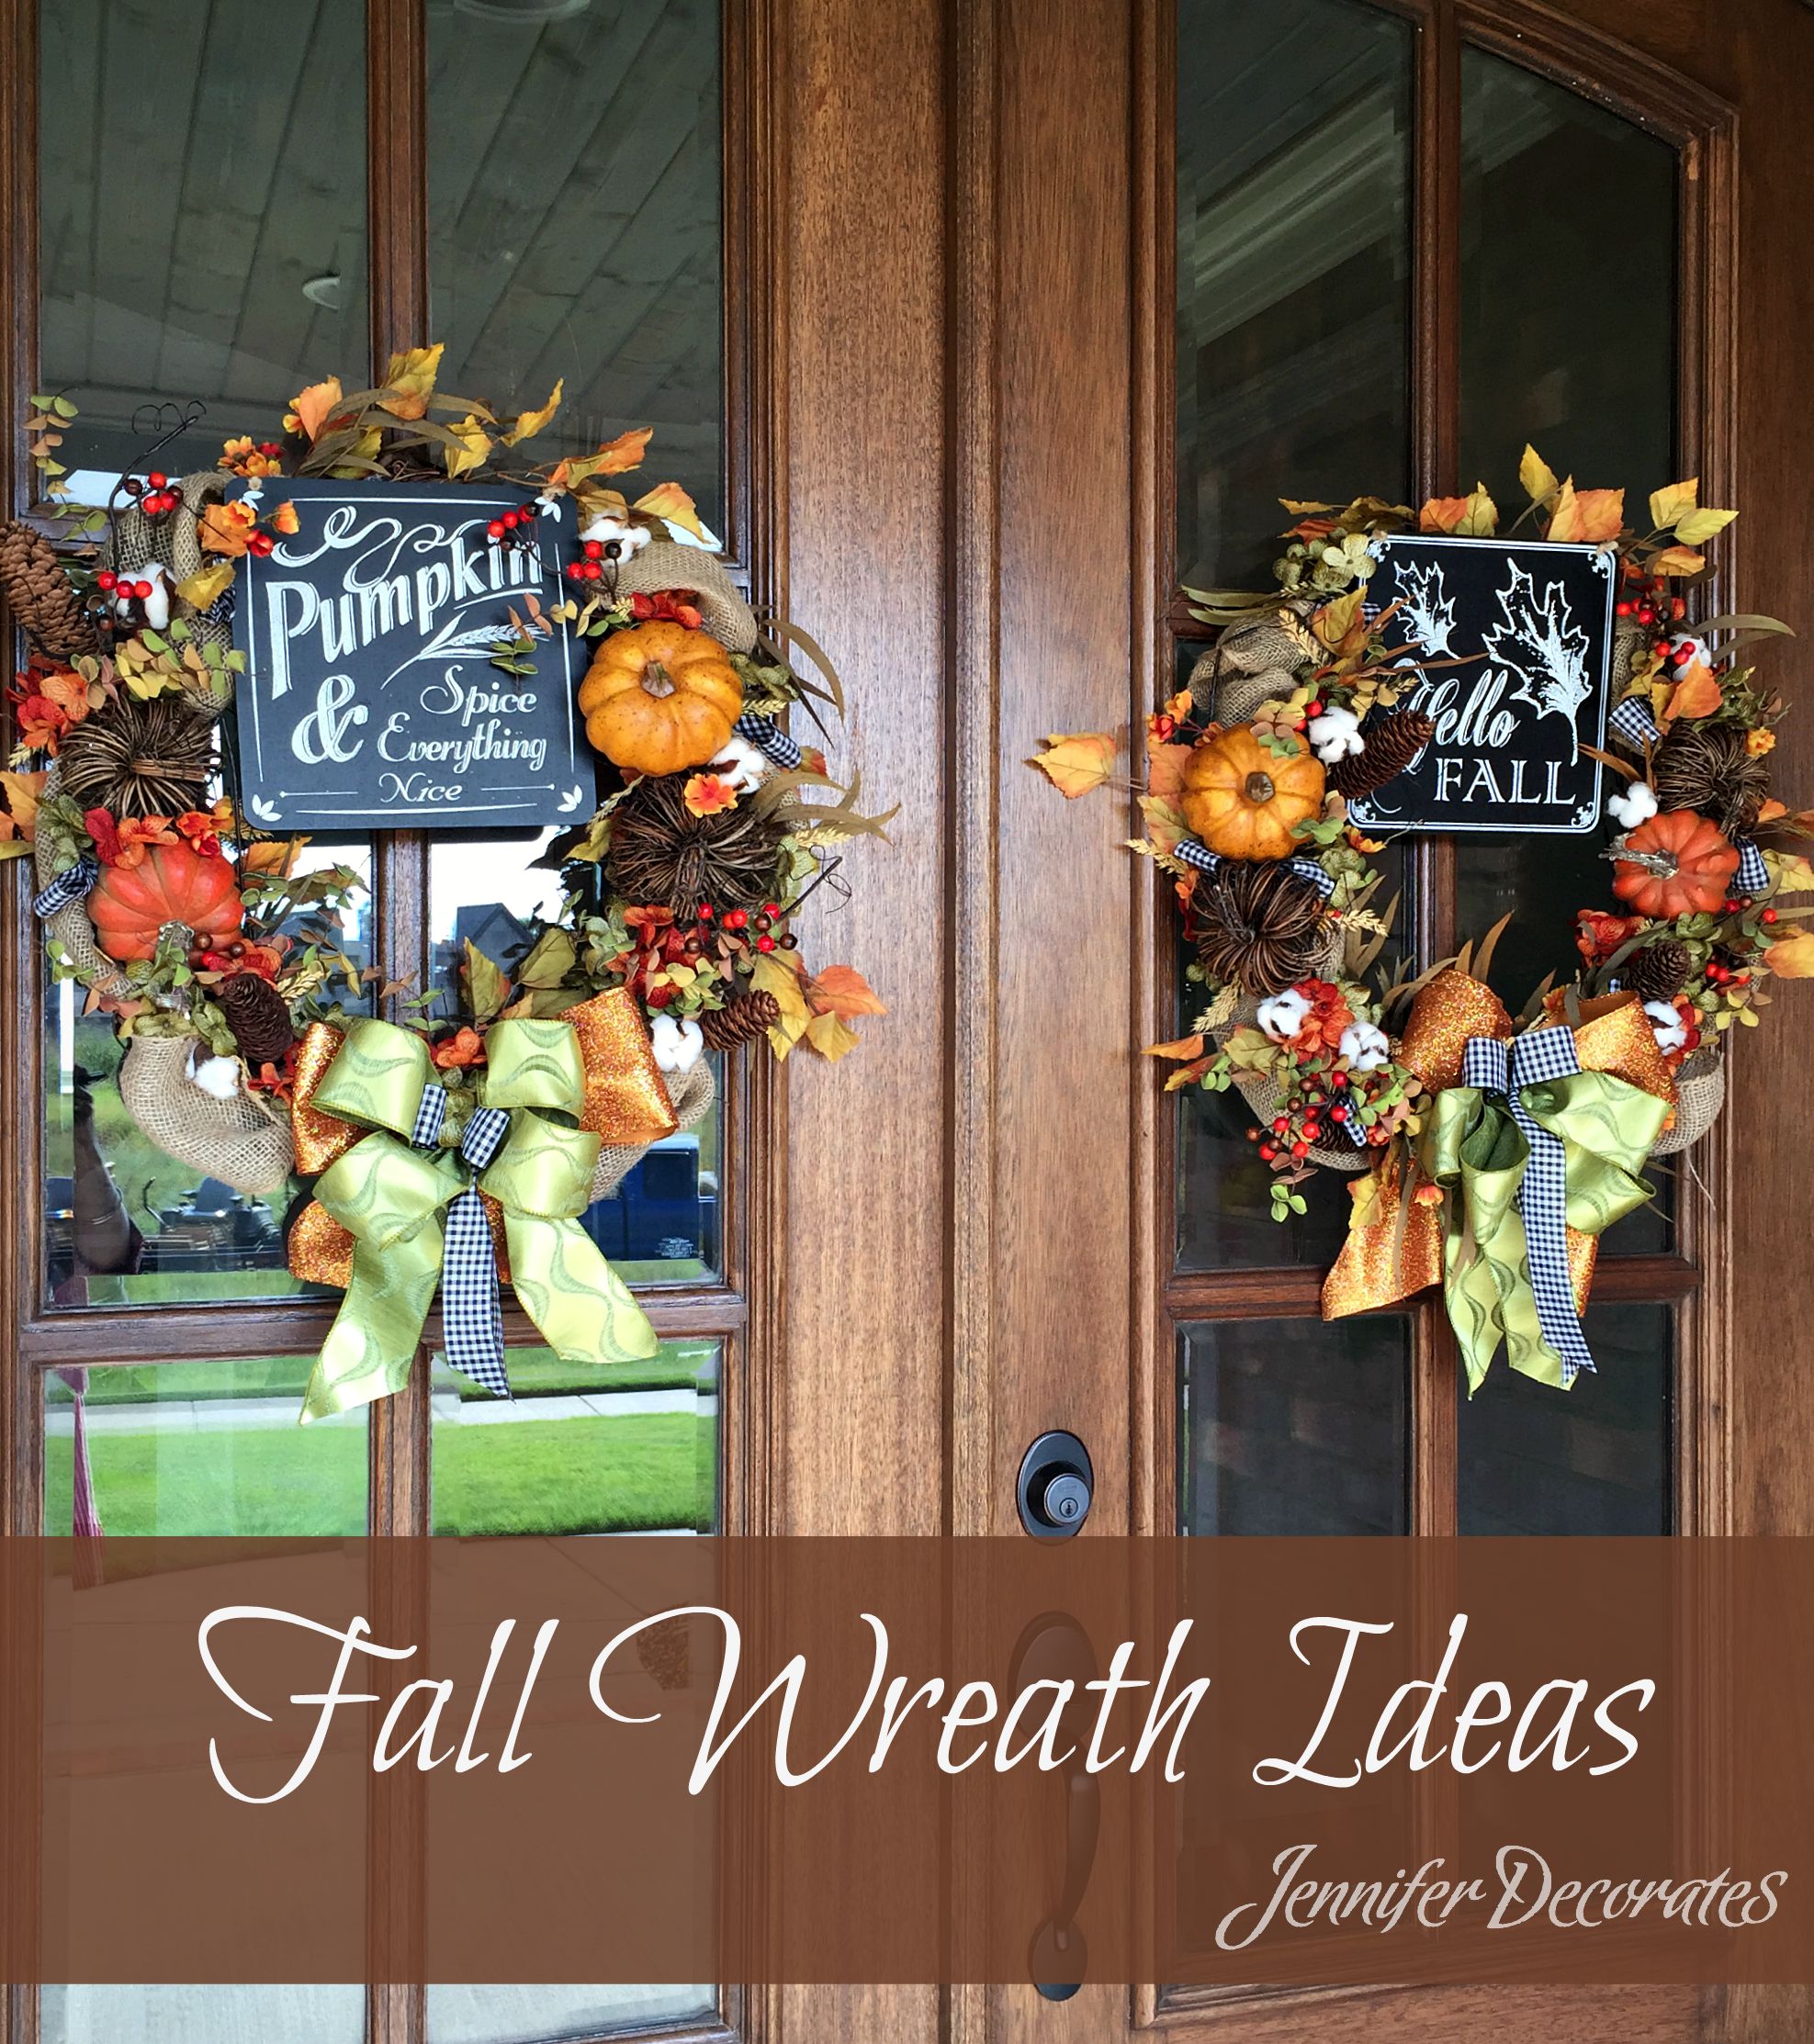
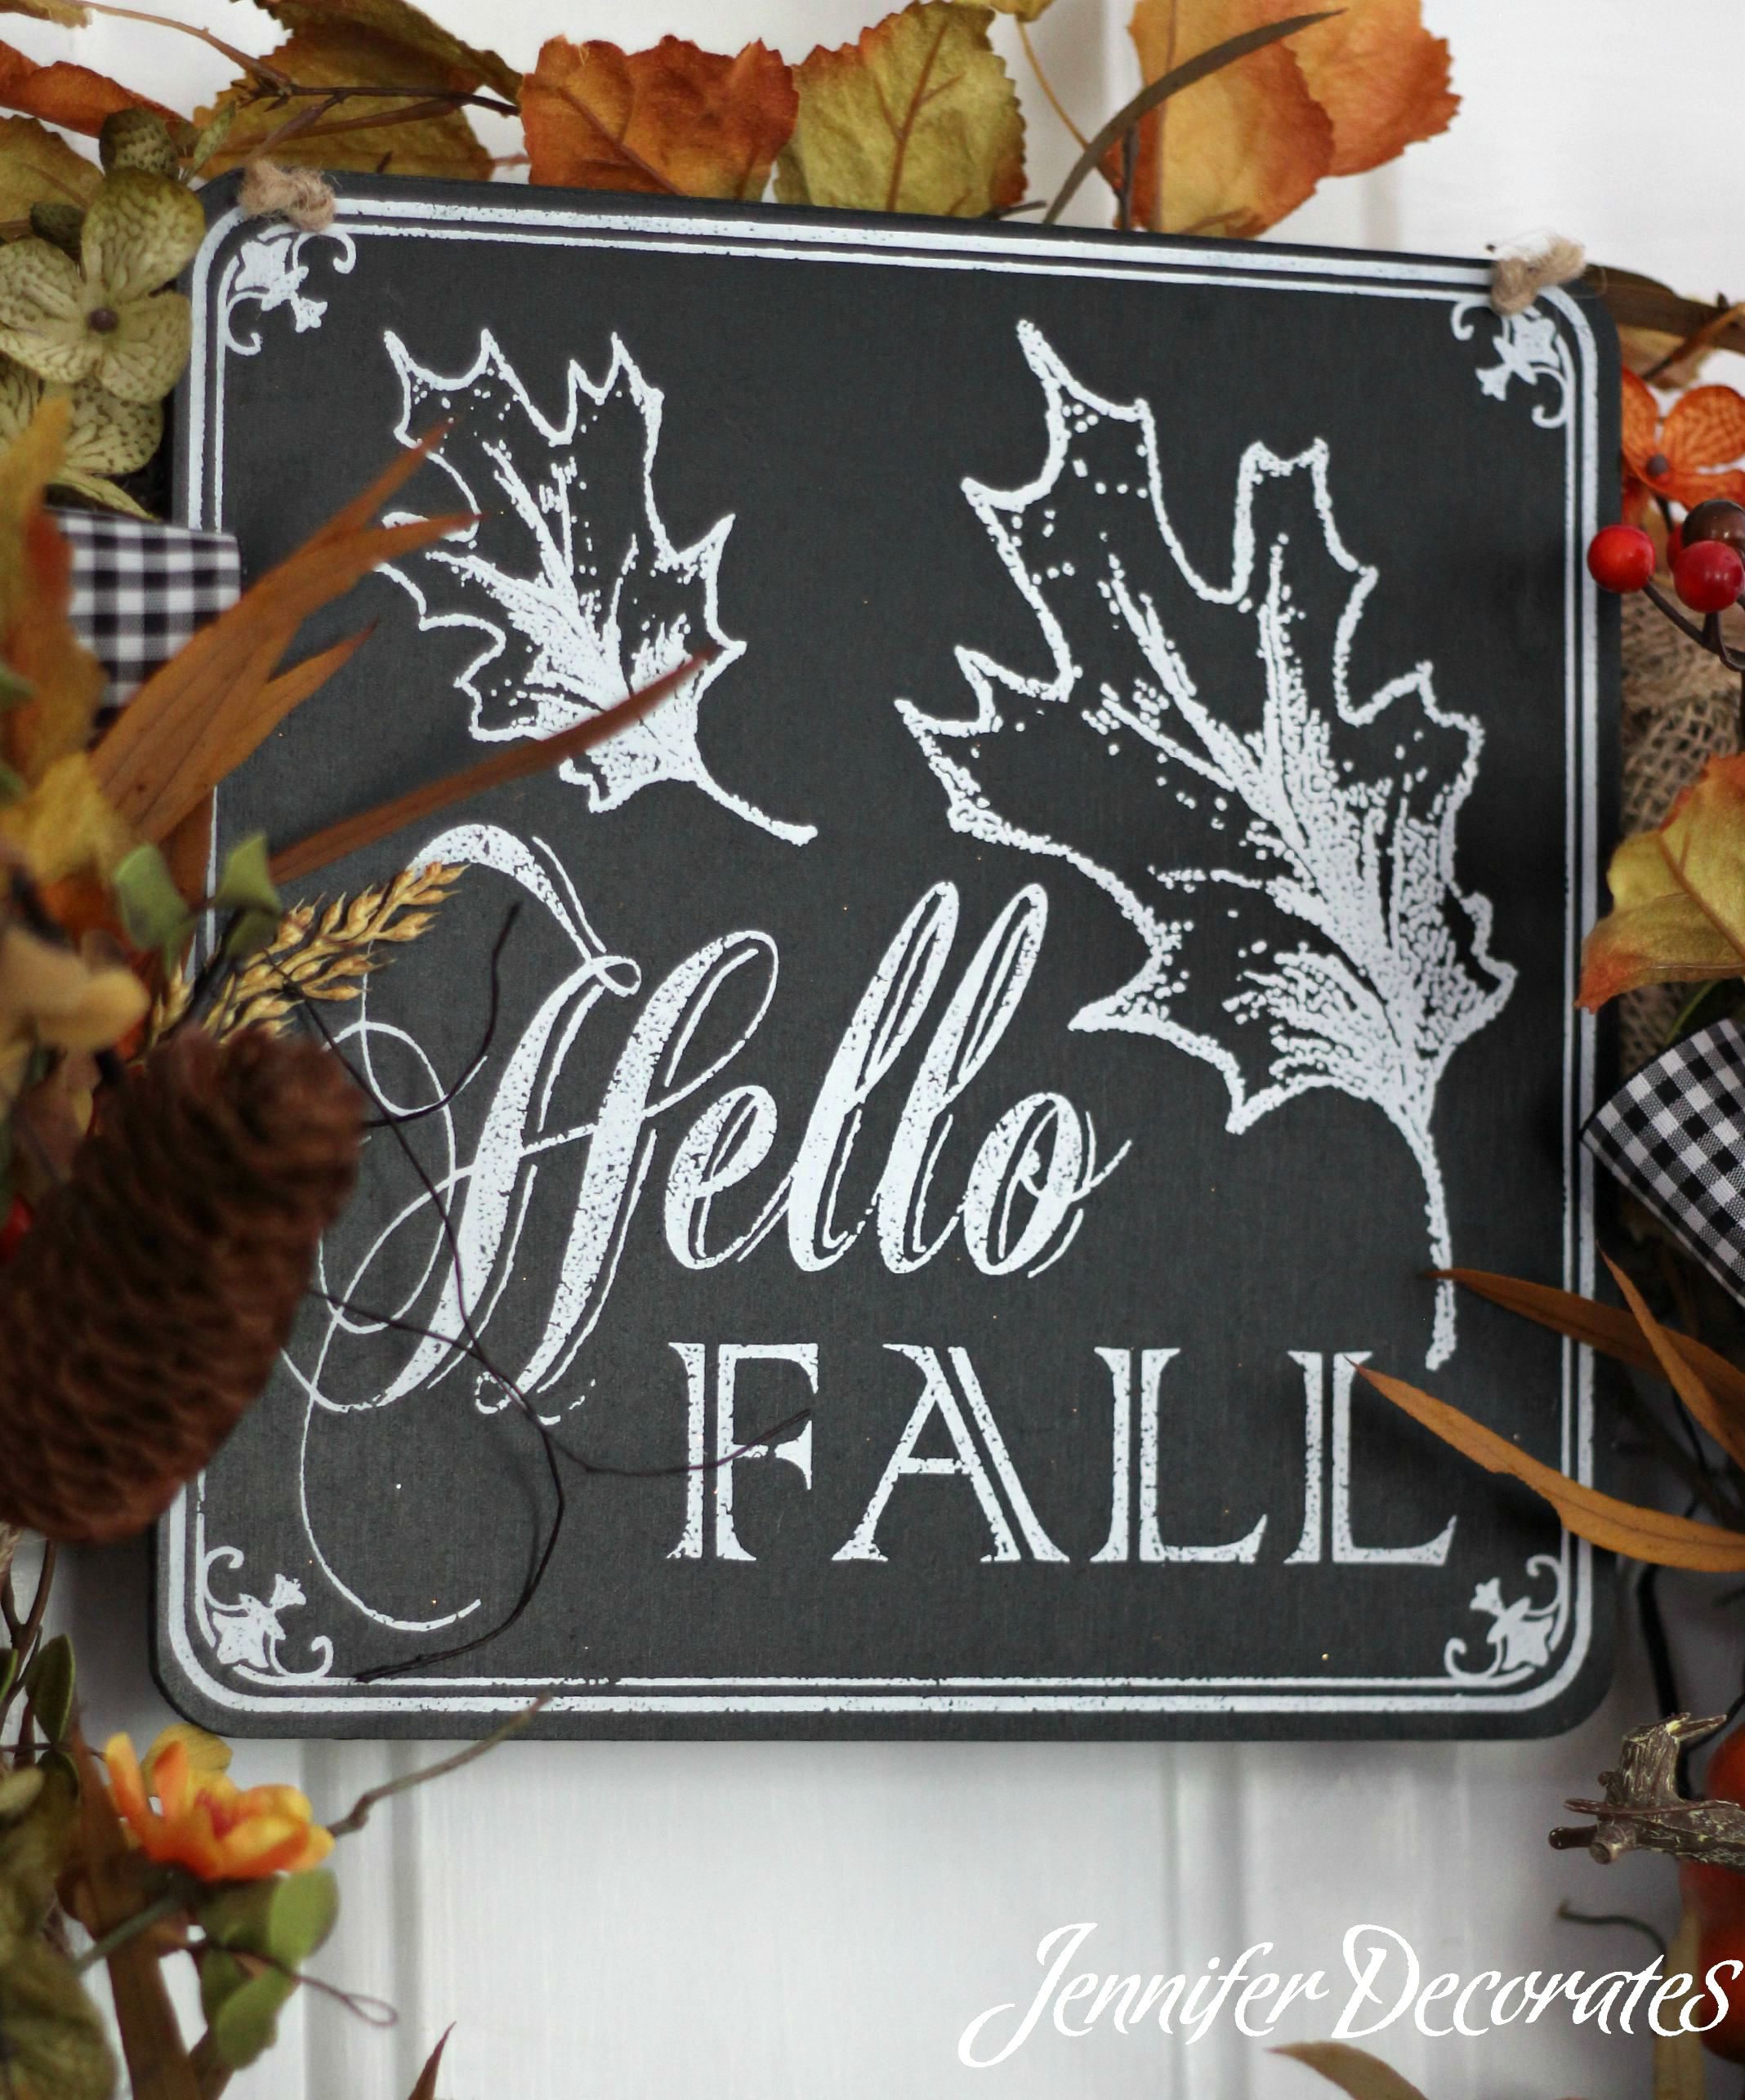 I found this neat chalkboard sign from Hobby Lobby! The green ribbon, and the black check ribbon is also from the “hoblob”, as my daughter calls it!
Have a double door? Make two fall wreaths!
Easy step-by-step instructions on making a wreath!
Learning how to make wreaths for fall is fun and easy. Nothing makes a home more inviting than front door wreaths. I love them! Below is an easy photo tutorial to help you create a fall wreath.
If you like to decorate on a budget, then be sure to buy your supplies on sale! I will show you all the different fall florals used to make this wreath. But, you can change things up, creating many different wreath designs. This tutorial will help you with the basic steps in making a wreath.
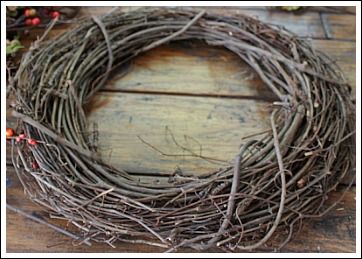
Start with a basic grapevine wreath. Choose a one that is slightly smaller than what you want your finished size to be. You want your florals to extend past the outline of the grapevine to create an airy and natural look.
Picking Some Picks
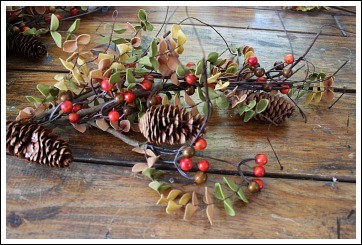
In most craft stores, you have fall picks, and fall floral stems. Floral stems are much longer, and usually look more natural than picks. Floral stems are the foundation of this wreath. Four stems will cover the entire wreath.
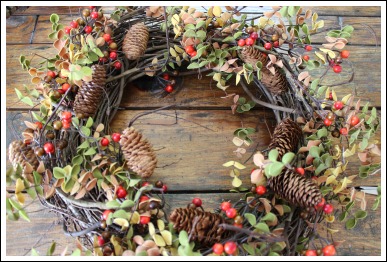
Trim your floral stem leaving about four inches of the wrapped wire. Use the wire to attach your stem to the wreath instead of hot glue. This will make it much more sturdy. Use a few of the smaller branches to attach the rest of the stem, wrapping them in and out of the grapevine.
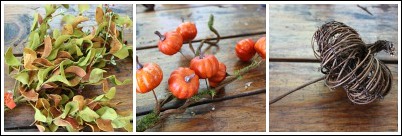
The basic principles in making a wreath are using larger floral decorations first, then medium, and last fill in with small items.
When making wreaths for fall, try to choose fall decorations that look very natural. It makes for a much more stunning wreath.
Grapevine Pumpkins…Love…
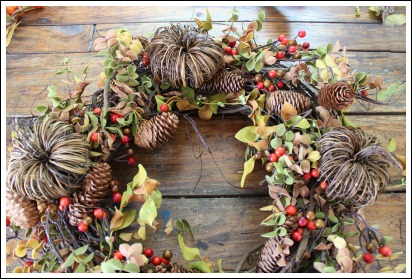
I love these grapevine pumpkins! I used them in a lot of my fall decorating ideas. They were actually picks, so again, attach by twisting the pick into the grapevine.
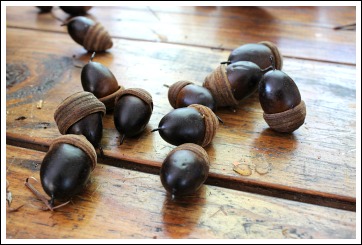
I was so excited to find a bag of acorns at the craft store. Nothing says fall like acorns!
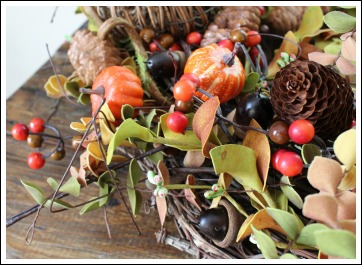
Glue your smaller items to fill in the empty spots on your wreath. Be sure to place them evenly around your wreath. Wired burlap ribbon is the best choice for this craft project! It is easy to work with and can be easily re-shaped after storage.
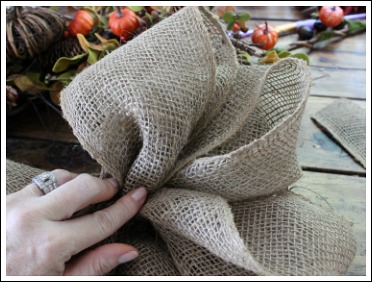
I like bows that have four loops instead of two. In order to find out how big to make your bow, make two loops and hold it up to the wreath to determine the right size.
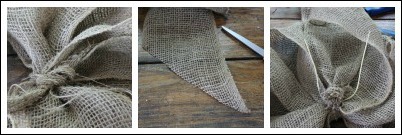
Cut a strip of burlap about 8″-9″ long, then cut in half. Make your bow and use the strip of burlap to tie around the middle of your bow. Cut your two tails at an angle. I like to use wire to attach my bow.
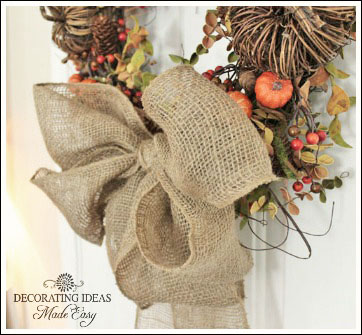
What a pretty burlap bow!
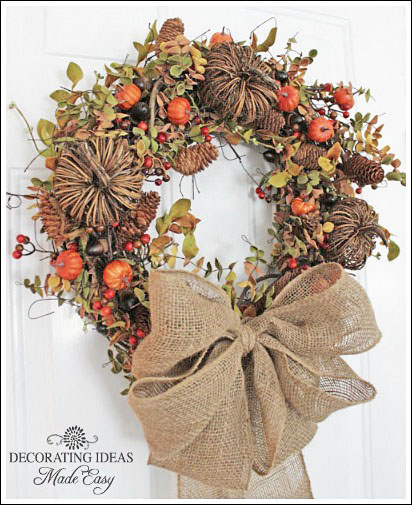
One of my favorite wreaths for Fall!
