I have a snow village lamp that I made using a fill-able glass lamp. I am participating in a holiday decorating challenge hosted by Hometalk and Lamps Plus.
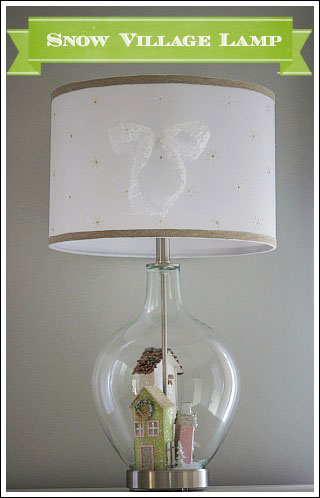
I made three little houses, called “Putz Houses”. That term was new to me, but it is basically miniature houses made from cardboard.
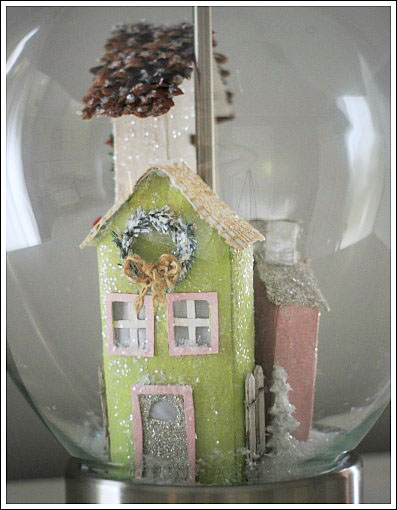
Now, before you feel like this is something you could not make, let me say that you most definitely can! If you can cut, glue, paint, and glitter, you’re in! Below are my three patterns I used to make these houses. Simply download them, and print them off!
Free Downloadable Patterns for Your Snow Village Lamp:
Large Snow Village House
Medium Snow Village House
Small Snow Village House
Ready to get started?
You will need an Exacto knife to cut out your pattern. I used cereal boxes for my houses. Perfect and cheap!
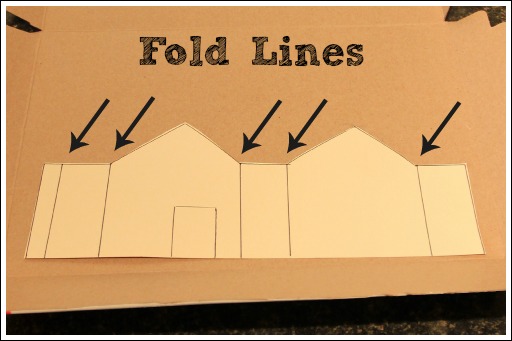
Trace your pattern, then mark the fold lines. Score these lines using the back of the Exacto knife blade. By scoring your cardboard it will make them fold perfectly.
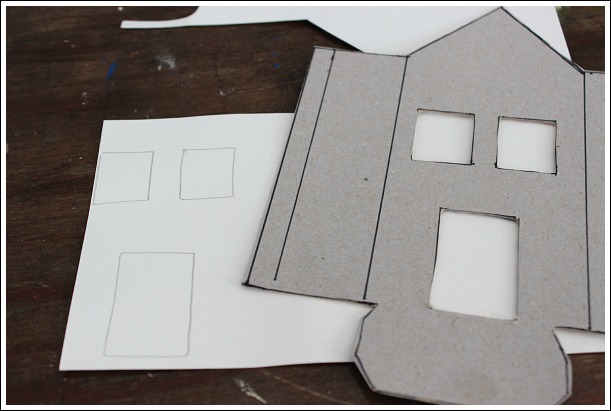
If you want to make borders around your windows and doors, simply trace them out on cardboard stock paper. Then cut out the patterns. Next, cut around the square leaving 1/4 of a inch.
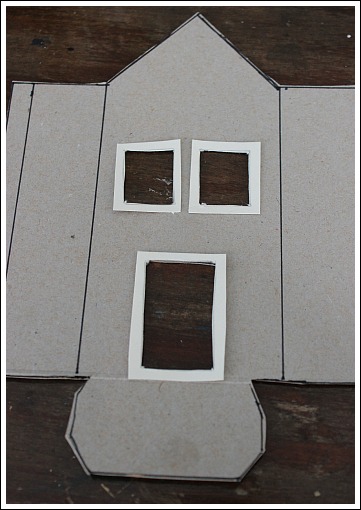
This is how they should fit around the openings. Don’t glue them on yet. You will attach them after you paint your house.
If you would like your windows to look frosted, cut out wax paper the size of your windows and glue them on the inside of the house.
Next, fold along your scored edges and glue your house together overlapping the edges.
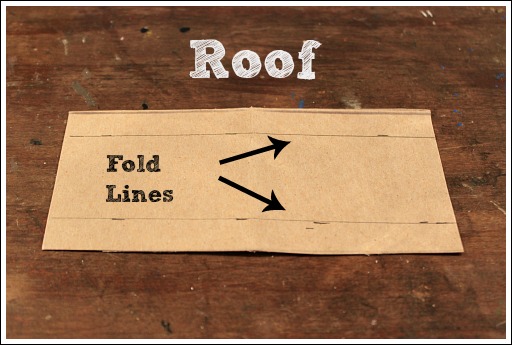
Once your house is glued together, measure out the size roof you will need, and make a pattern as pictured above. Leave the edge straight or cut the edges with craft scissors.
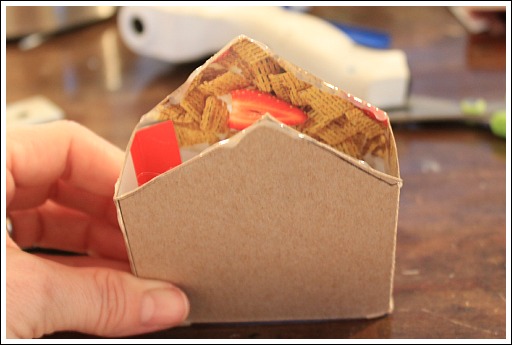
Add hot glue on the edges and attach your roof.
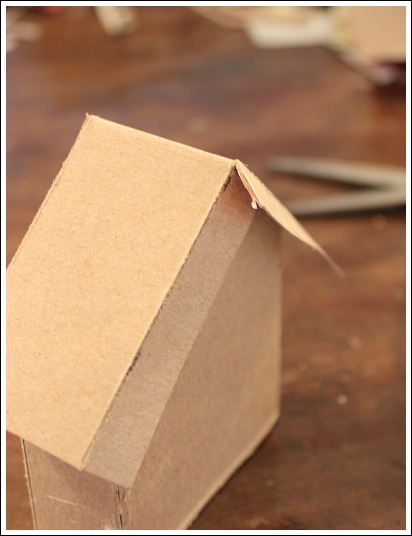
Cut a slit in the middle of your roof and glue together.
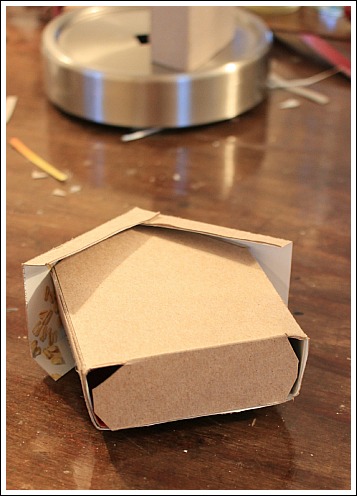
Fold the bottom piece of your house in, and glue in place.
Now for the really fun part!
Below are photos and ideas of how I decorated my Putz houses. Have some fun with this part of the project. Don’t feel things have to be perfect. It will turn out great!
TIP: If you make a cut wrong, or have a gap in your seams, use regular spackling paste from the home improvement store. It dries quick, and is paint-able.
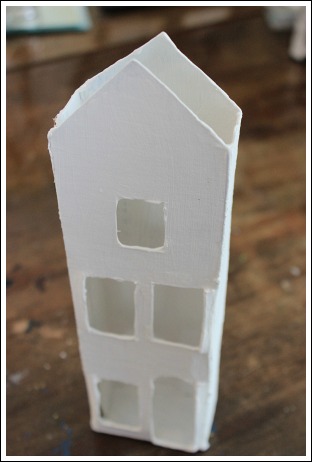
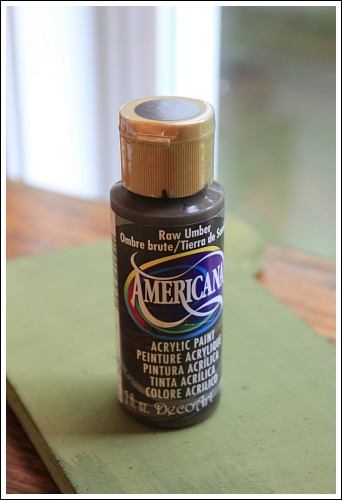
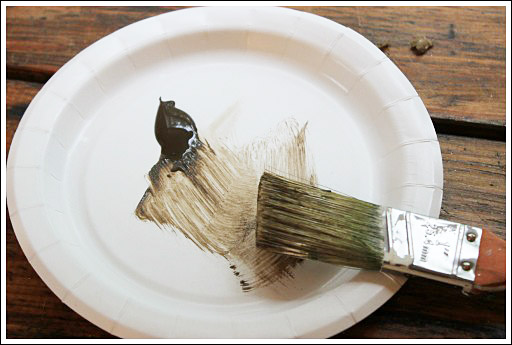
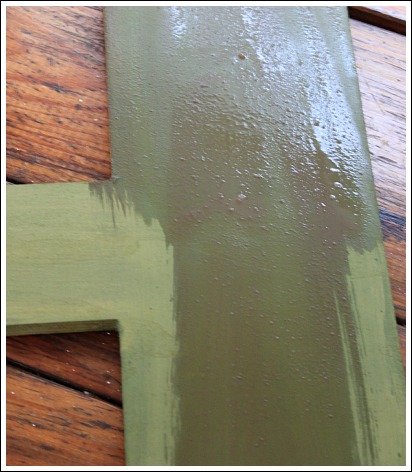
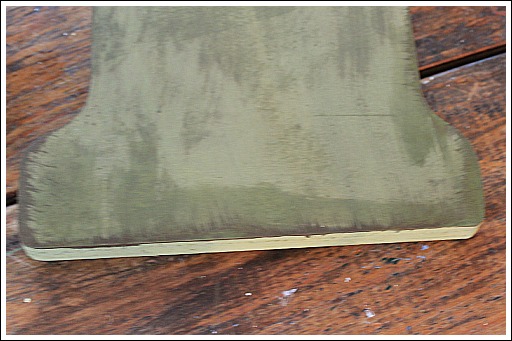
Use acrylic paints to paint your houses. Once you have painted them, you can paint your window and door borders, then apply them with Elmer’s glue.
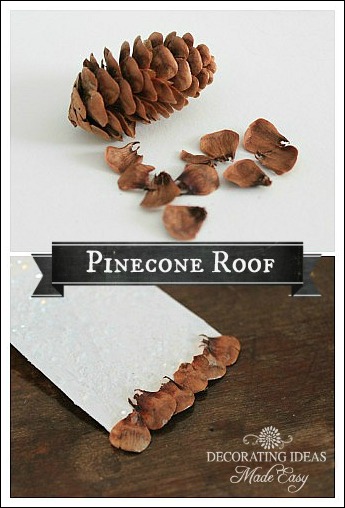
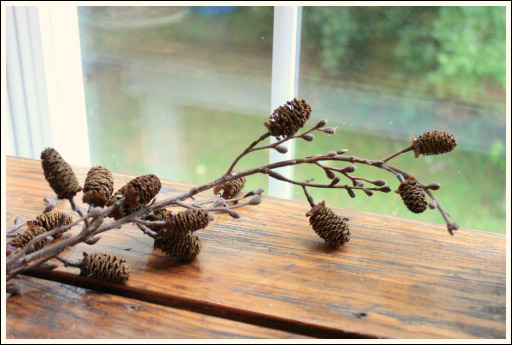
Break up a pine cone and use for shingles for your roof. Once the glue is dry, add some snow or glitter.
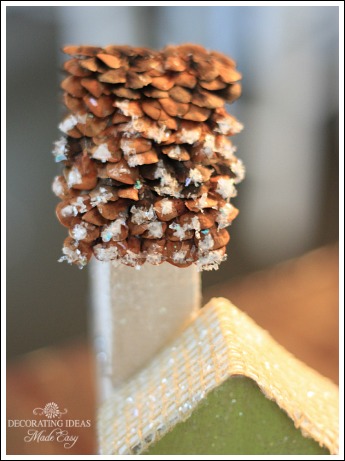
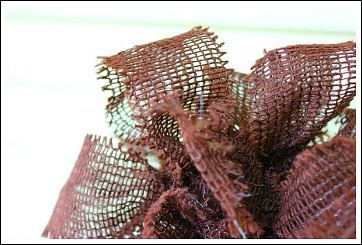
For the medium size Putz house, I used a strip of burlap ribbon for the roof.
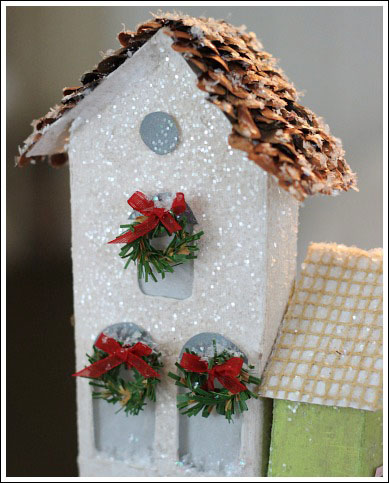
Add little Christmas wreaths to your windows.
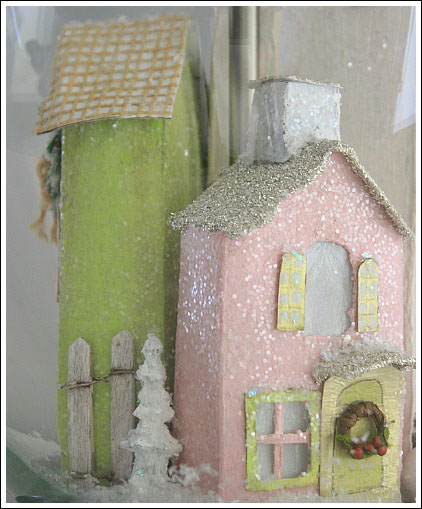
Cut out shapes to make shutters. Search the Christmas craft section of your local craft store, and you will find a ton of different ideas for your snow village lamp.
Putting it all together.
I glued the large house and medium house together with hot glue first. Then I hot glued them to the base of the lamp. Next, I glued the smallest house to the base. Add any small miniatures you have next. Gently place the glass lamp over your houses. Lastly, I lifted the glass base up just a little and pushed some fake snow around the bottom of the houses.
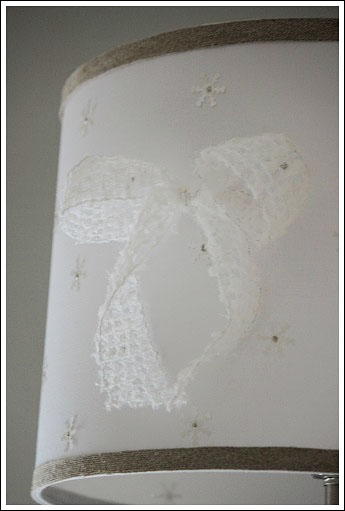
For the lampshade, I added some burlap trim around the top and bottom with hot glue. I found a bag of little snowflakes at the craft store and used Elmer’s glue to attach to the shade. And last, a simple white bow adorns the middle of the shade.
This is now a treasured keepsake. It has a beautiful view from all sides! I want to thank Hometalk and Lamps Plus for the opportunity to participate in such a fun challenge!
