Are you looking for silk flower centerpiece ideas? Would you like to know how to make silk flower arrangements cheap and affordable?
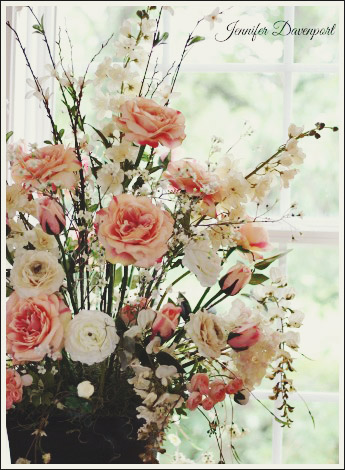
It may seem like making your own silk flower centerpiece is way too intimidating, but following these step-by-step instructions will make it seem easy.
This is one accessorizing idea that really makes a home inviting. Whether you use your floral arrangement for a dining room decorating idea for your table, or on top of one of your favorite furniture pieces!
Are you amazed at what some floral arrangements cost in certain upper class design stores? I know I am always taken back!
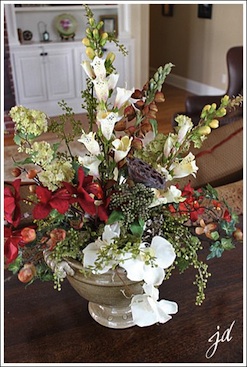
This red silk flower arrangement sits on my client’s sofa table. Her room needed a little splash of color, so red orchids in the silk flower centerpiece was just the right touch.
Floral Containers
When I am choosing my floral containers, I really like to find ones with unique character. I found this container at the flea market. It had a crack in it, but that was okay because it was in the back and didn’t show.
Okay, now time to make your own silk flower centerpiece. Remember, don’t be intimidated with making your own arrangement. It just takes a little practice!

This silk floral design is a perfect choice for your first arrangement!

Supply List
container
flowers
greenery
foam block
moss
wire cutters
Step 1
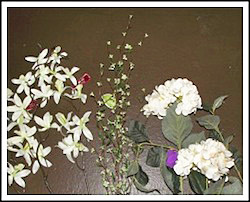
Choose flowers that are well-made, and look very real. Local craft stores carry very nice silk flowers, but you will have to hunt for the really beautiful ones. Call around; there are many home decor stores that sell individual silk flowers to the public. They will cost a little more, but they are worth it.
I like to choose three large flowers, three medium flowers, and some petite flowers to compliment the larger ones.
Step 2
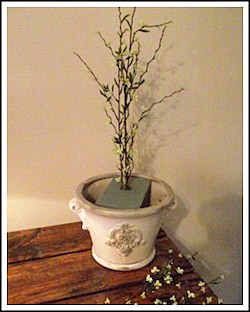
Place your foam block into your container. You may have to cut a little of the block off to fit. I use a dull knife. But, you don’t want a perfect fit. You want to be able to shove the block down into the container so it fits in firmly.
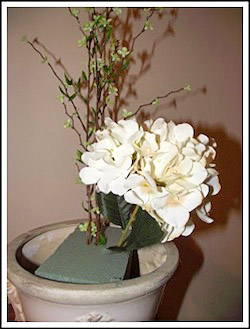
Then, I start with the tall straight flowers that resemble a blooming branch. I trim off two of the branches to use as fillers later. Place the flowering branch in the middle of the foam block just a little toward the back.
This becomes your starting point.
Step 3
For the next step, I use the larger flowers first. You will have to use your wire cutters to trim them down. Cut off most of the big green leaves; too many tend to clutter the arrangement.
Step 4
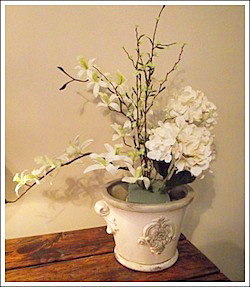
Next I start to use the medium size flowers. The ones I have chosen have a longer and pliable stem. Bend them in a slight curve.
Step 5
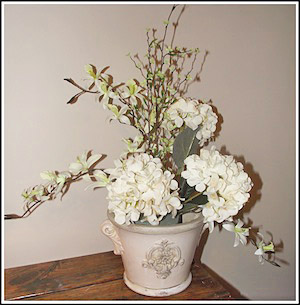
Now, finish placing the rest of the white flowers. Again, use three larger flowers, and three medium flowers.
Step 6
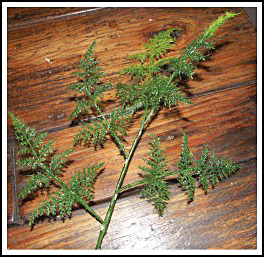
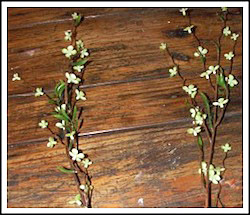
When choosing greenery that I call “fillers”, try to pick ones that resemble the real thing. Stay away from the plastic ones. Again, use three of the fillers putting one in the front, and two on the sides.
Then I use the leftover smaller branches to fill in the open spaces.
Step 7
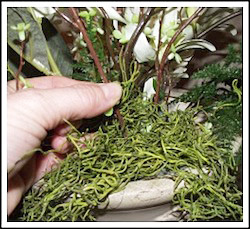
Now it is time to fill in with the colored spanish moss. You can also use other types of moss. One of my favorites is called “deer foot” moss. It looks like the moss you would find growing in the woods. It’s gorgeous.
Break off pieces of the spanish moss (it gets really messy!) and begin to work around the outside of your container. Push the moss down into your arrangement. Here’s a little trick I like to do to secure the moss: pull out a floral stem and place the moss there, and then push the floral stem back into the same spot.
Use smaller pieces of moss to fill in the center of the arrangement.
