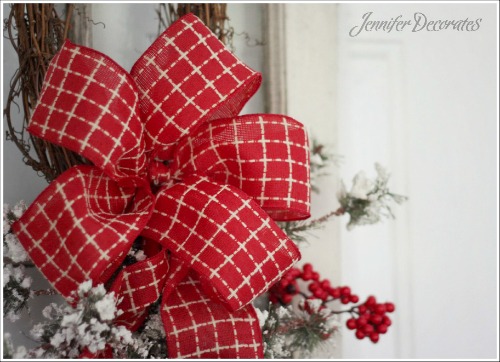
Do you wish you could make a Christmas bow like you see in all the decorating stores? Well, you can! A beautifully crafted bow really does make all the difference when decorating for the holidays.
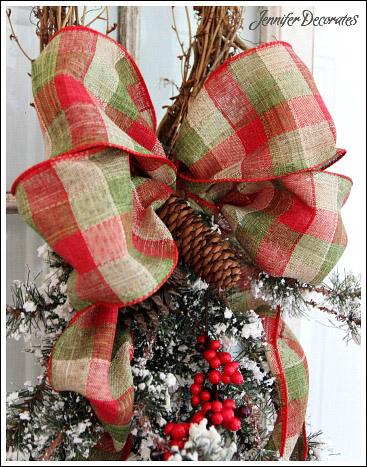
TIP: Remember to buy your ribbon early in the season. I find that it is all picked over weeks before Christmas! Shop early!
I am a huge fan of wired ribbon. First, it is easy to work with, and second, it stores year after year. If it gets a little smashed, you just re-shape it!
If you would rather watch a video of how I make a Christmas bow, the video is below. Or, you can read through my easy step-by-step tutorial that is right below the video.
Video of How to Make a Bow
Christmas Bow Step-by-Step Instructions
Step 1
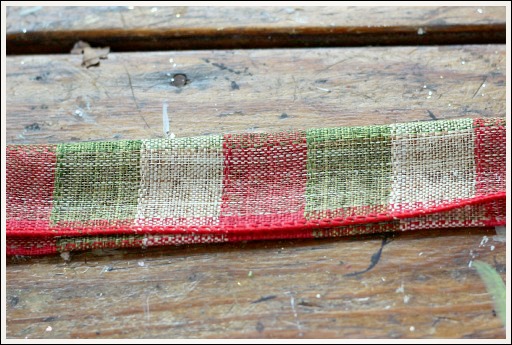
Cut a piece of the ribbon about 7″ to 8″. Next, fold the ribbon in half. I usually apply a little hot glue to keep the ribbon folded. You will use this scrap piece for tying the middle knot.
Step 2
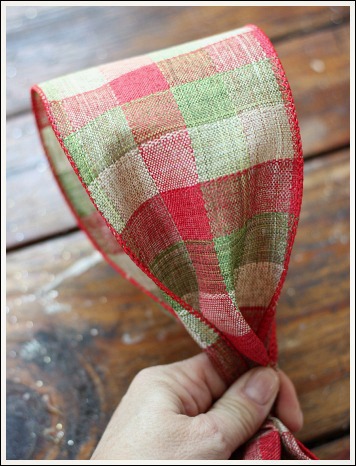
Make your first loop, leaving excess ribbon for the tail.
The key to making a beautiful bow, is keeping all your loops the same size. Your first loop is your pattern. Decide how large you would like to have your bow, and make your first loop like pictured.
Step 3
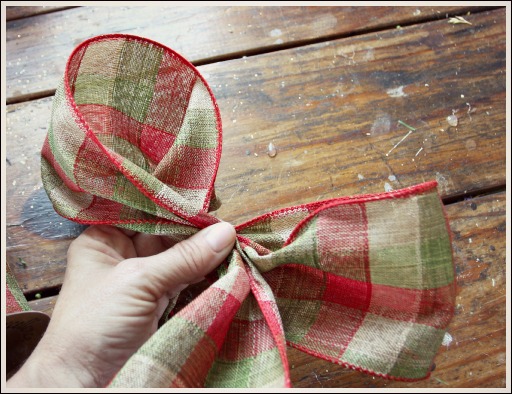
Next, make another loop opposite of your first loop and hold tightly in the middle. Again, you want to make sure your loops are all the same size.
Step 4
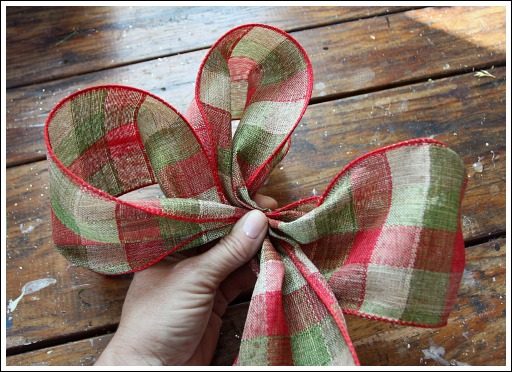
Make your third loop on the side of the first loop, scrunching up the middle of the bow tightly.
Step 5
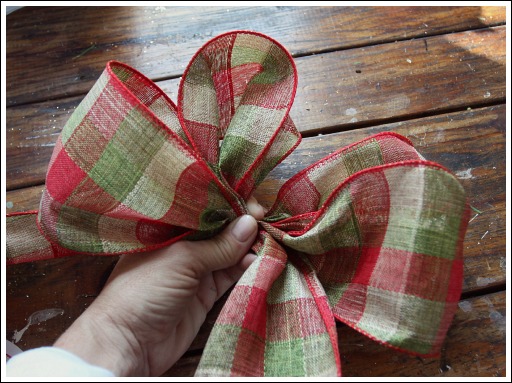
Now make your fourth loop on the right side. How do your loops look? Are they all the same size? If not, now is the time to adjust them.
Step 6
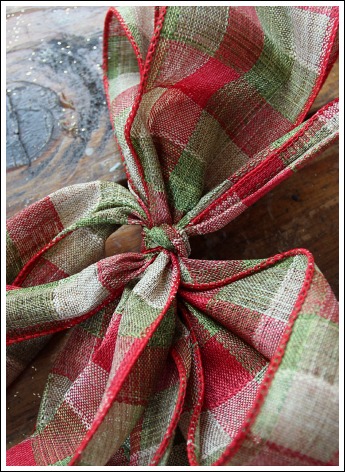
Using the scrap ribbon you cut, tie the middle of your bow very tightly. Tying the middle tightly is important to making your bow beautiful. The excess ribbon makes it easy to attach your bow to any Christmas decoration.
Beautiful!
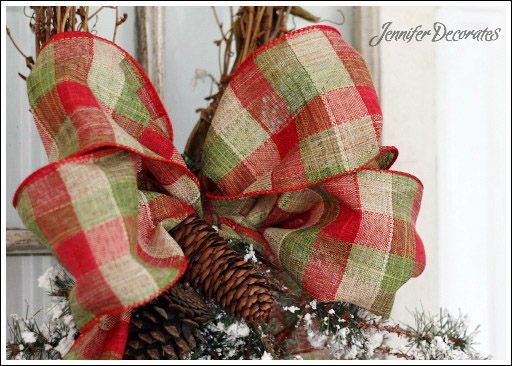
Throw in am extra loop for a fuller bow!
