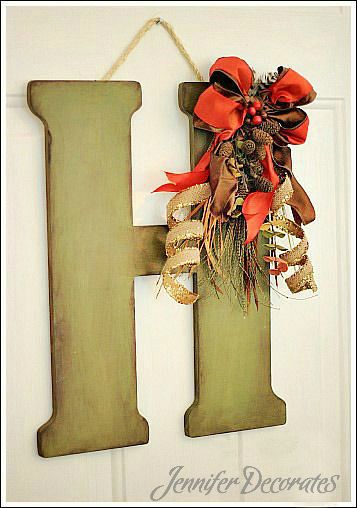
Check out this wooden letter decorated with fall decorations!
You are going to love this fall door decor idea. I love anything monogrammed. When I found these large wooden letters at Hobby Lobby, it was time for a craft project! And nothing is more fun to me than coming up with new fall decorating ideas!
If you are looking for a door decoration other than a fall wreath this year, this is an easy craft idea for adults! Make one for someone special, or keep it for yourself! Let’s get started crafting!
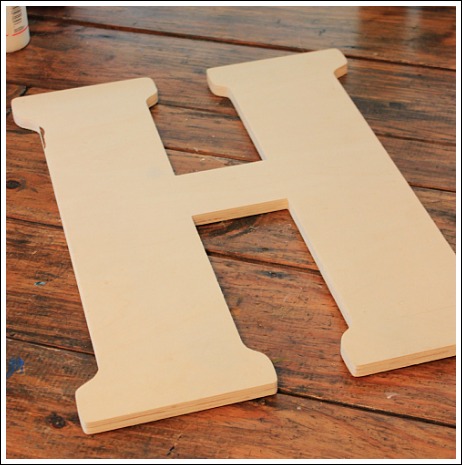
I purchased one of the larger letters, but you can downsize this craft project with a smaller letter. But, for me, what is that saying? “Go big or go home”.
Give your letter two coats of acrylic paint. I used the color “Hunter Green”.
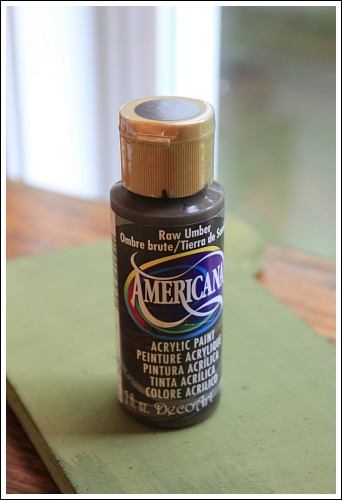
I love to antique things after I have painted them. There is a trick to getting it right, however. You want to make your project look naturally aged.
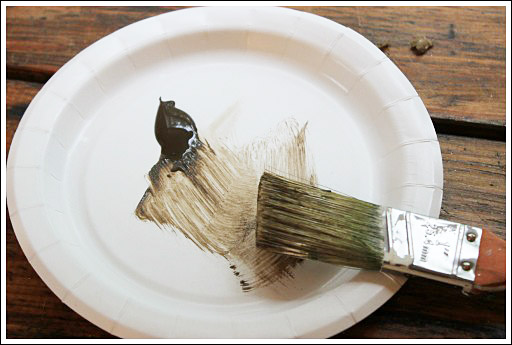
I use a small paper plate and place a small amount of the Raw Umber on the side. Next, pour a quarter size amount of water onto the plate. Wet your brush, and then mix the paint and water.
Before you begin, wet a small rag and ring out most of the water. This is what you will use to wipe off excess paint.
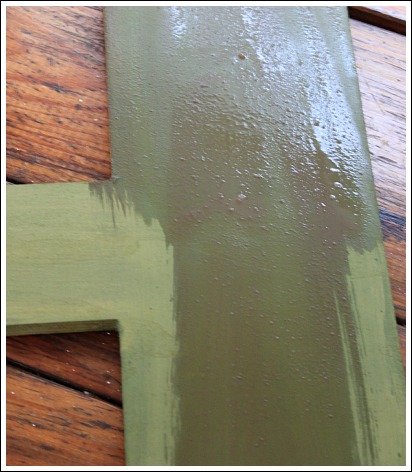
Begin brushing on your antiquing color, brushing in the same direction. If you have too much color in one spot, gently remove with your wet rag. Once you are finished doing this over the entire letter, let it dry completely.
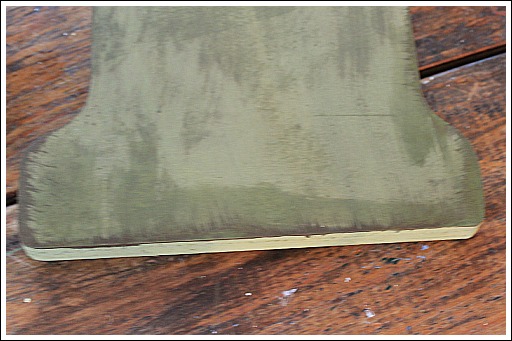
Here is the trick to making your faux antiquing finish look authentic and beautiful: ( I am sorry for the blurry photo)
Pour a small amount of the Raw Umber onto a plate. Do not water down the paint. Dip your brush into the paint and brush onto the sides of your letter. Next, take your wet rag and gently go back and forth blending it. Continue all around the edges of your letter.
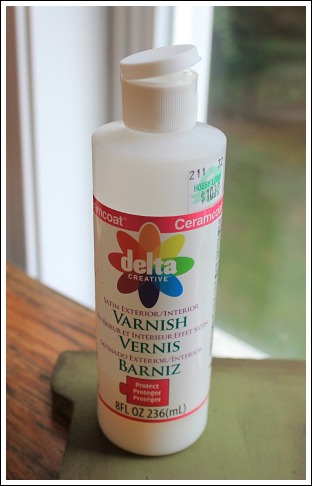
Your last step is to apply two coats of varnish. I love using Delta craft varnish because it dries so quickly. This part of the painting project is my favorite. Watch how the color comes alive when you add varnish!
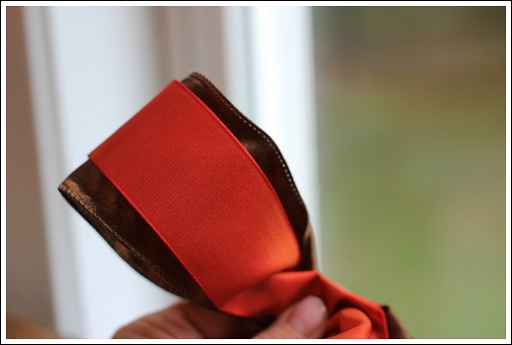
I am a nut for a pretty bow! For this fall door decor idea I chose a beautiful satin brown ribbon, and a burnt orange thinner ribbon. Lay your smaller ribbon over the larger ribbon and make a loop.
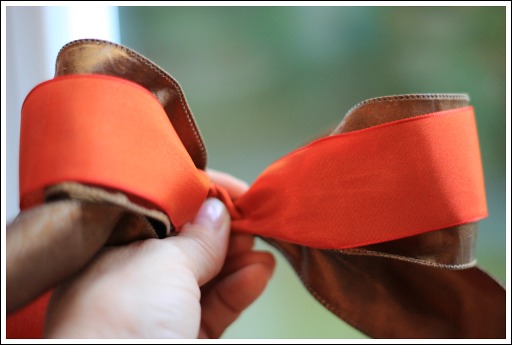
Again, lay your smaller ribbon over the larger one and make another loop. The trick to a pretty bow is keeping your loops all the same size. Make two more loops and tie in the middle.
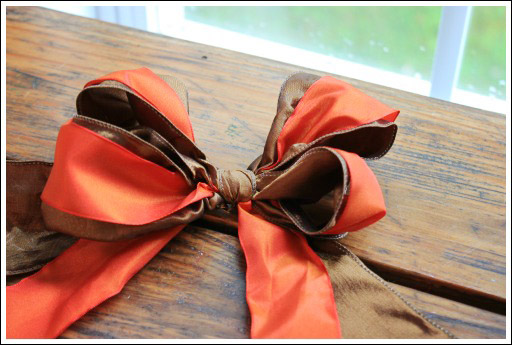
When you tie your ribbon in the middle, tie it very tight.
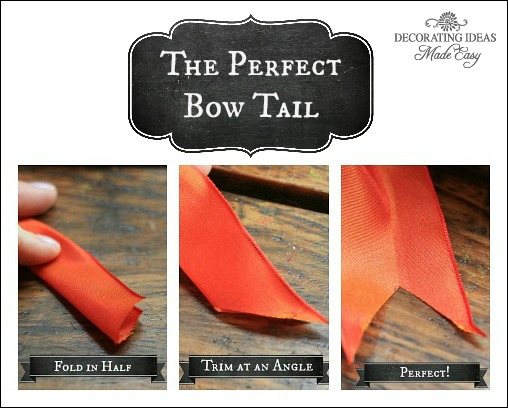
Finish your bow by trimming the tails.
Now the fun part…
Time to put your fall door decor project together. Pick some fun fall florals that you love, and heat up the glue gun!
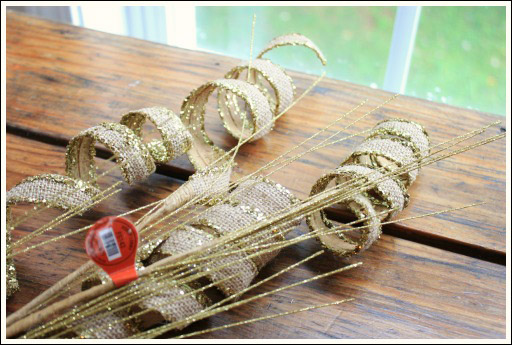
Burlap and glitter! Seriously, what more could a girl want?
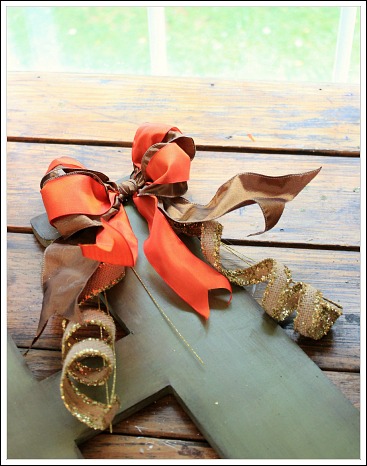
Glue your bow on first. Trim two small stems of the burlap, add hot glue, and place under your bow.
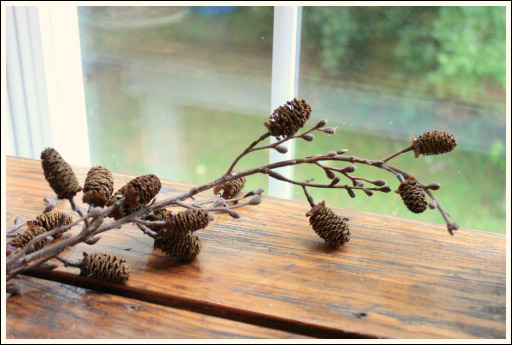
Pine cones on a stem! Now you are talking! Trim a few stems and glue onto your letter.
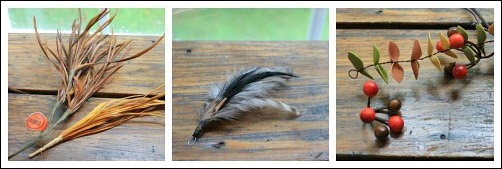
Now all you need to add is a few smaller pieces that I call the “fillers”.
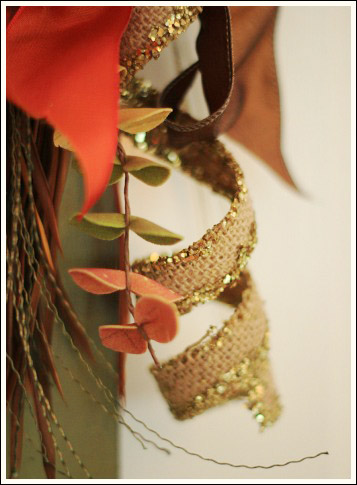
Be careful not to overdo it on the fillers. Keep it light and airy.
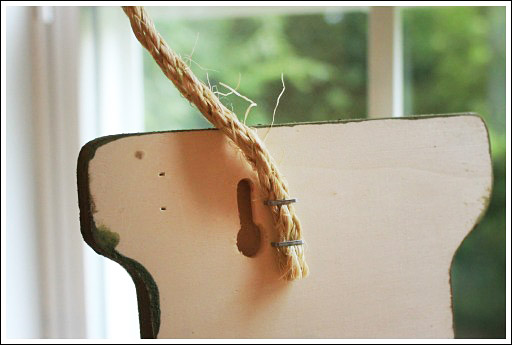
Cut a small piece of jute rope and staple to the back of your letter for hanging.
