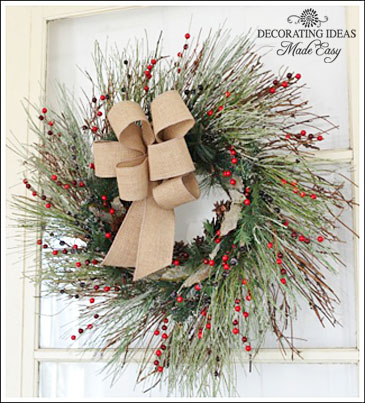
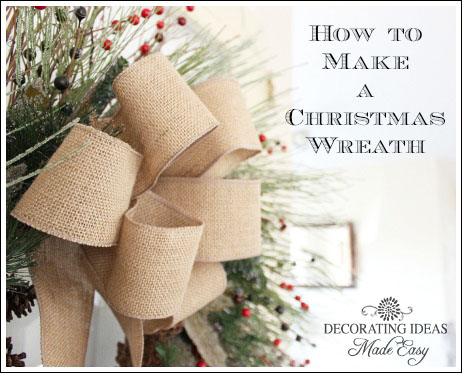
Ready to Make a Fabulous Wreath?
Here are some Christmas wreath decorating ideas to help you make a beautiful wreath for the holidays. Whether you want to make a traditional wreath, or a fun and whimsical wreath, you have stopped by the right place!
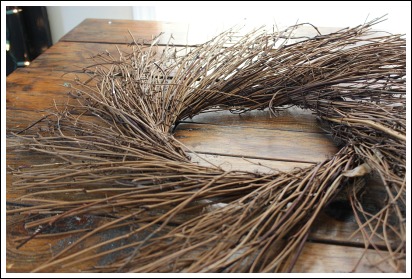
This is a twig wreath. You will find it located in the same aisle as the grapevine wreaths.
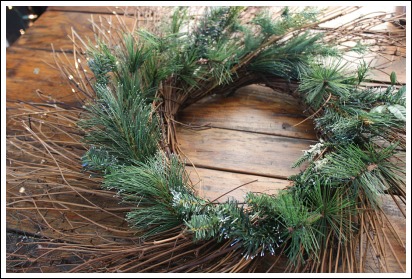
Take your Christmas greenery sprigs, and cut off some small branches. Hot glue them around the middle of your twig wreath like shown.
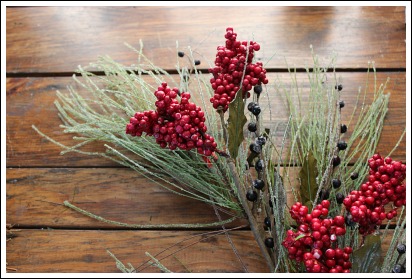
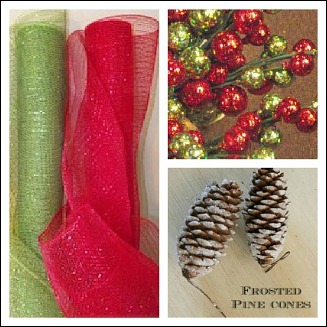
I love this floral, but I did not use the red berries. What I liked about this floral stem was the frosted pine sprigs.
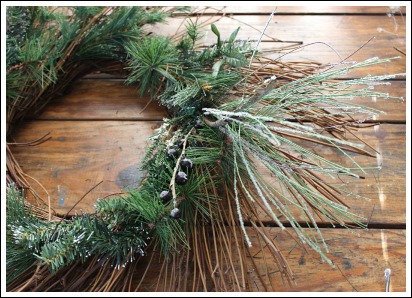
Trim the floral stems into smaller pieces and hot glue them under the darker greenery that you just added. It is okay if it sticks out longer than the twig wreath.
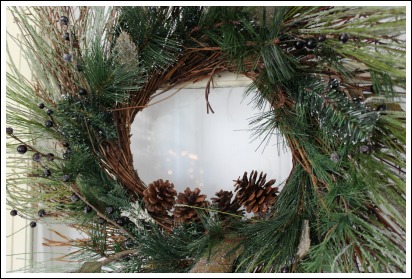
Next, hot glue some small pine cones in the center of your wreath.
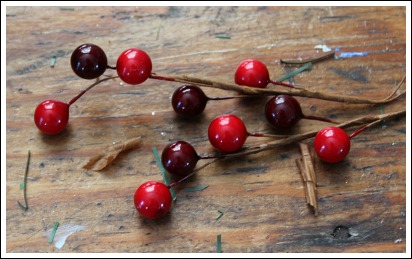
Now you are ready to add the little red berries. Pull them apart, and glue them sparsely onto your wreath.
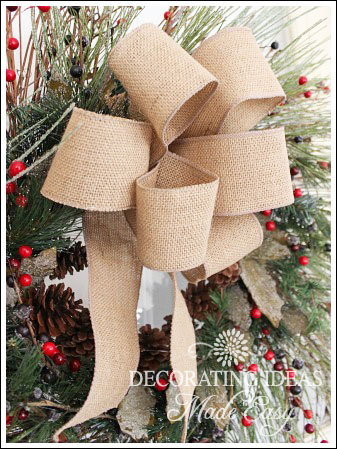
To finish off your wreath, make a burlap bow and tie it onto the top of your wreath. Make sure to cut your bow tails at an angle. Beautiful!
More Christmas Wreath Decorating Ideas
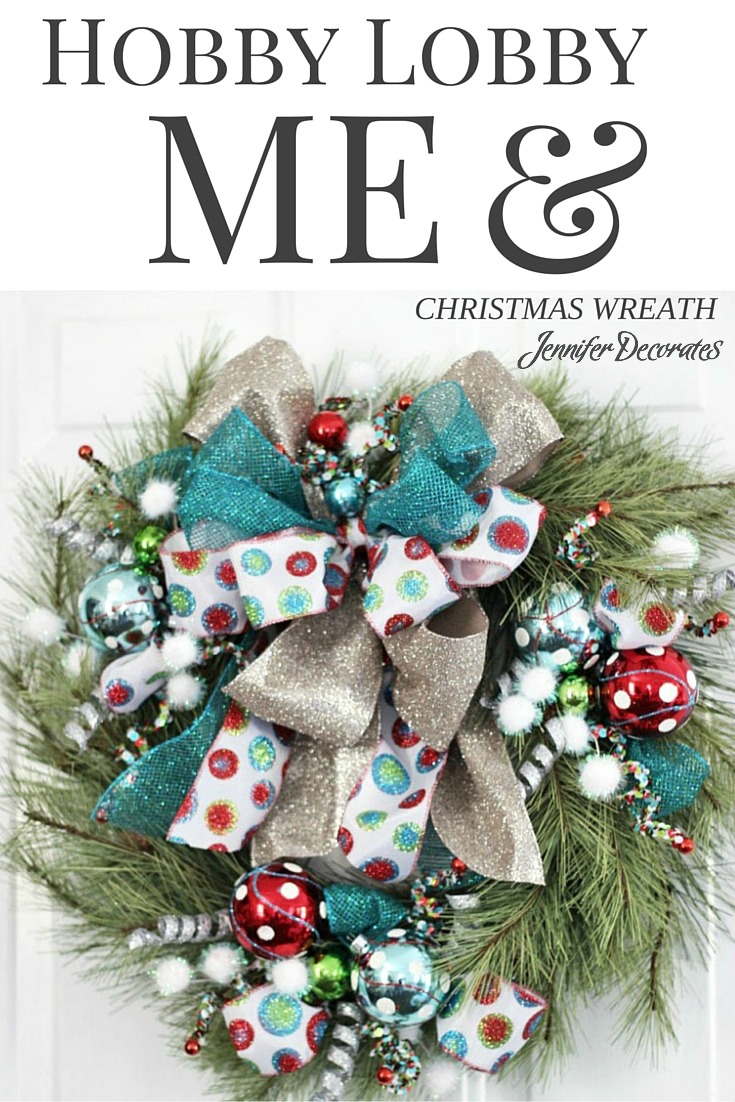
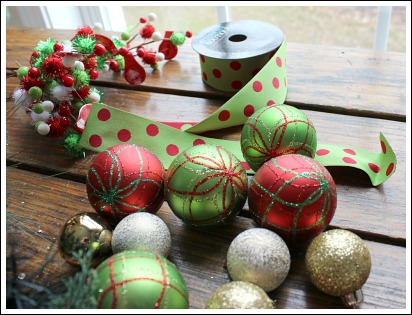
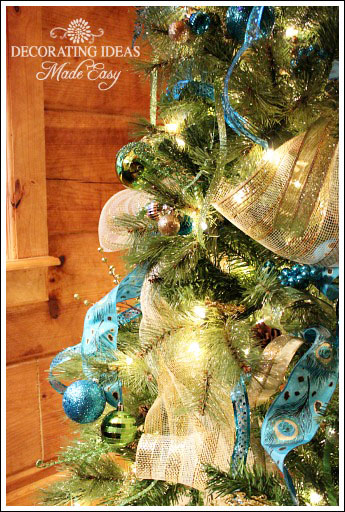
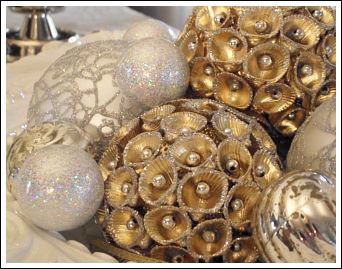
These colors may not be your tradition holiday colors, but they just make me smile! All of the ornaments are shatter-proof.
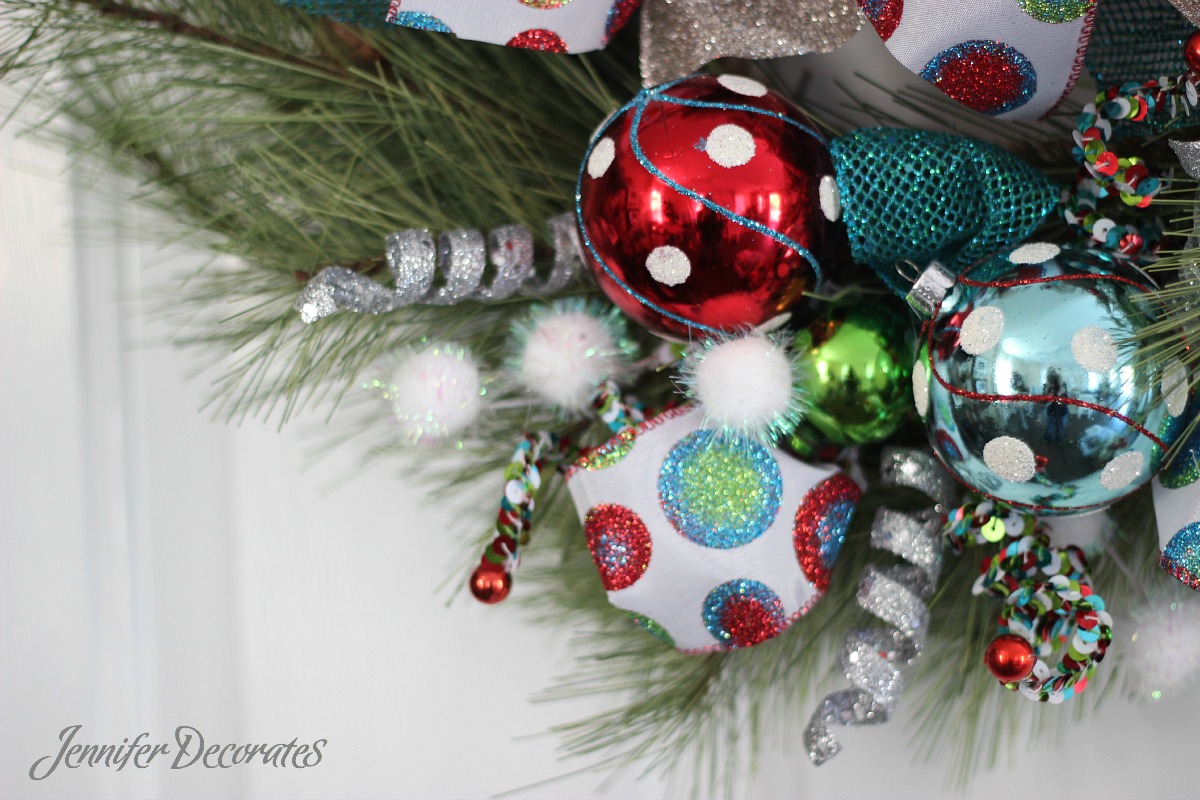 I found ribbon with all the right colors. I added pretty picks around the shatter proof ornaments. A glue gun is a girl’s best friend.
Whimsical Wreath Make Me Happy!
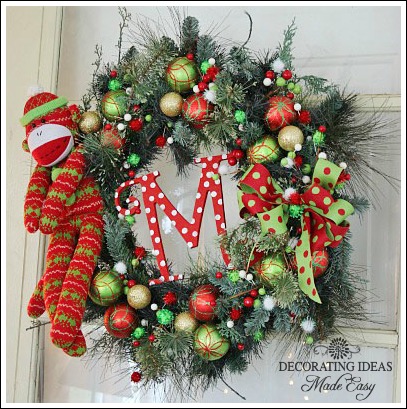
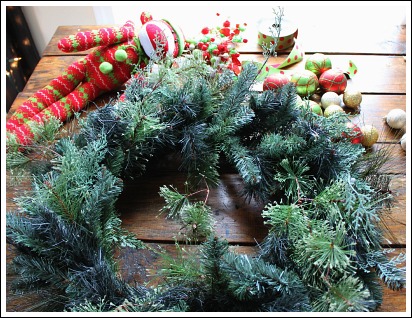
To make this wreath, you will need a sock monkey, colored ornaments, matching ribbon, colorful sprigs, and a unfinished wood letter you can paint.
Make sure all of your wreath accessories go together. Keep the colors similar.
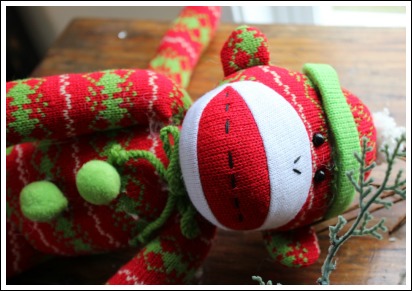
Attach your sock monkey with thin floral wire. Attach him in more than one spot on his little body to hold him secure to the wreath. I attached my little monkey at the neck, and waist. No animals were harmed during this procedure.
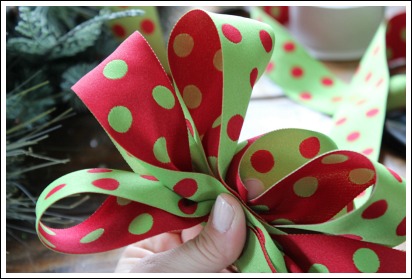
This ribbon is so fun! I love how it looks great on both sides! Make a simple loop bow for your wreath.
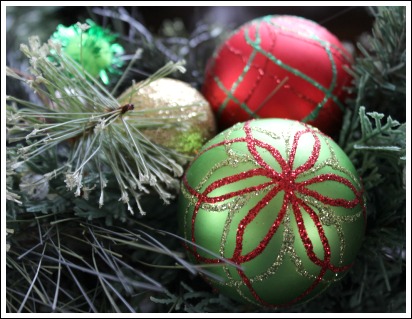
Using hot glue gun add your ornaments in sets of three.
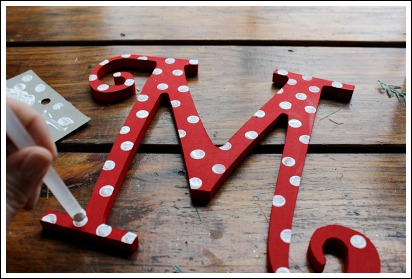
For even more whimsy and character, I add a painted wood letter. I painted it red with acrylic paint. To make a perfect circle dip a pencil eraser or a small hot glue stick into the paint, then dab onto your letter.
Just a touch of elegance…

This wreath too absolutely NO TIME to make! Promise. Check out the video below and learn how I made this wreath in under 30 minutes.


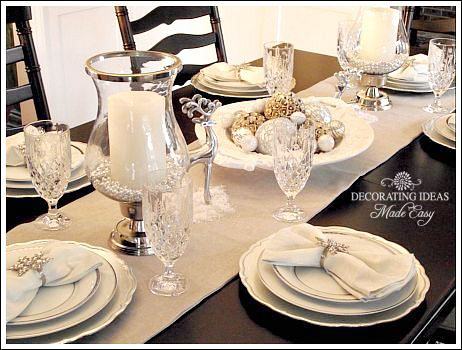


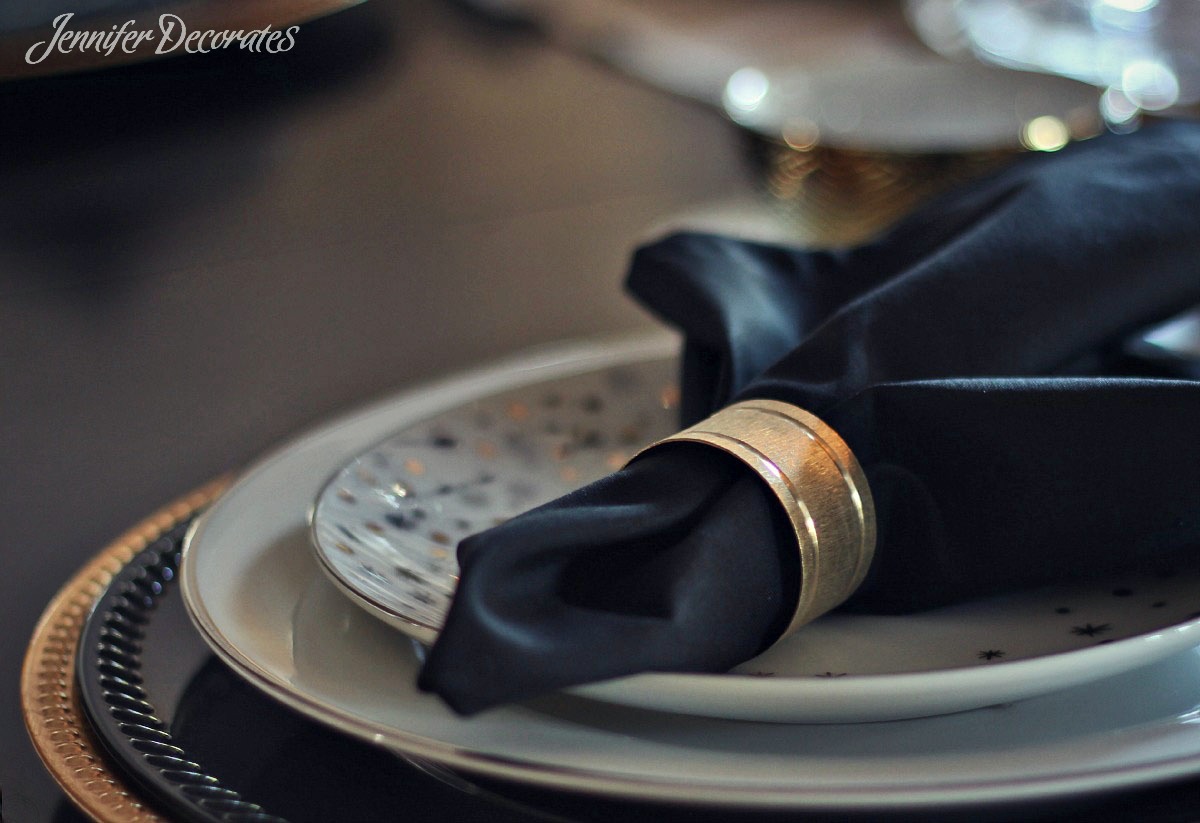 Black napkins found at Wal-Mart were paired with gold napkin rings from Target. An easy way to place a napkin into a napkin ring is by placing the napkin flat on the table, pinch it in the middle, then pull through the napkin ring.
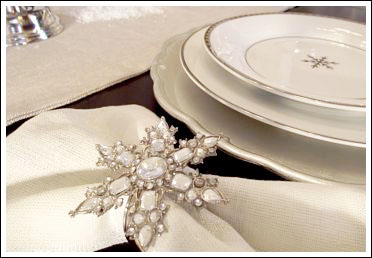
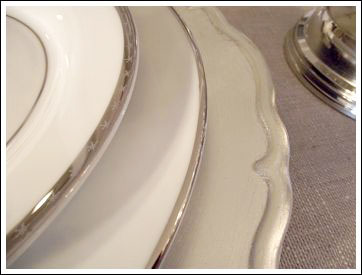
 I already had the gold plate chargers, and found the black plate chargers from Hobby Lobby. Since the black chargers were smaller, it looked perfect on top of the larger gold chargers. Next, I added silver lined white dinner plates, and salad plates with gold and silver stars from Wal-Mart.
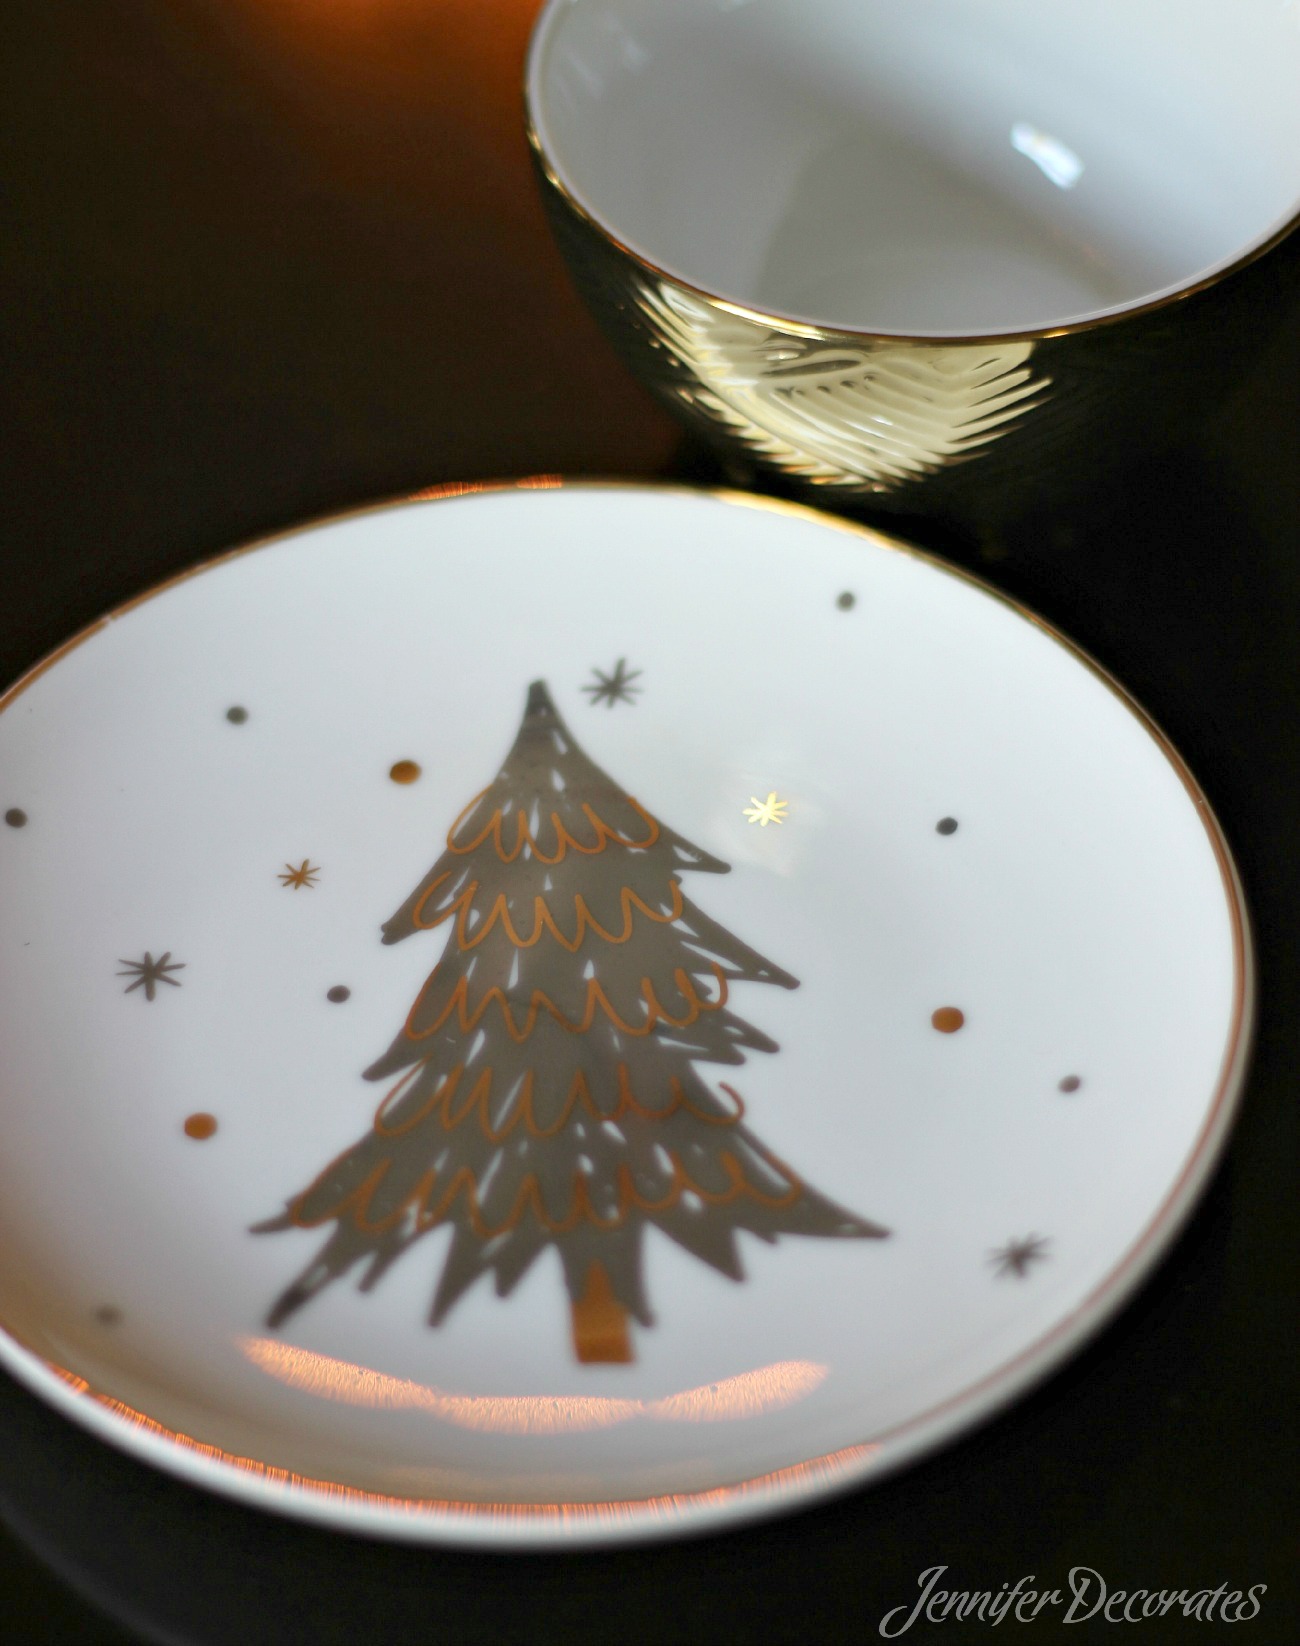 Here is the perfect marriage; these beautiful Christmas tree plates are from Wal-Mart, and the small gold bowls are from Target.
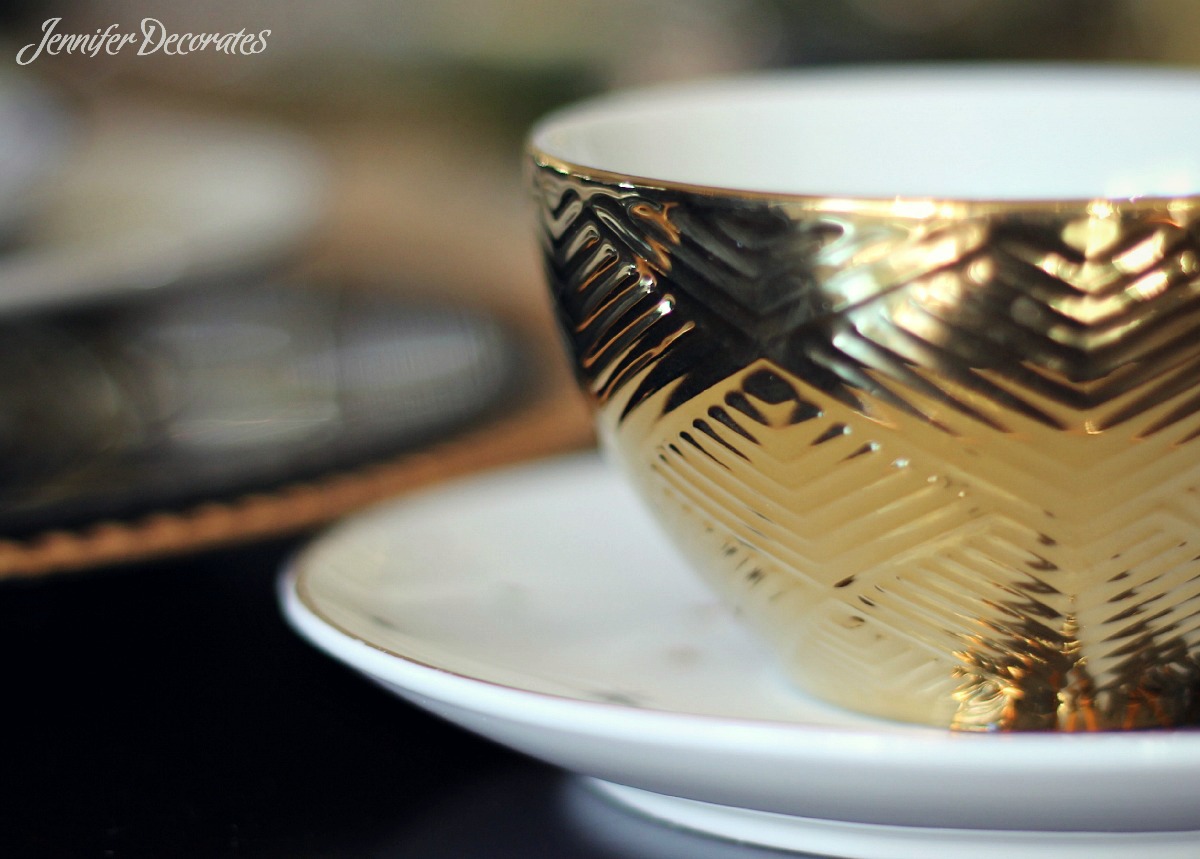 These two dishes were made for each other!
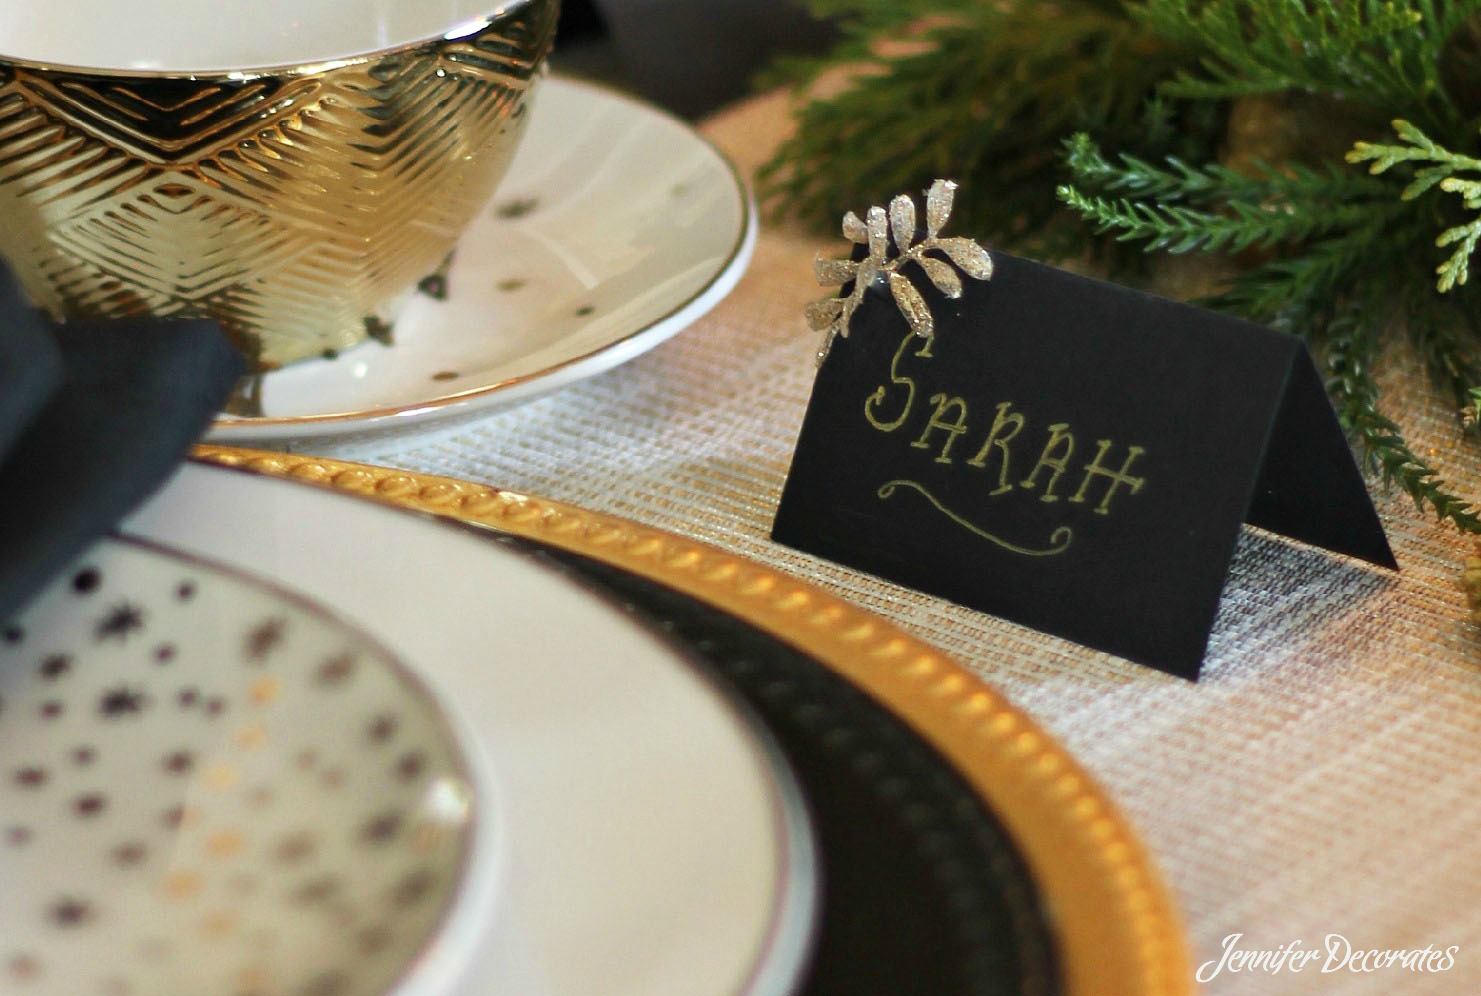 I love making my own place cards. And, when having a dinner party, having place cards for guests makes things much easier when it comes time for seating everyone. I used black card stock, and wrote the names with a gold pen. Next, gold leaves were hot glued onto the top left corner of the place card for added elegance.
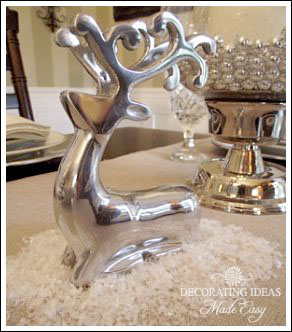
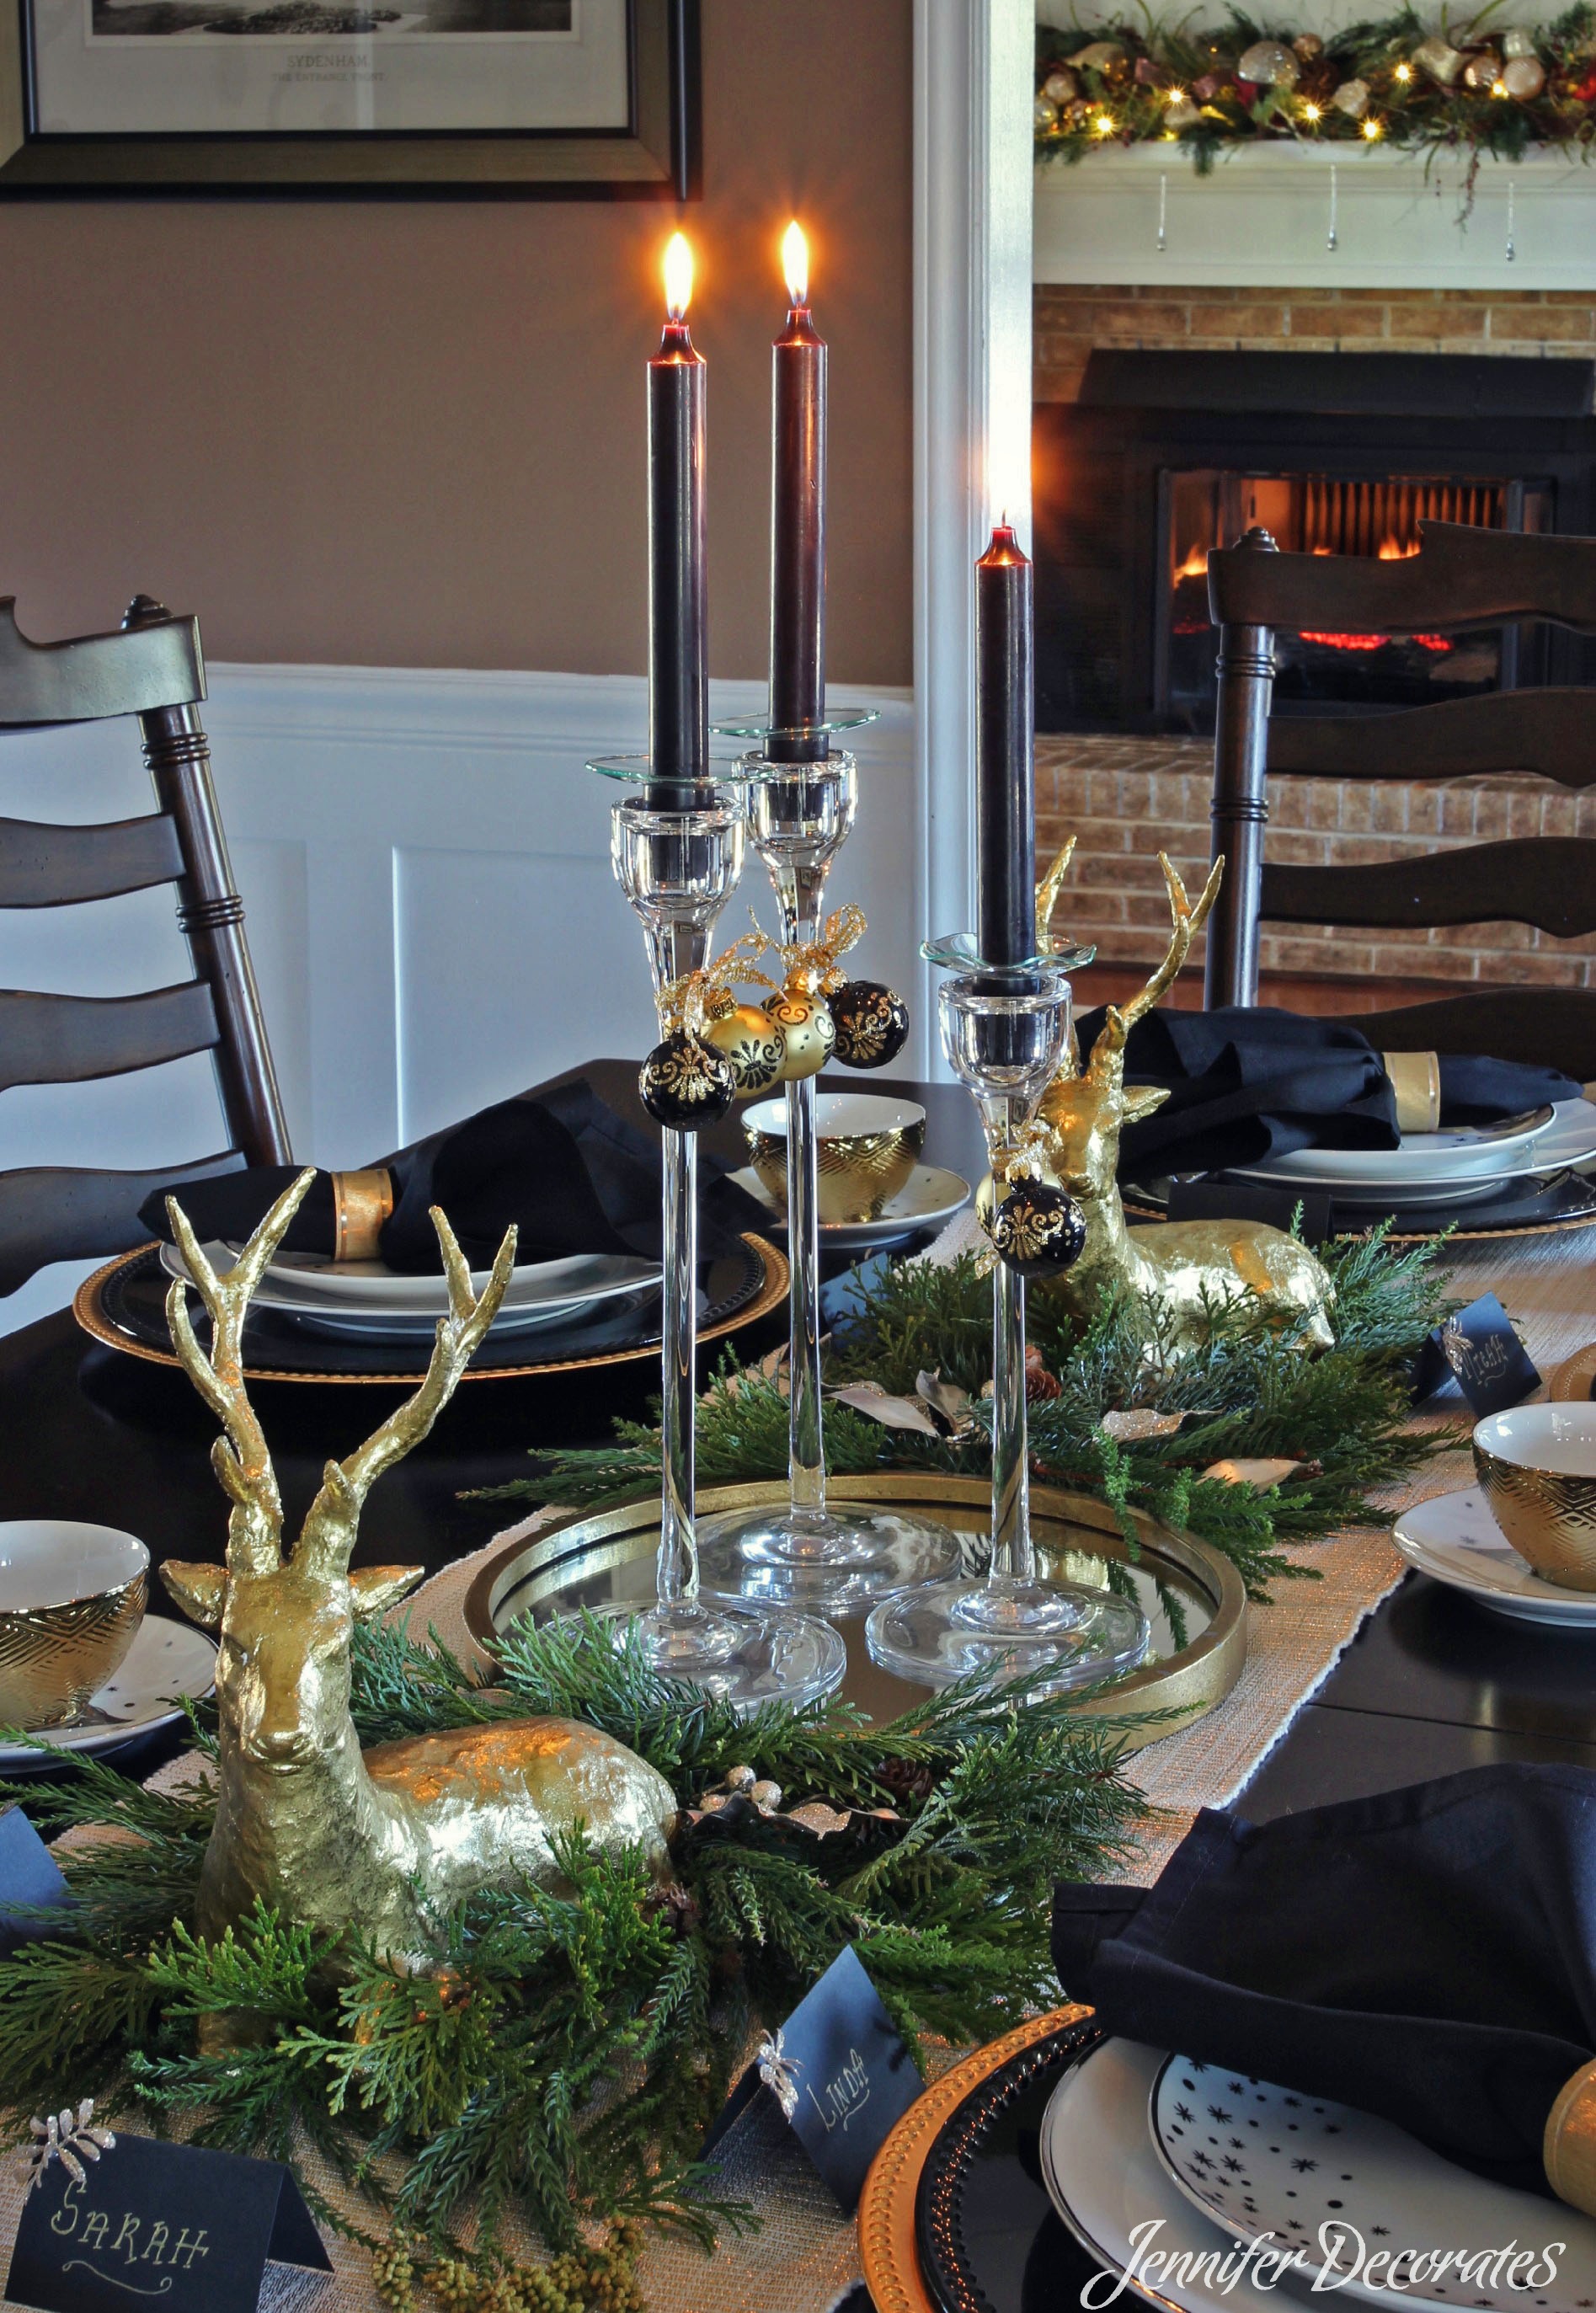
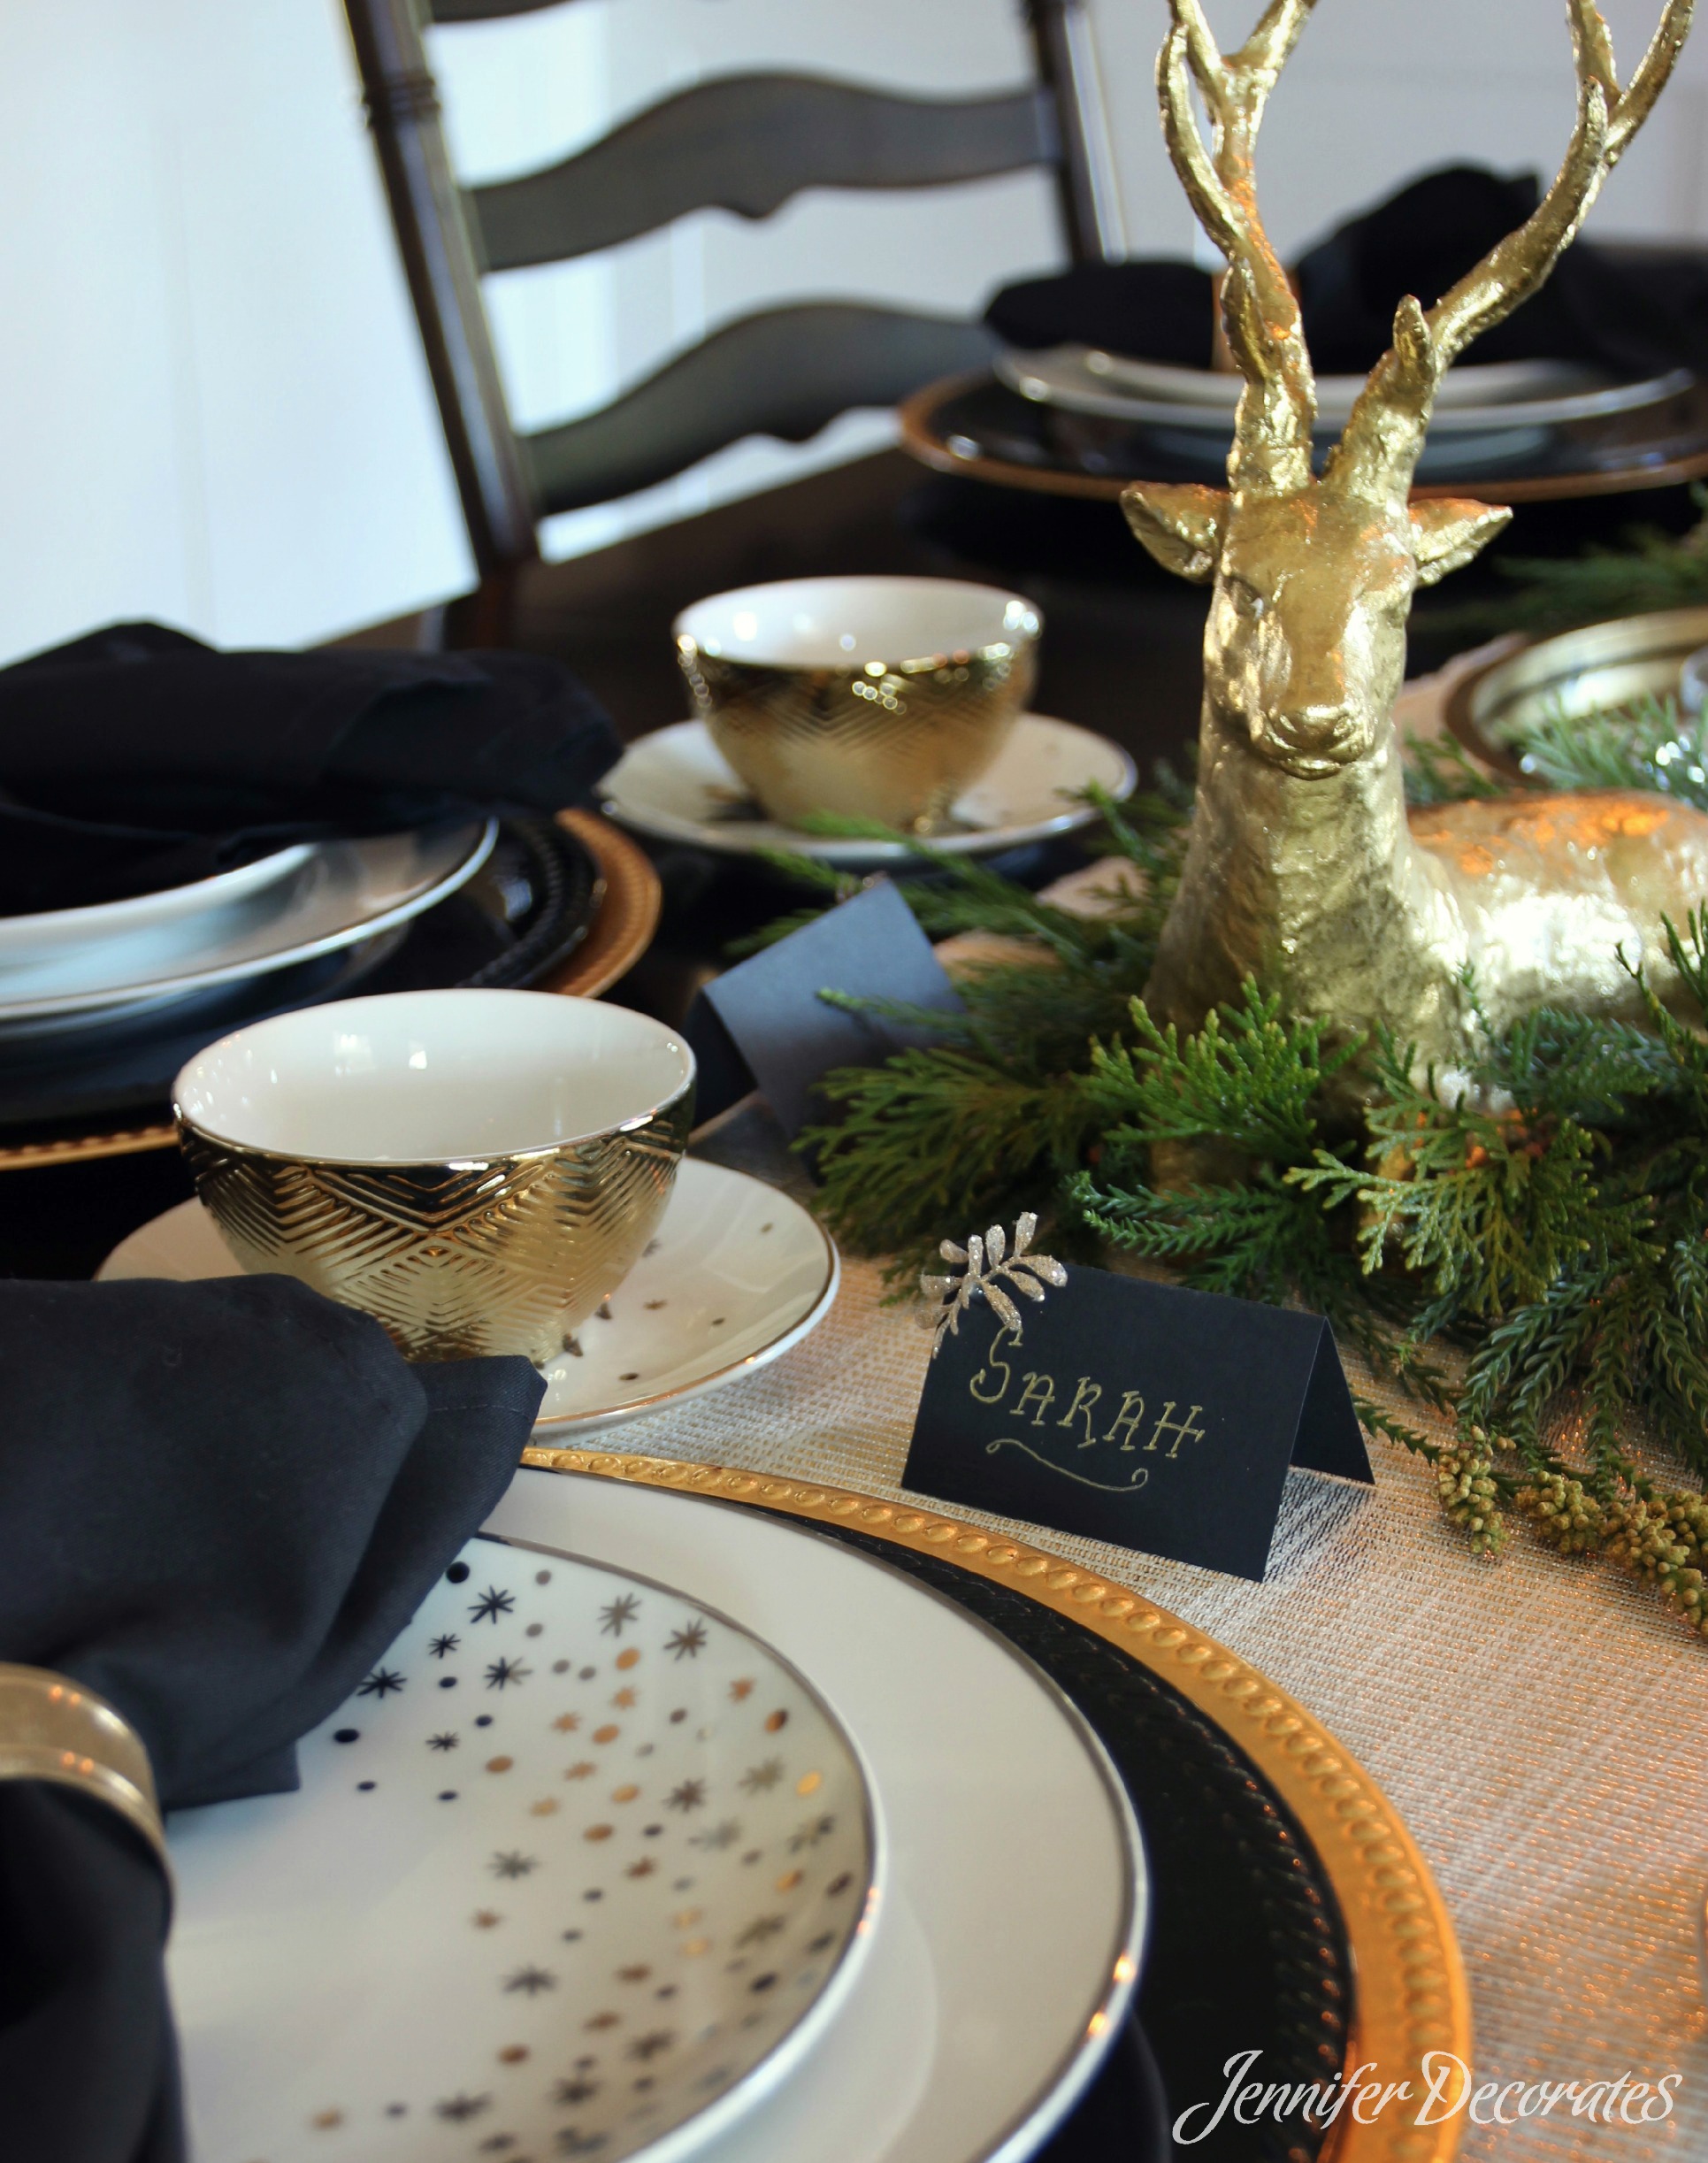 Two gold deer nestled in real greenery became the focal point for the Christmas table setting centerpiece.
 For the centerpiece I found a gold rimmed mirror from Hobby Lobby, and three glass candle sticks different sizes. Black candles continue with the black and gold theme.
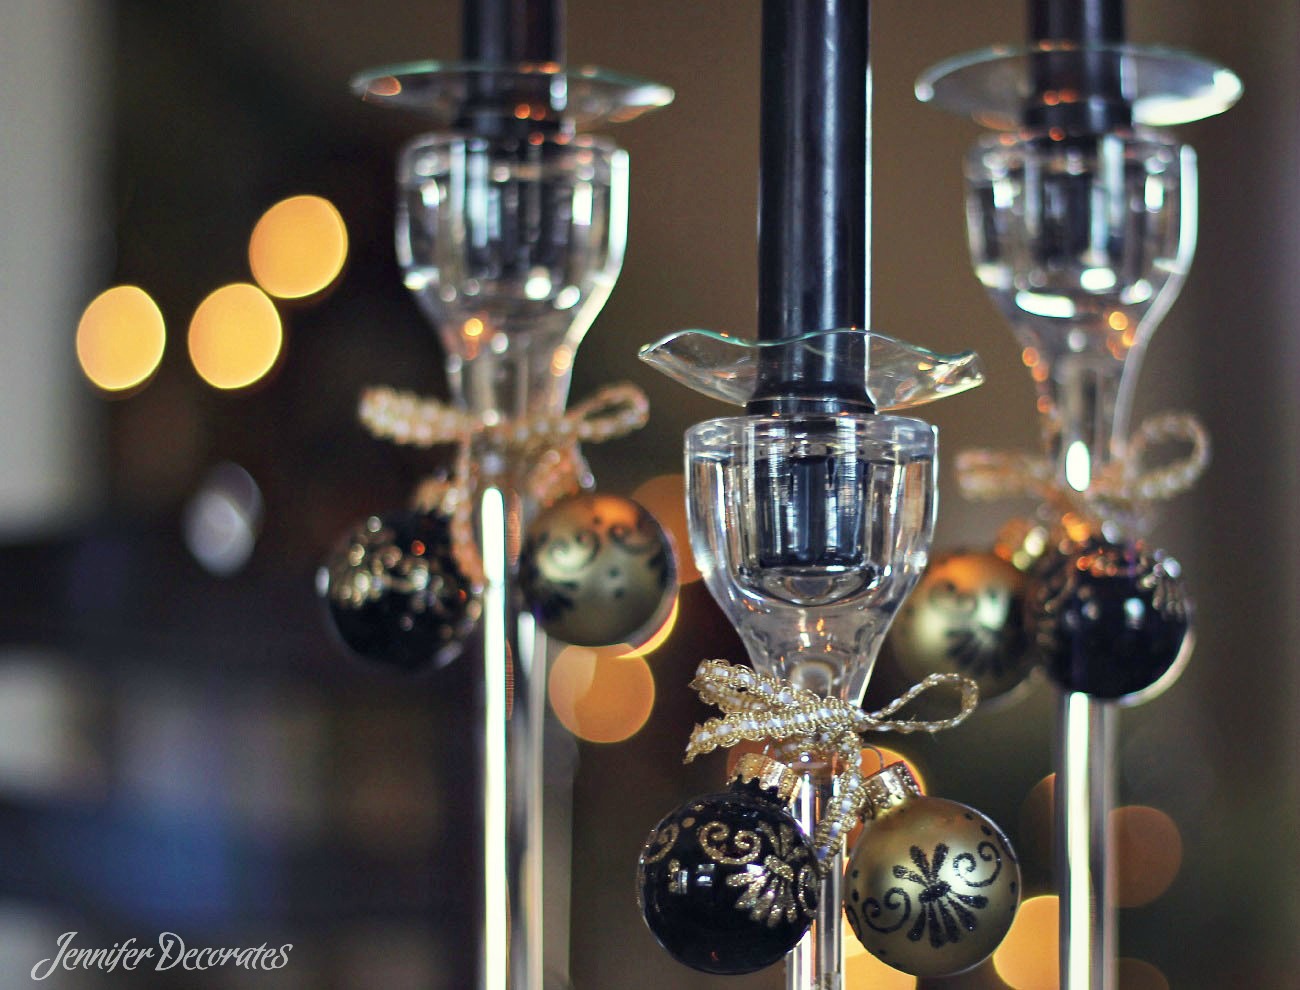 I found a box of small black and gold ornaments, and tied them together with gold ribbon. After tying them onto the candle stick, I needed to add a little hot glue to keep them in place. When using taper candles, I purchase a candle ring also know as “Bobeche”. This keeps the candle from dripping down the candle stick and onto the table.