Create an inexpensive flower arrangement, and other ideas for your dining room table
One of my favorite table centerpiece ideas is using real flowers. Real flowers make the most stunning centerpieces! It really isn’t difficult to arrange flowers. With this step-by-step tutorial you can create a stunning arrangement that will impress your guests!
There are many things that make up great table setting ideas, but having a beautiful centerpiece is one of the most important.
You Can Make This Centerpiece!
Let’s Get Started!
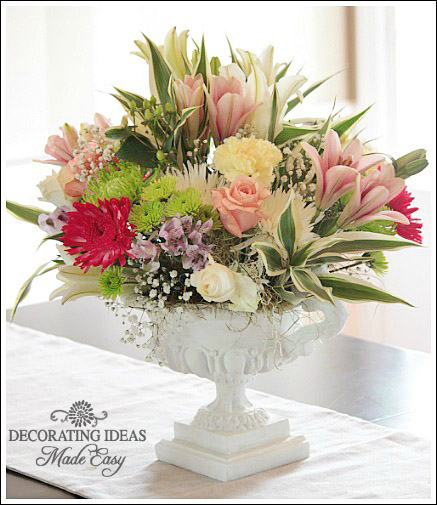
You can learn how to make a floral arrangement for any occasion. Whether you are simply entertaining guests, or you need some wedding centerpiece ideas. So, below is a step-by-step tutorial and other advice on inexpensive table centerpiece ideas.
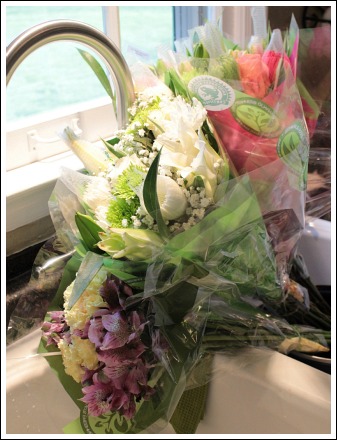
Picking fresh flowers is important. I purchase my flowers at Sam’s Club. They have great prices, and their flowers are always in great condition.
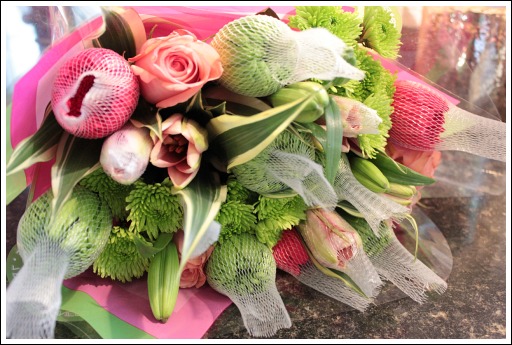
When you purchase flowers that have a little net over them, these are flowers that will be very fresh. The net helps keep the petals undamaged until they are ready to be placed in an arrangement.
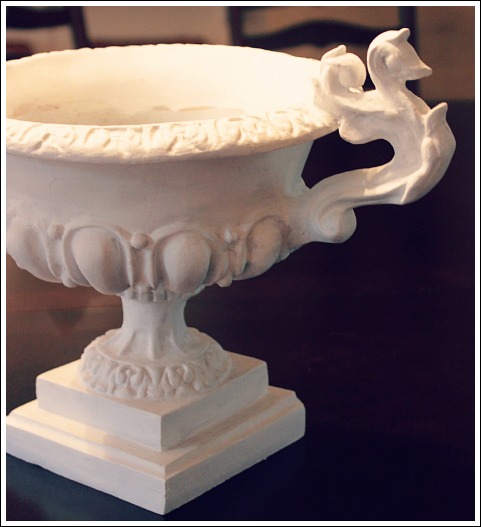
Choose a pretty container for your flower arrangement. I find my containers at garage sales and at the flea market. I have actually painted this one different colors for different occasions.
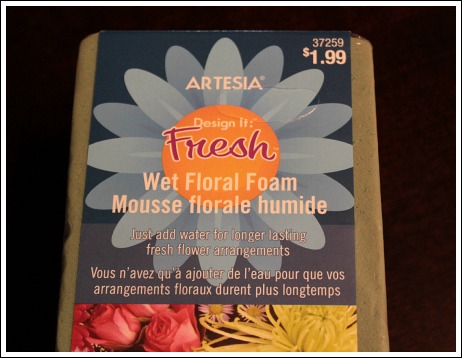
You will need a floral foam block. There are foams for artificial flowers and real flowers. Make sure you grab the foam for real flowers. This foam soaks up water like a sponge!
TIP:
Many times some of the flowers you purchase will not be open yet. Add warm water to your foam block and this will cause the flowers to open up faster.
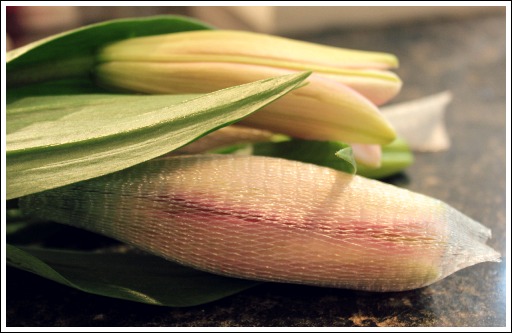
The key to creating a beautiful and large arrangement is having small, medium, and large flowers. Start with your largest flowers first, then medium, and last your smaller flowers and greenery.
These flowers are lilies and have a thick stem making them perfect for the center flowers.
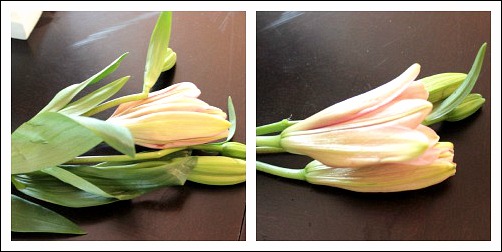
Always trim off the leaves from your floral stems. Leaves soaking in your water will turn it green quickly!
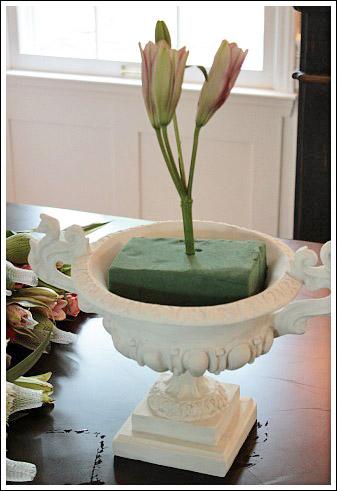
Place your first flower in the middle of your container. This first flower will determine the height for the whole arrangement. The higher the flower the larger the arrangement.
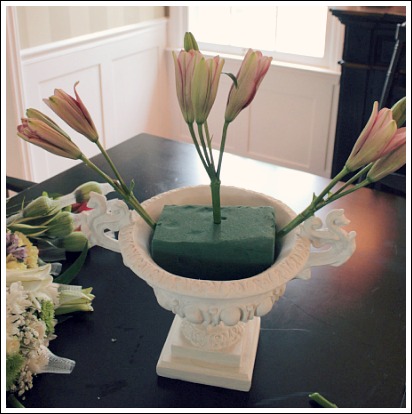
Notice in the photo the two lilies that are flanking the middle lily are lower. That first lily in the middle is your beginning height and should remain the tallest flower.
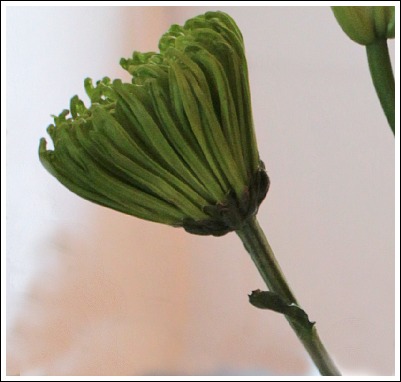
I may add some more lilies in later, but for now these three look great. Now it is time for the medium size flowers. There are several colors and variations for me to chose from, but I am starting with green chrysanthemums.

You can see three in this photo, but there is a fourth chrysanthemum on the other side. You want your centerpiece to be beautiful from all sides.
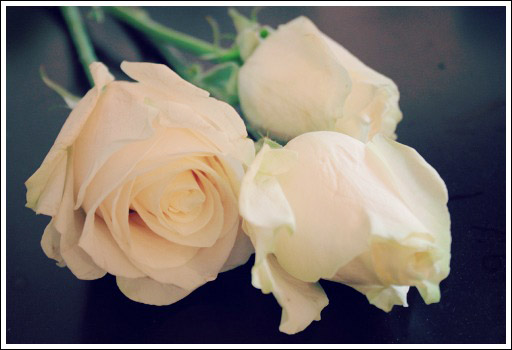
Next, I am adding my beautiful roses. I have white ones and pink ones.
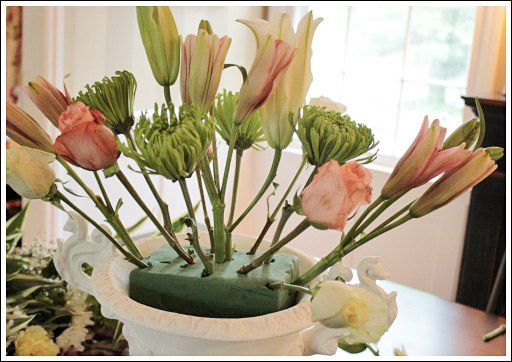
Fill in the gaps dispersing your roses evenly around. You don’t want any flowers to be too close together.
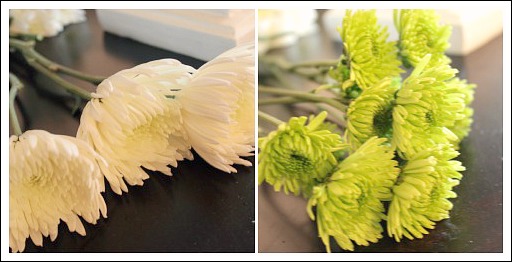
Continue adding more of your medium size flowers. Step back and take a look at how things are shaping up. Are you even all the way around?
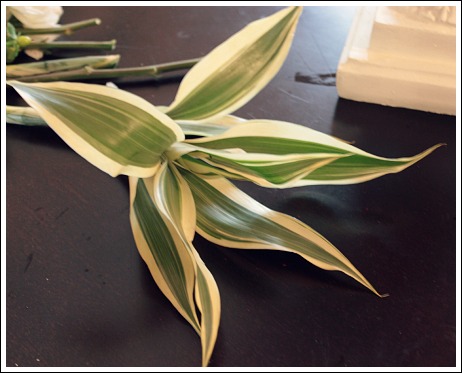
I loved this greenery that came packaged with the flowers. I used it first around the middle lily.
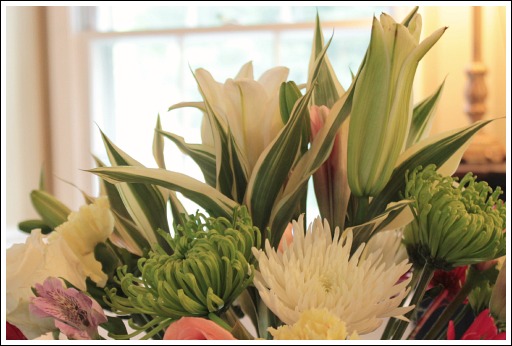
The greenery and smaller flowers will begin to fill in the gaps.
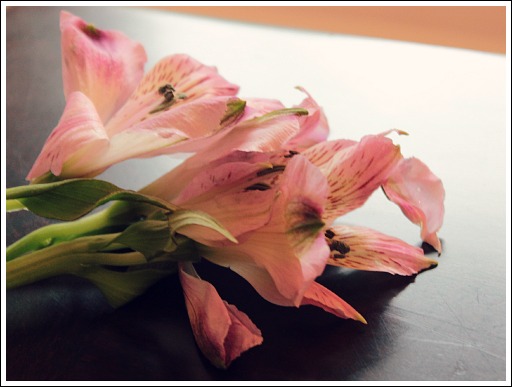
These flowers are my all time favorite flowers. They are called Alstroemeria. They are a member of the lily family. I love them because they last for days! They are so delicate and beautiful.
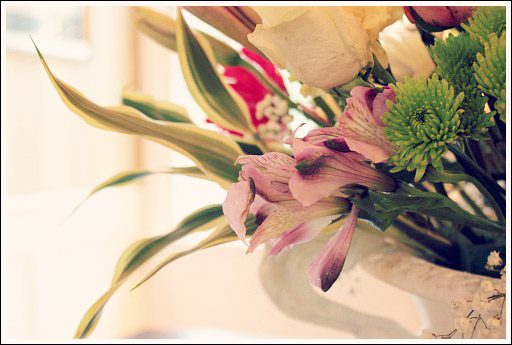
Let some of your flowers spill over your container. It will give an airy and light look.
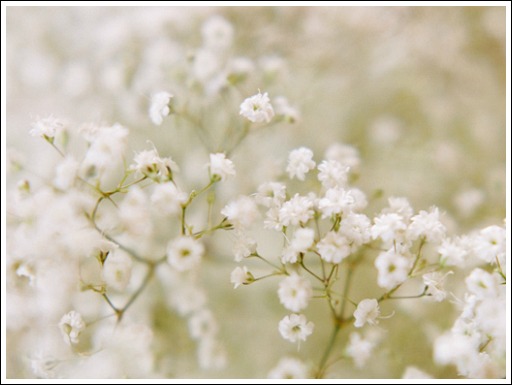
The last flowers to add is the ever delicate and sweet baby’s breath. Be careful to not add clumps of this little flower. Trim it down before placing them into the foam.
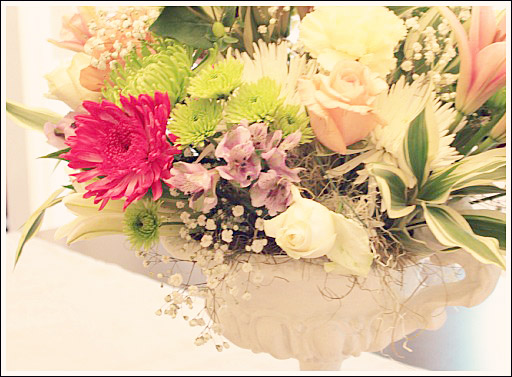
Again, let your baby’s breath pool over the side. Isn’t that pretty?
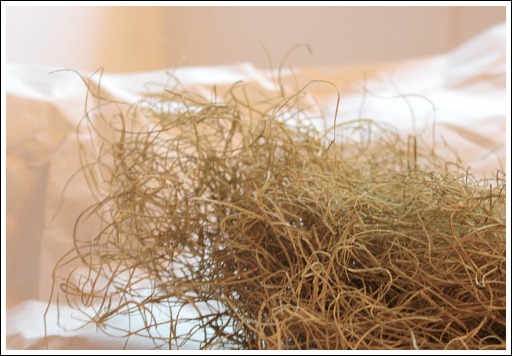
For the last step, I like to add a little Spanish moss. Choose moss that looks natural, not too green, or too brown. You really don’t want it to stand out, it should be used to fill in any extra gaps. Use it sparingly.
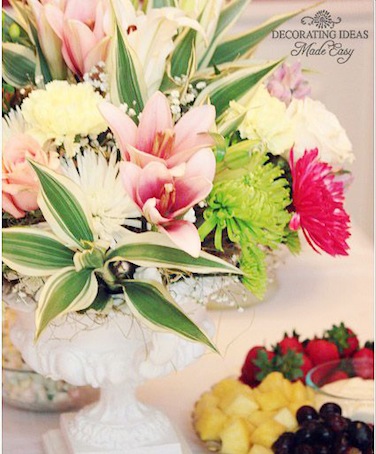
Here is my video on arranging real flowers:
For this table centerpiece idea, simple colors, and an ornate container made all the difference.
More Table Centerpiece Ideas
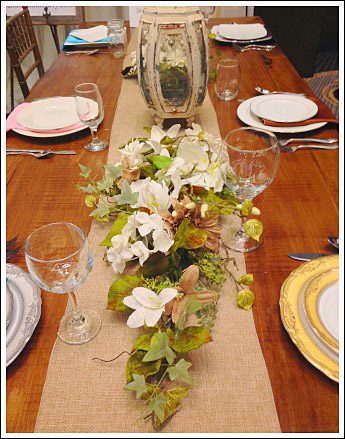
This is a lovely centerpiece idea. Place a candle lantern in the middle, and two flower arrangement on each side.
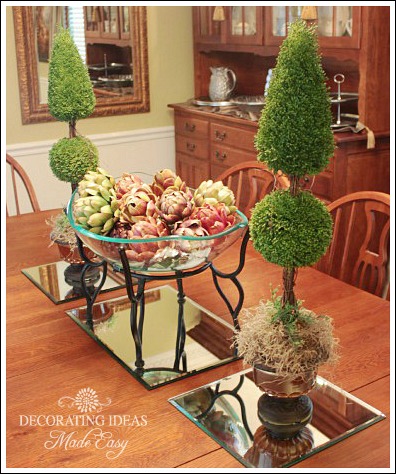
This is a table centerpiece idea on of my client’s made for her dining room table.
Candles Are So Romantic!
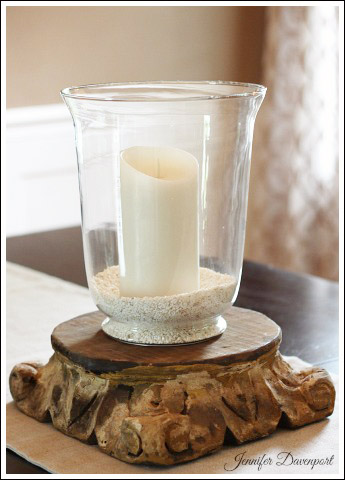
I filled the glass hurricane with a bag of crushed seashells from the craft store. Nothing is more beautiful than a glowing candle.
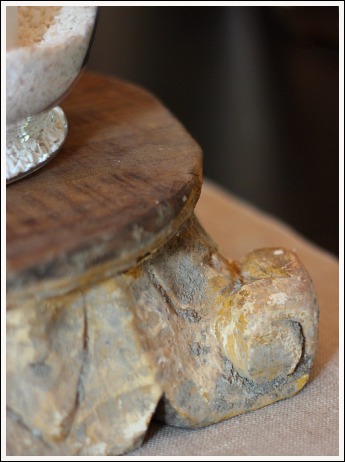
I found this unique wood piece at the flea market. I love the patina, and it creates a beautiful base for the candle.
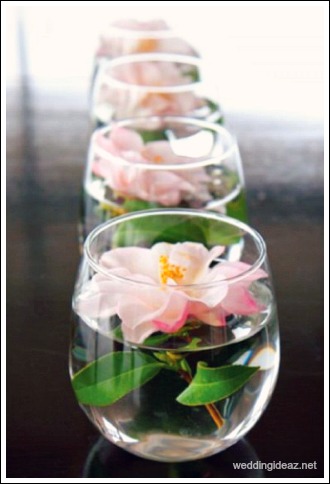
Purchase inexpensive small glasses and place a flower to float in the water. Perfect, easy, and inexpensive.
Beautiful, Jennifer! I’ve always wanted to do this but was intimidated. But you made it simple and easy! I can’t wait to try this!
Good deal! Thanks for your sweet words!
Thank you Debra!
Great family projcet! And, it’s great for St. Patrick’s Day or any day where we need a little sunshine and rainbows in our lives.I’ve included you in this week’s post too.
Hello Linda,
I have only used the tape a few times. Mainly, because I really shove that foam in place where it won’t move. But, you are right that tape doesn’t stick once it is wet. If you need to use the tape, I would apply it before you add the water to the foam. Have a great day!