Ready to see a fabulous easy kitchen makeover? The wonderful kitchen renovation I am sharing with you today belongs to my son and daughter-in-law.
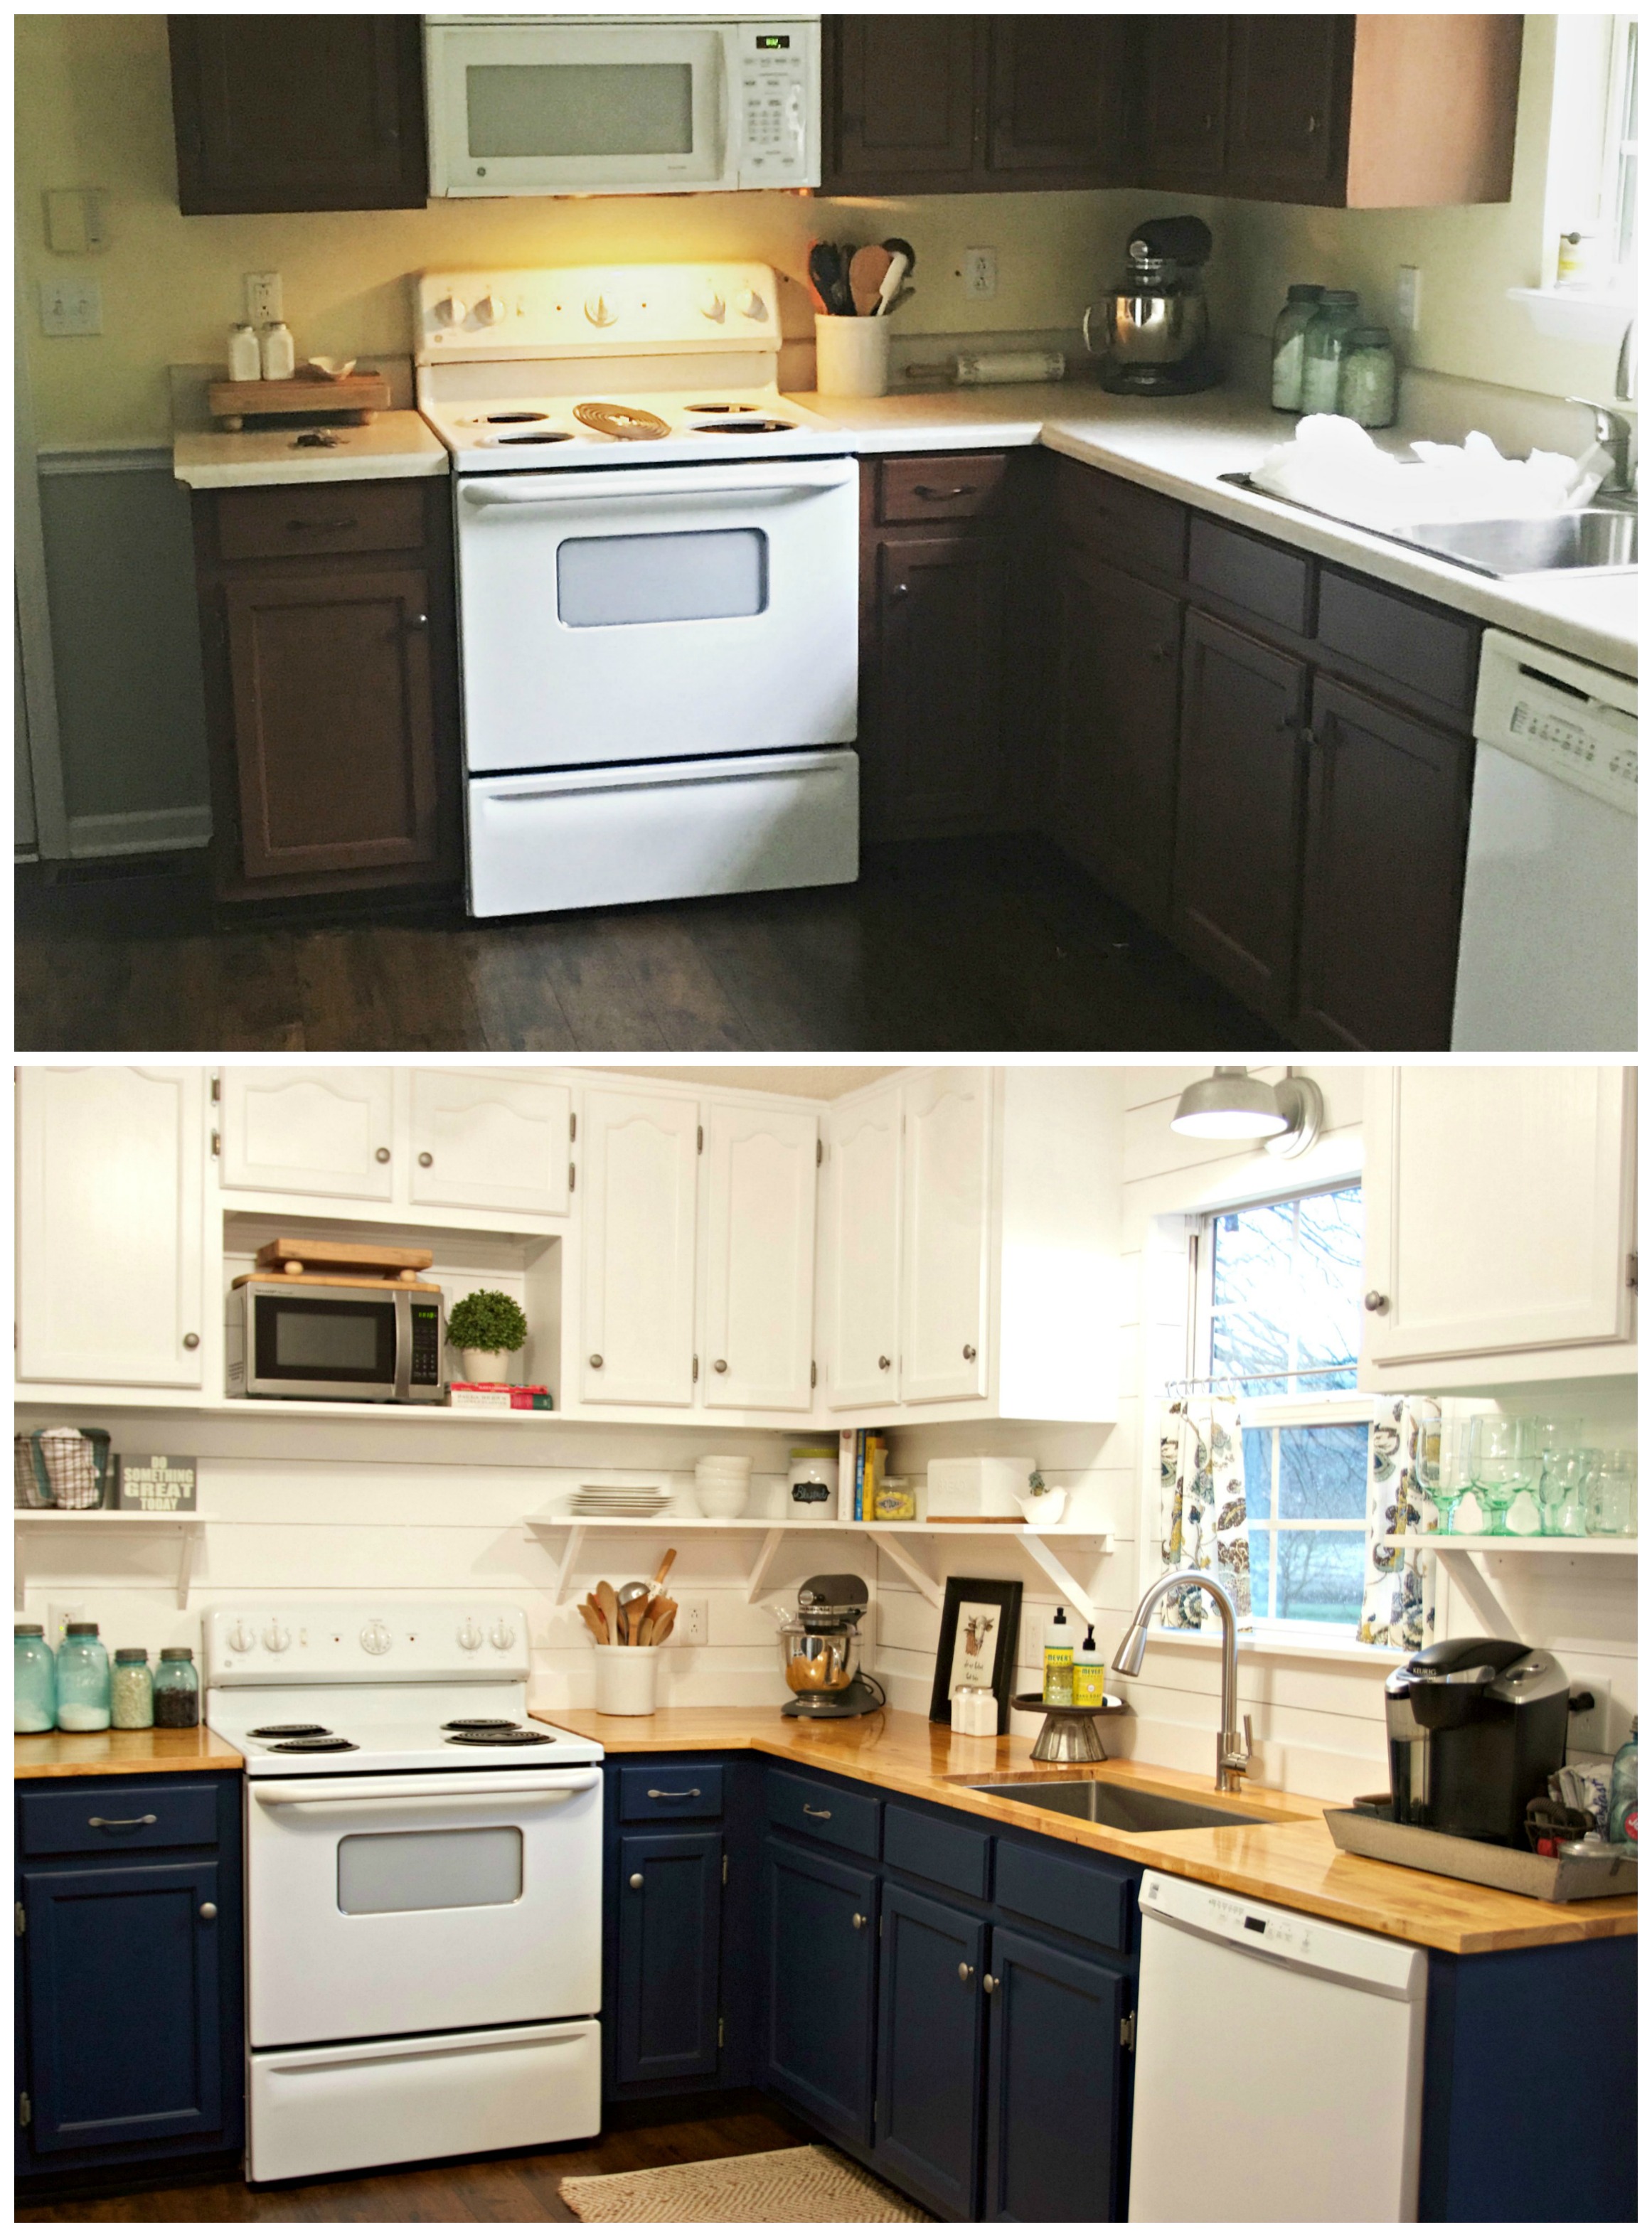
Kitchen makeover on a budget!
Several months ago, my son and daughter-in-law purchased a home that required a bit of updating. They needed a little more room, both for themselves and their horses. Okay, they don’t own horses, they own Weimaraner’s. But, to a miniature dachshund owner, they are horses. Some other time I will have to share a few stories about those pups.
Renovating Isn’t for Sissies!
This was their first dive into a really detailed renovation project. For those of you who have tackled such projects, you know the ups and downs of doing projects yourself. The first phase is having jubilation and positive naïveté that you can tackle a DIY project in no time at all. I mean, after all, you saw it on Pinterest. How hard can it be? Then you hit the next phase, (which is usually in the middle of a horrible mess) “What have we done”? This is when emotions begin to boil over, and stress mounts. The next phase is pushing through the setbacks. And, the last phase, hopefully, is a success and a wonderful feeling of accomplishment.
The kitchen was very dark and dated. The cabinet stain was the same color as the flooring and created no contrast or interest. The laminate countertops were old and stained. The lighting in the kitchen was low quality and did not help to lighten the space up at all.
Painting Makes a Big Impact!
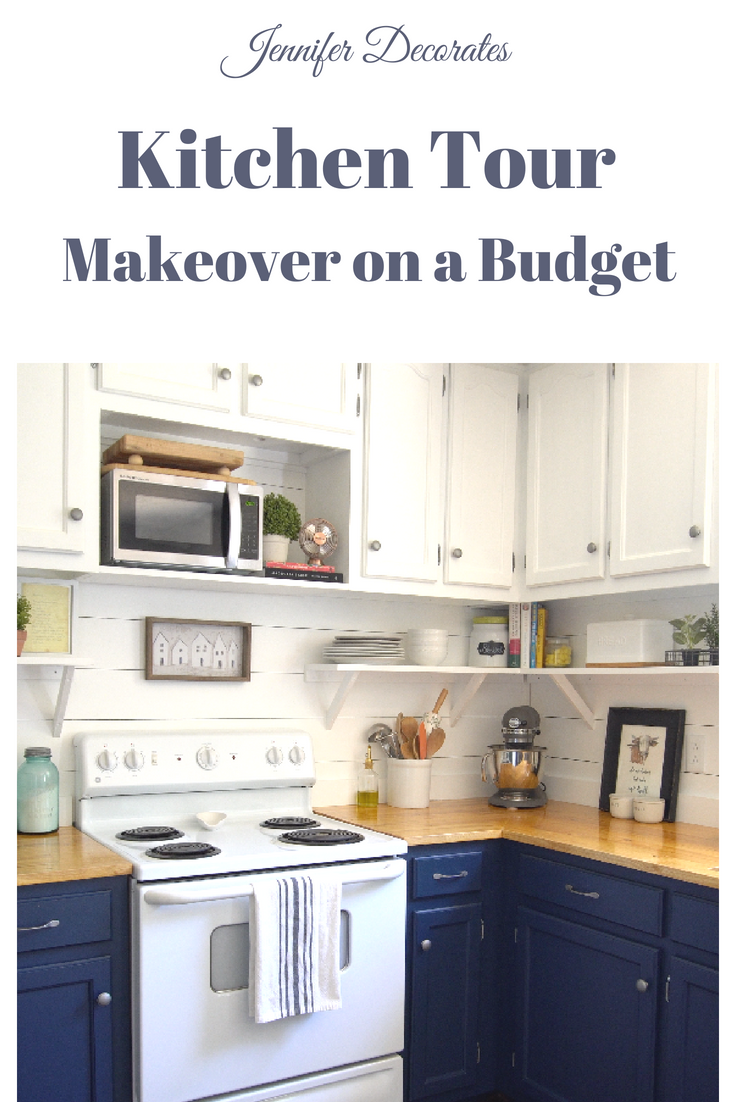
Alice began by painting the lower cabinets a dark blue called “Sunday Suit Blue.” She said the color name was perfect because it reminded her of Grandpa. While Alice painted, Joshua removed the cabinets and mounted them to the top of the wall. This is such a great idea to create the look and feel of a larger kitchen! Repainting is an easy kitchen makeover!
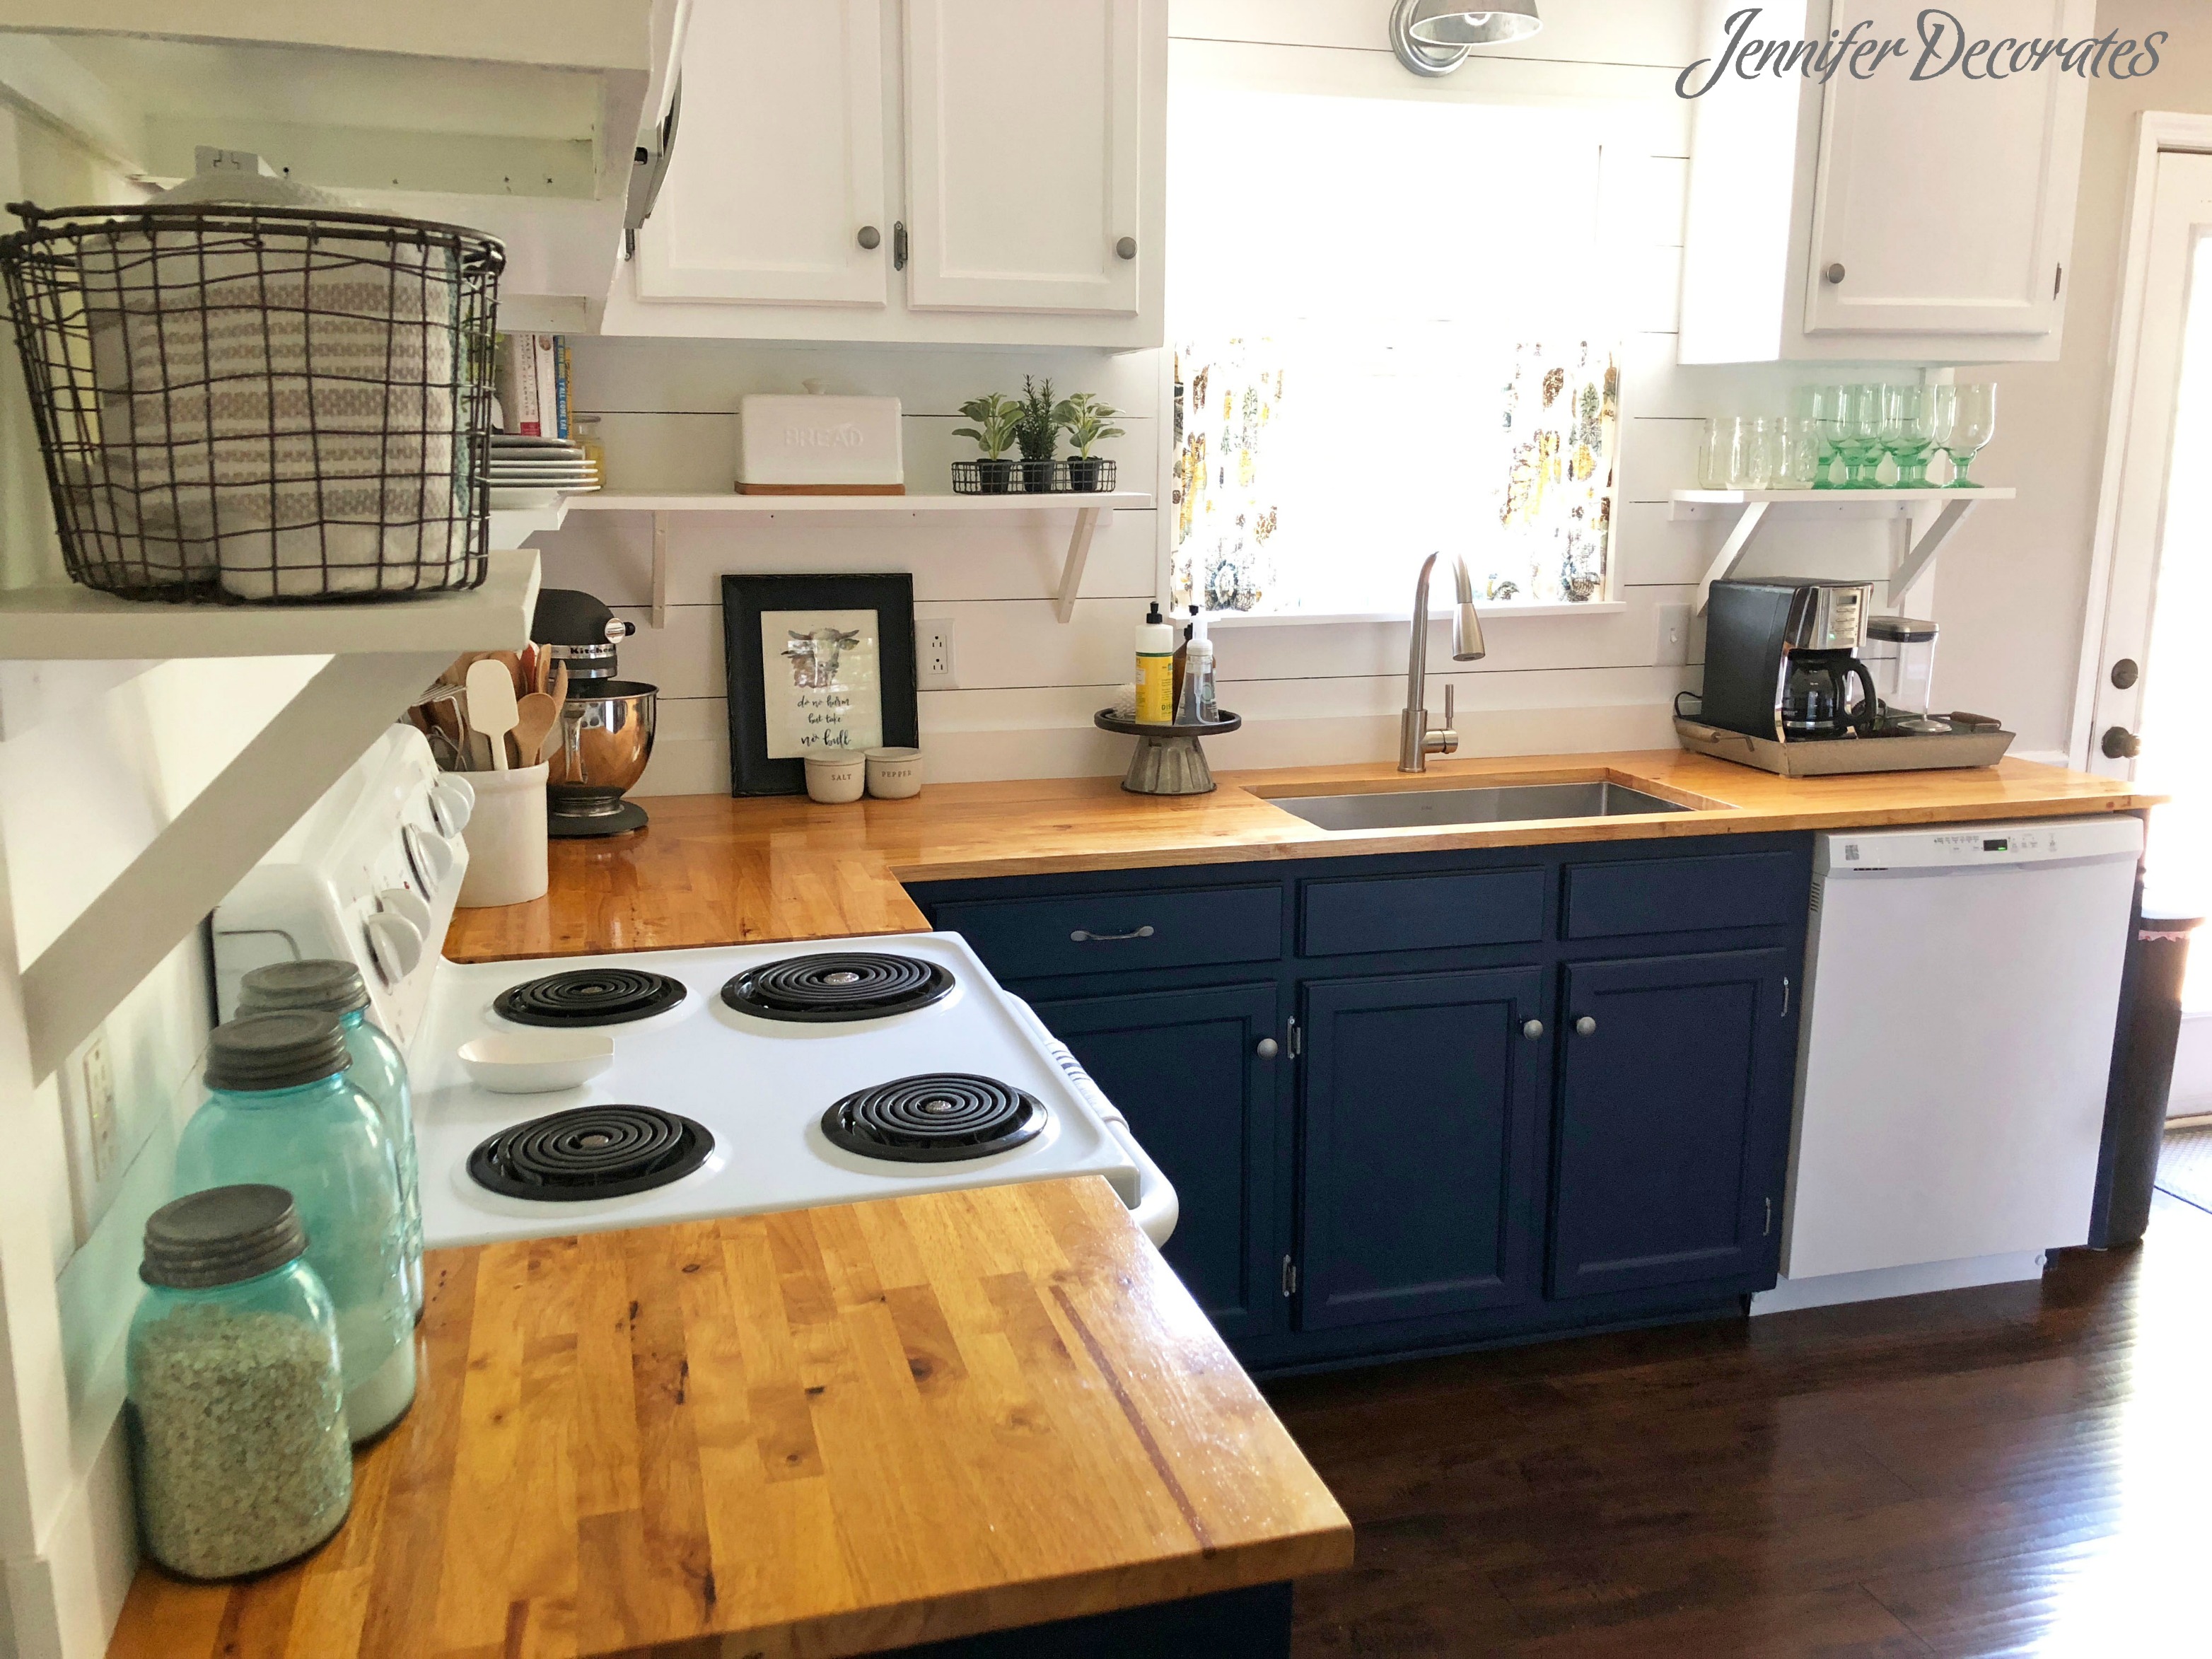
Next, they purchased unfinished butcher block for their countertops. It took a bit of skill to miter the corners, but Joshua did a great job. Alice then stained the countertop and gave it several coats of sealer.
They began to cut the boards for the shiplap for the backsplash. Before hanging the shiplap, the walls were painted a dark color. When the dark paint color shows through between each piece of shiplap it creates depth.
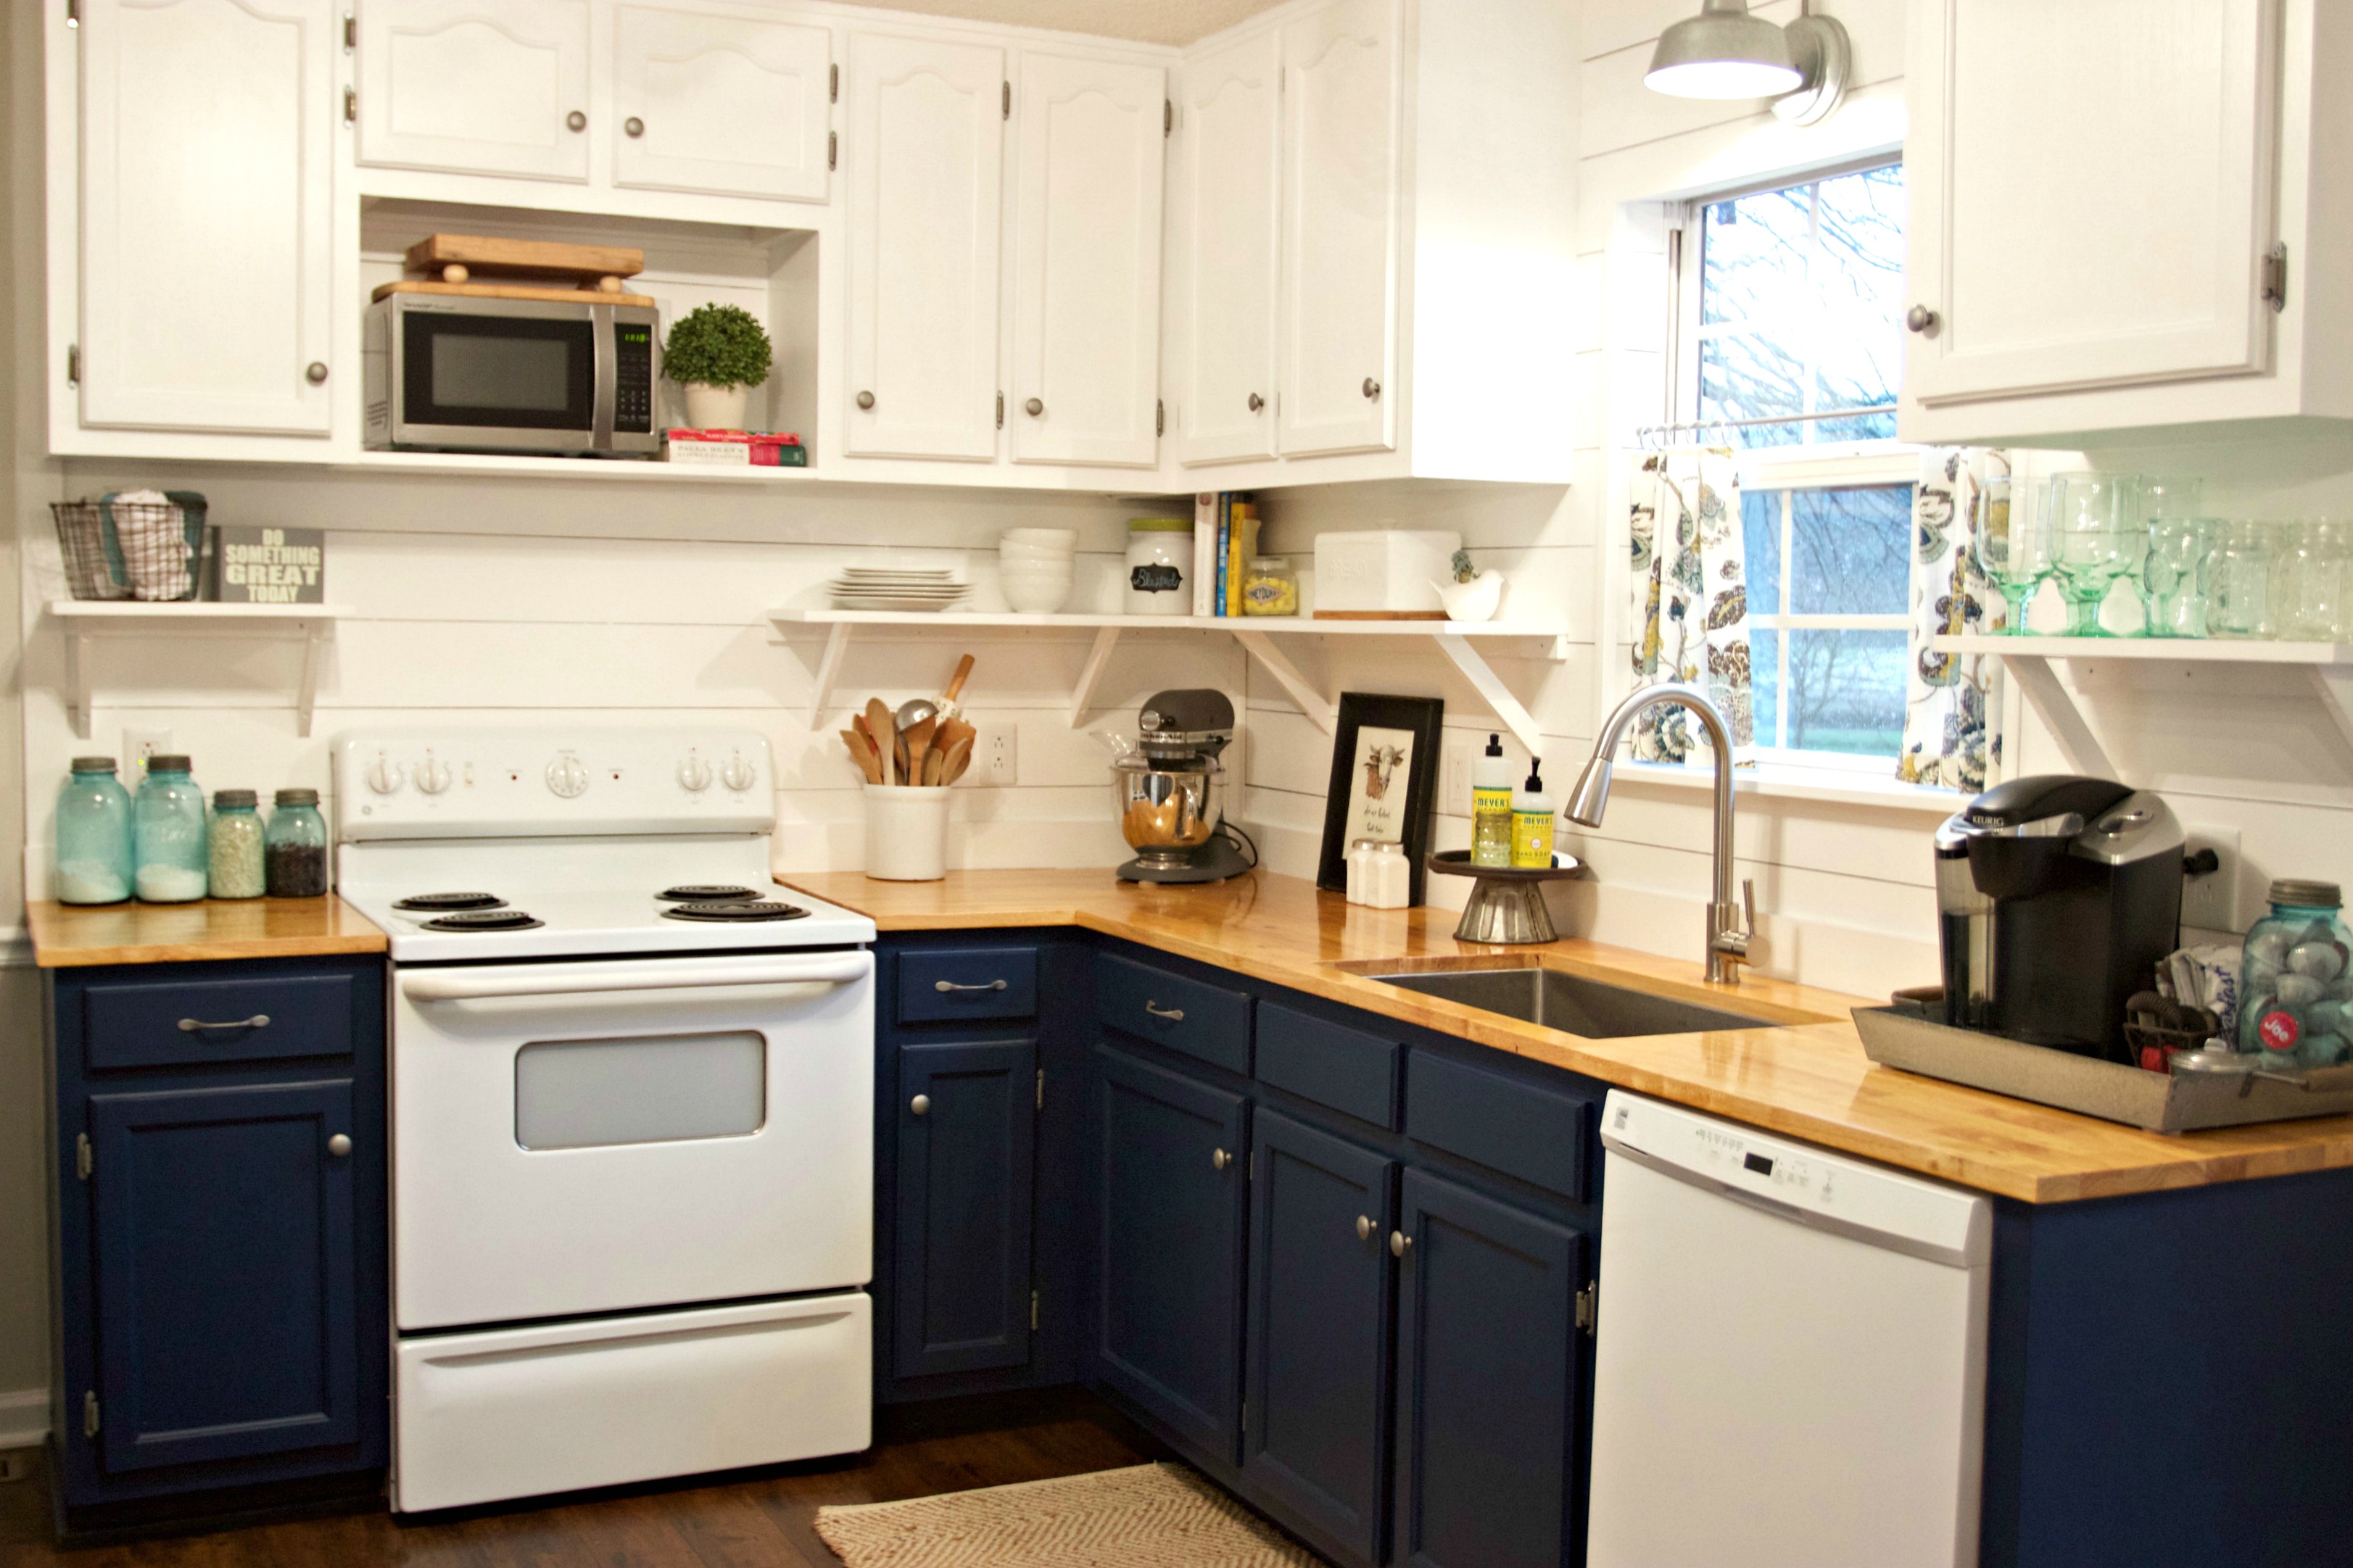
Alice loved the idea of open shelves. So, off to the home improvement store, they went for 1×8 boards. They also purchased wood trim for the kitchen cabinets, around the shiplap, and around the kitchen window. Then they painted the shiplap, shelves, and trim an off-white color. Next, the outdated lighting was replaced, and then Alice’s favorite part of accessorizing was done!
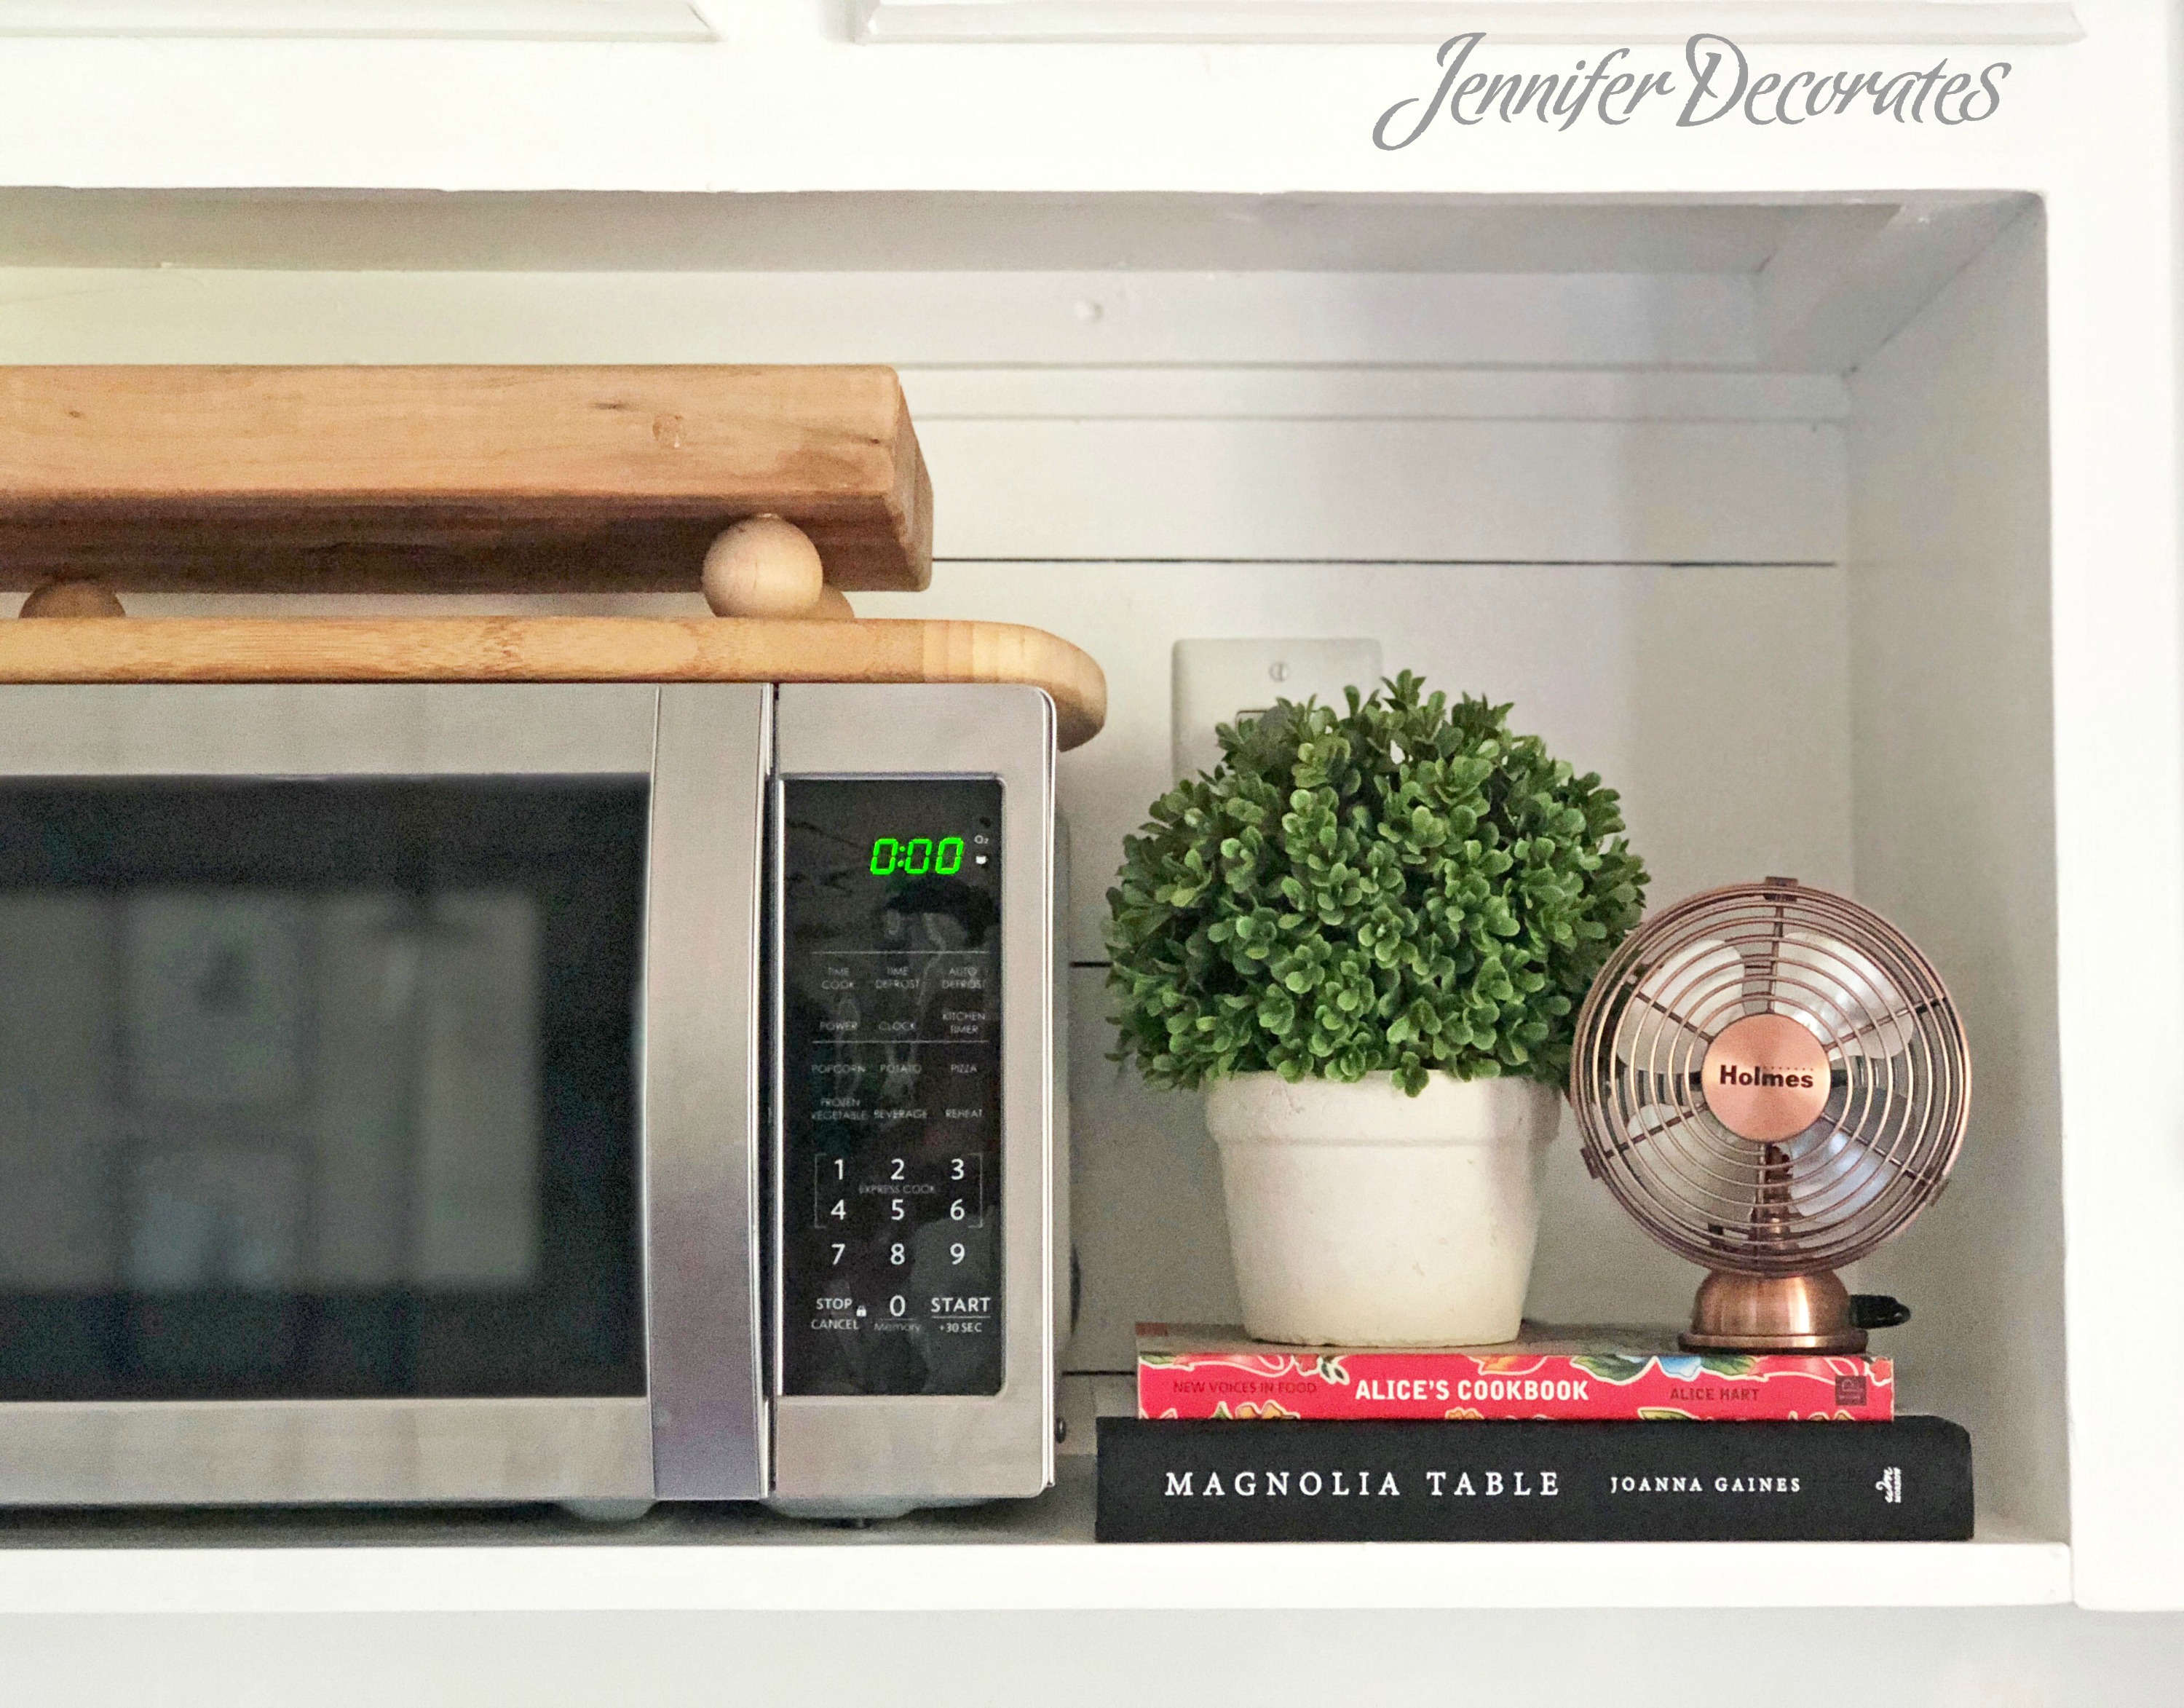
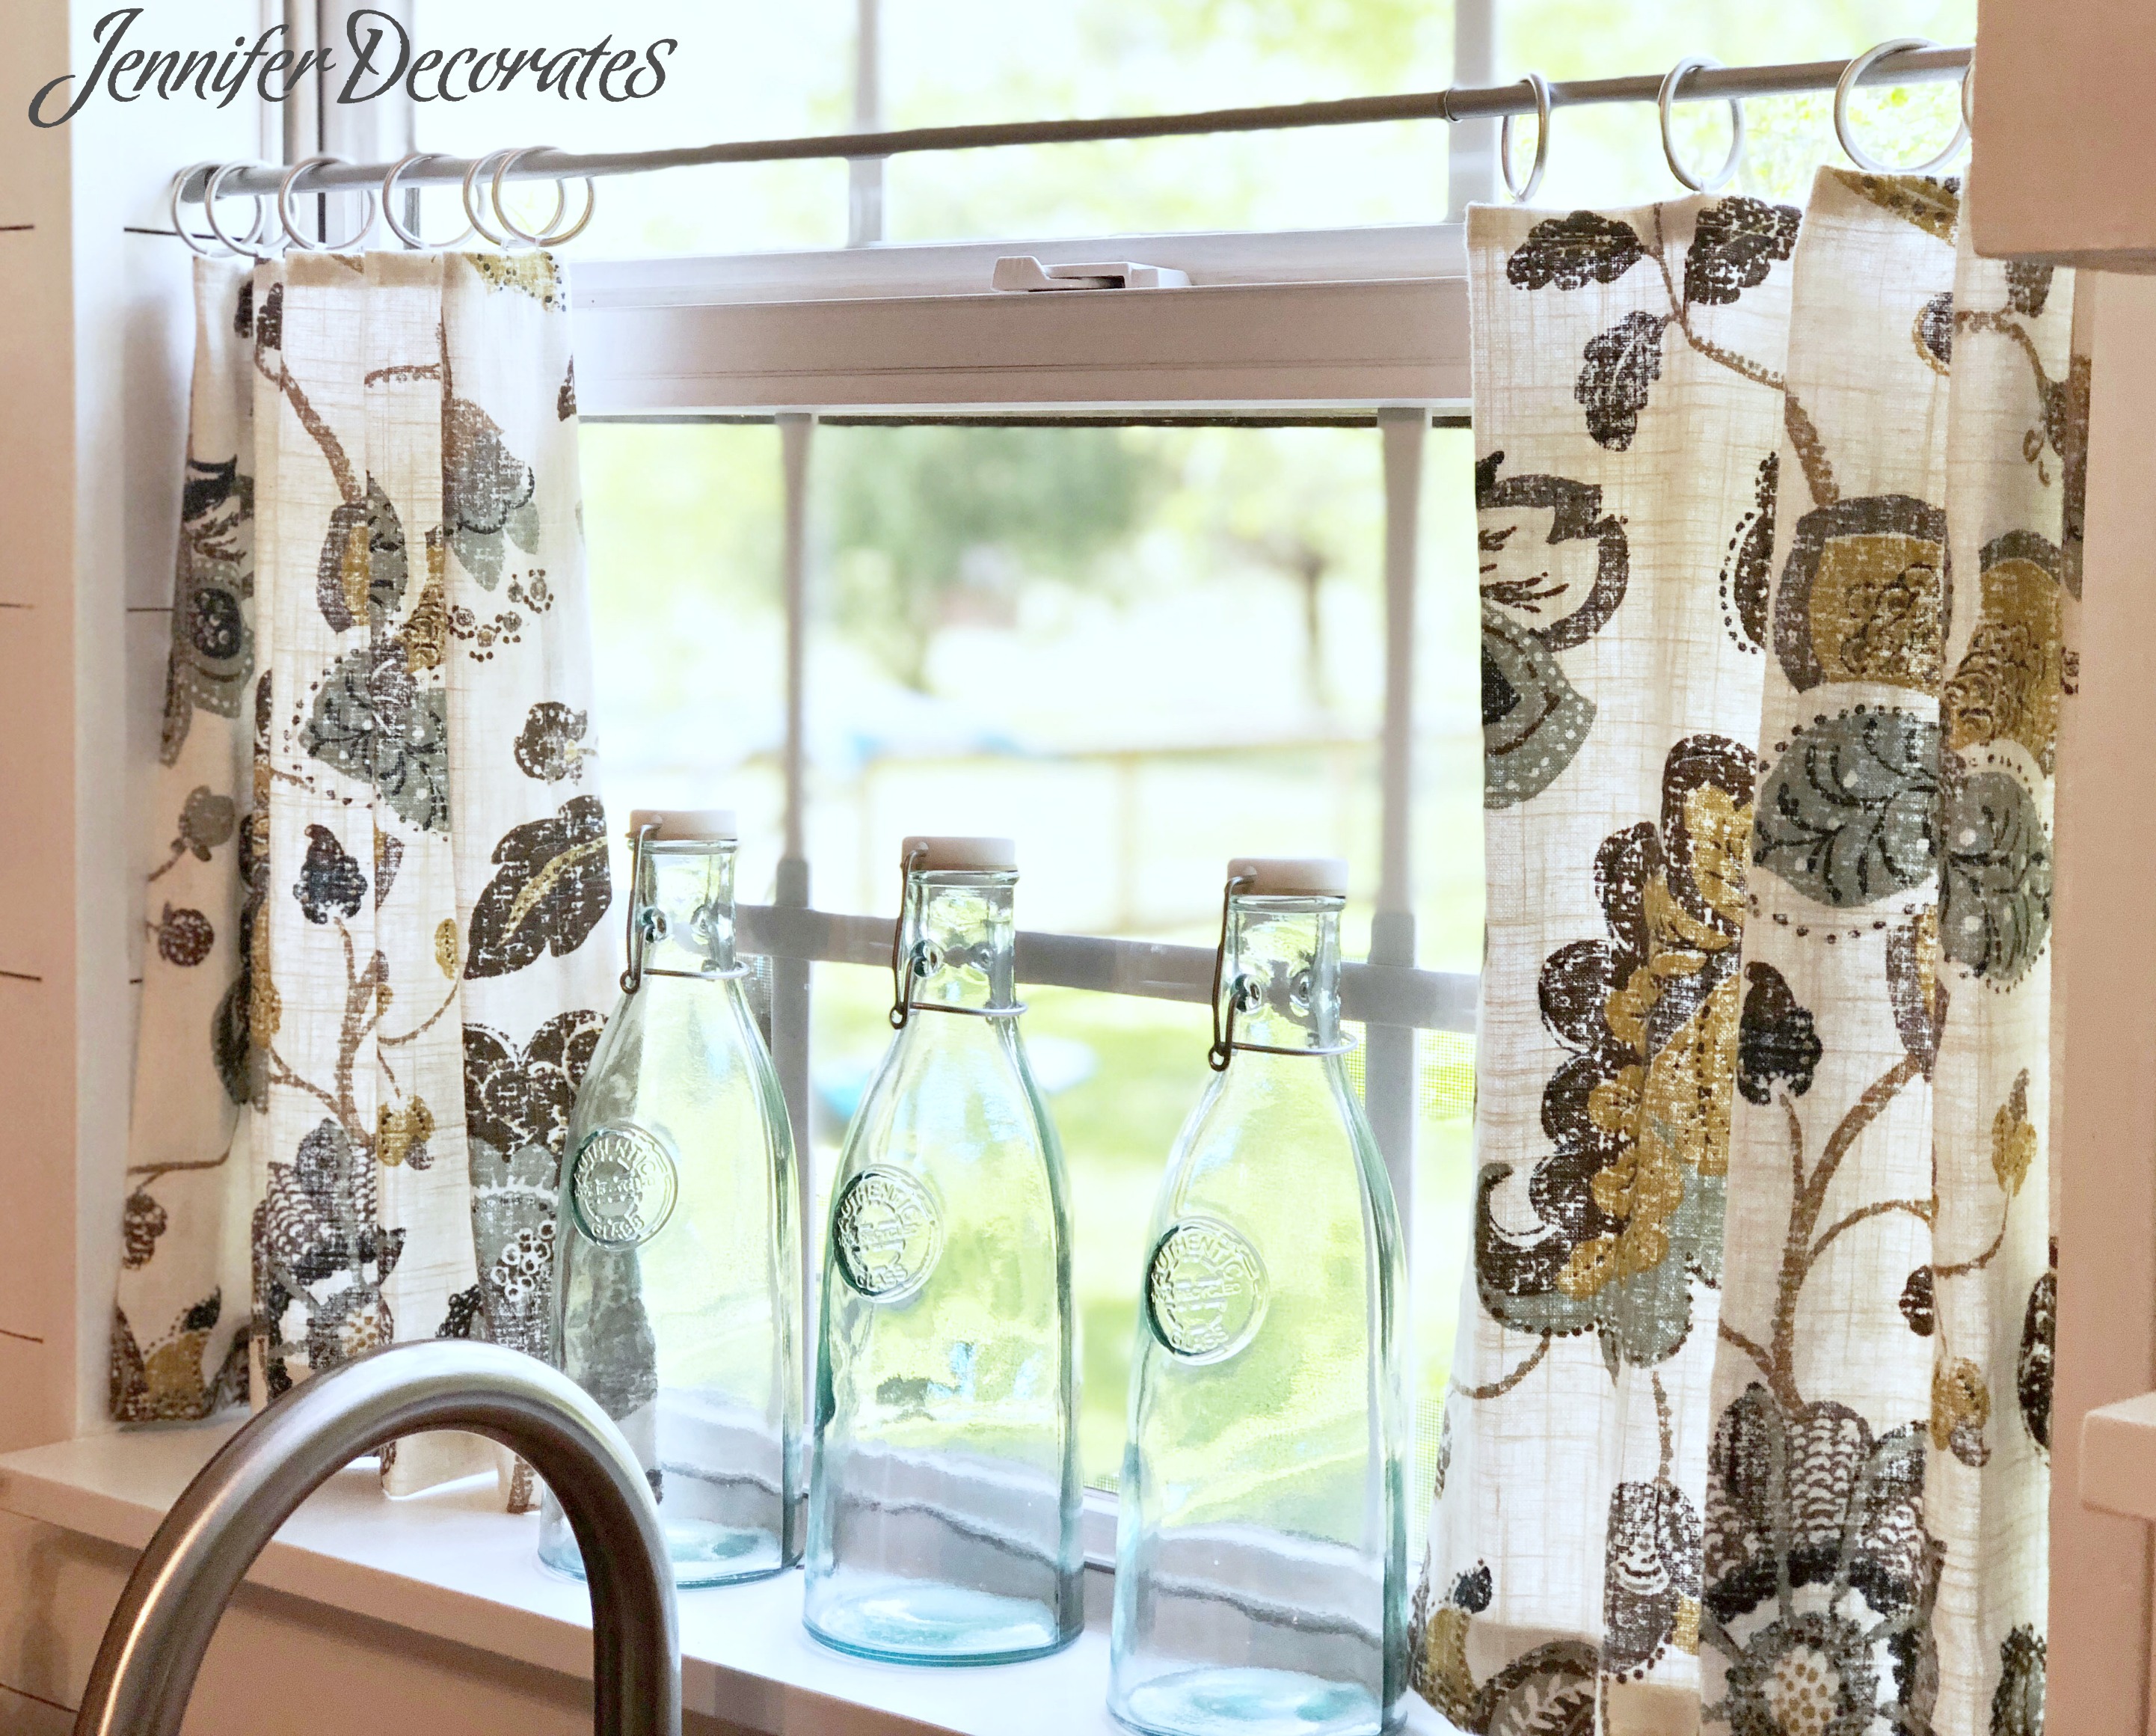
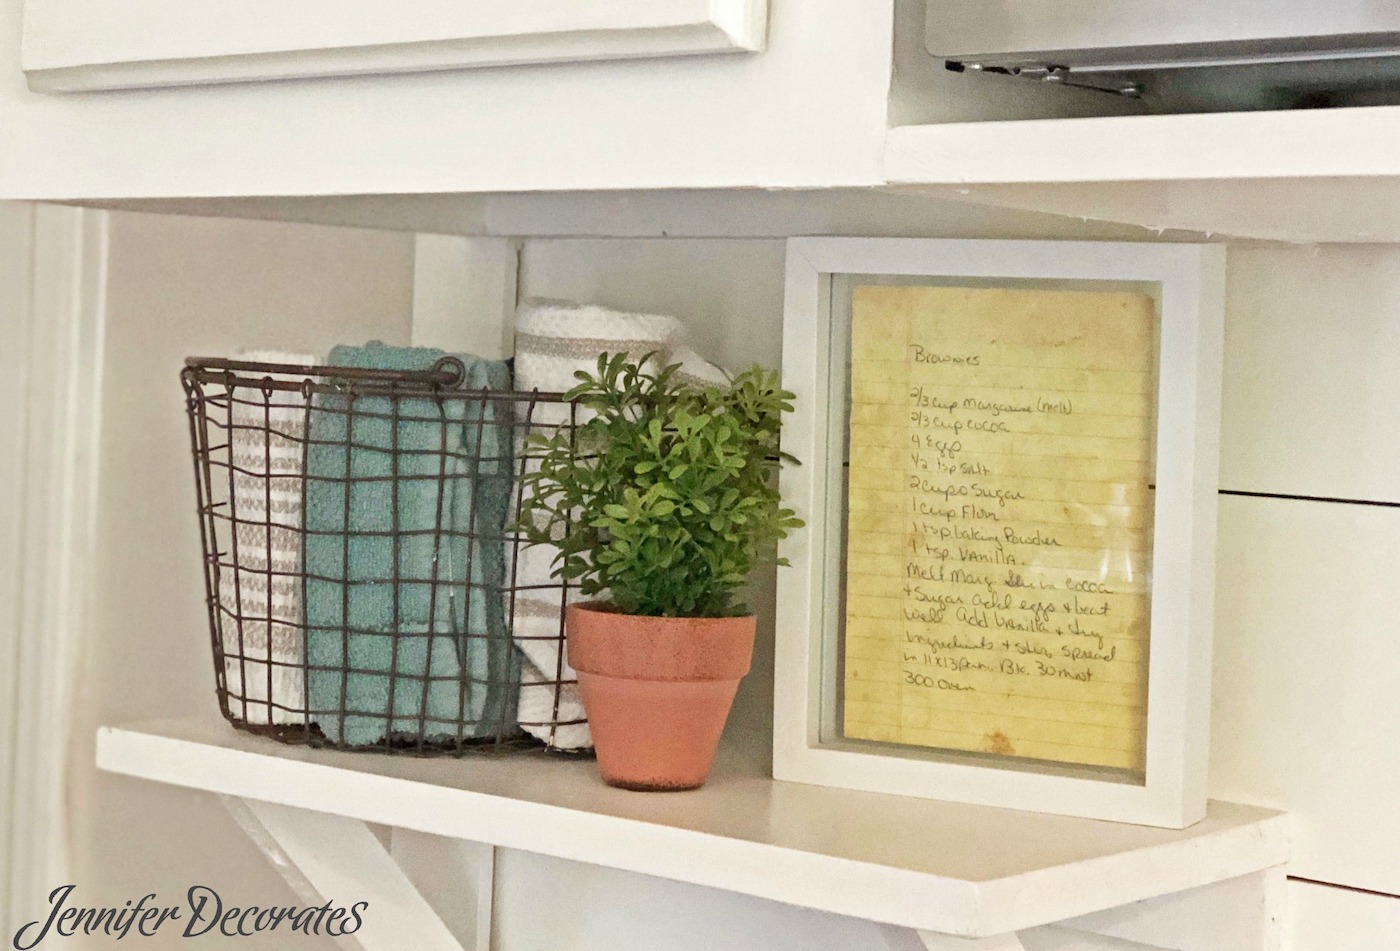
The accessories Alice added to her kitchen just make it completely charming and delightful!
This kitchen is one happy kitchen! Don’t you think? I am proud of Josh and Alice’s easy kitchen makeover!
Here is the video of this gorgeous kitchen:
Leave a Reply
You must be logged in to post a comment.