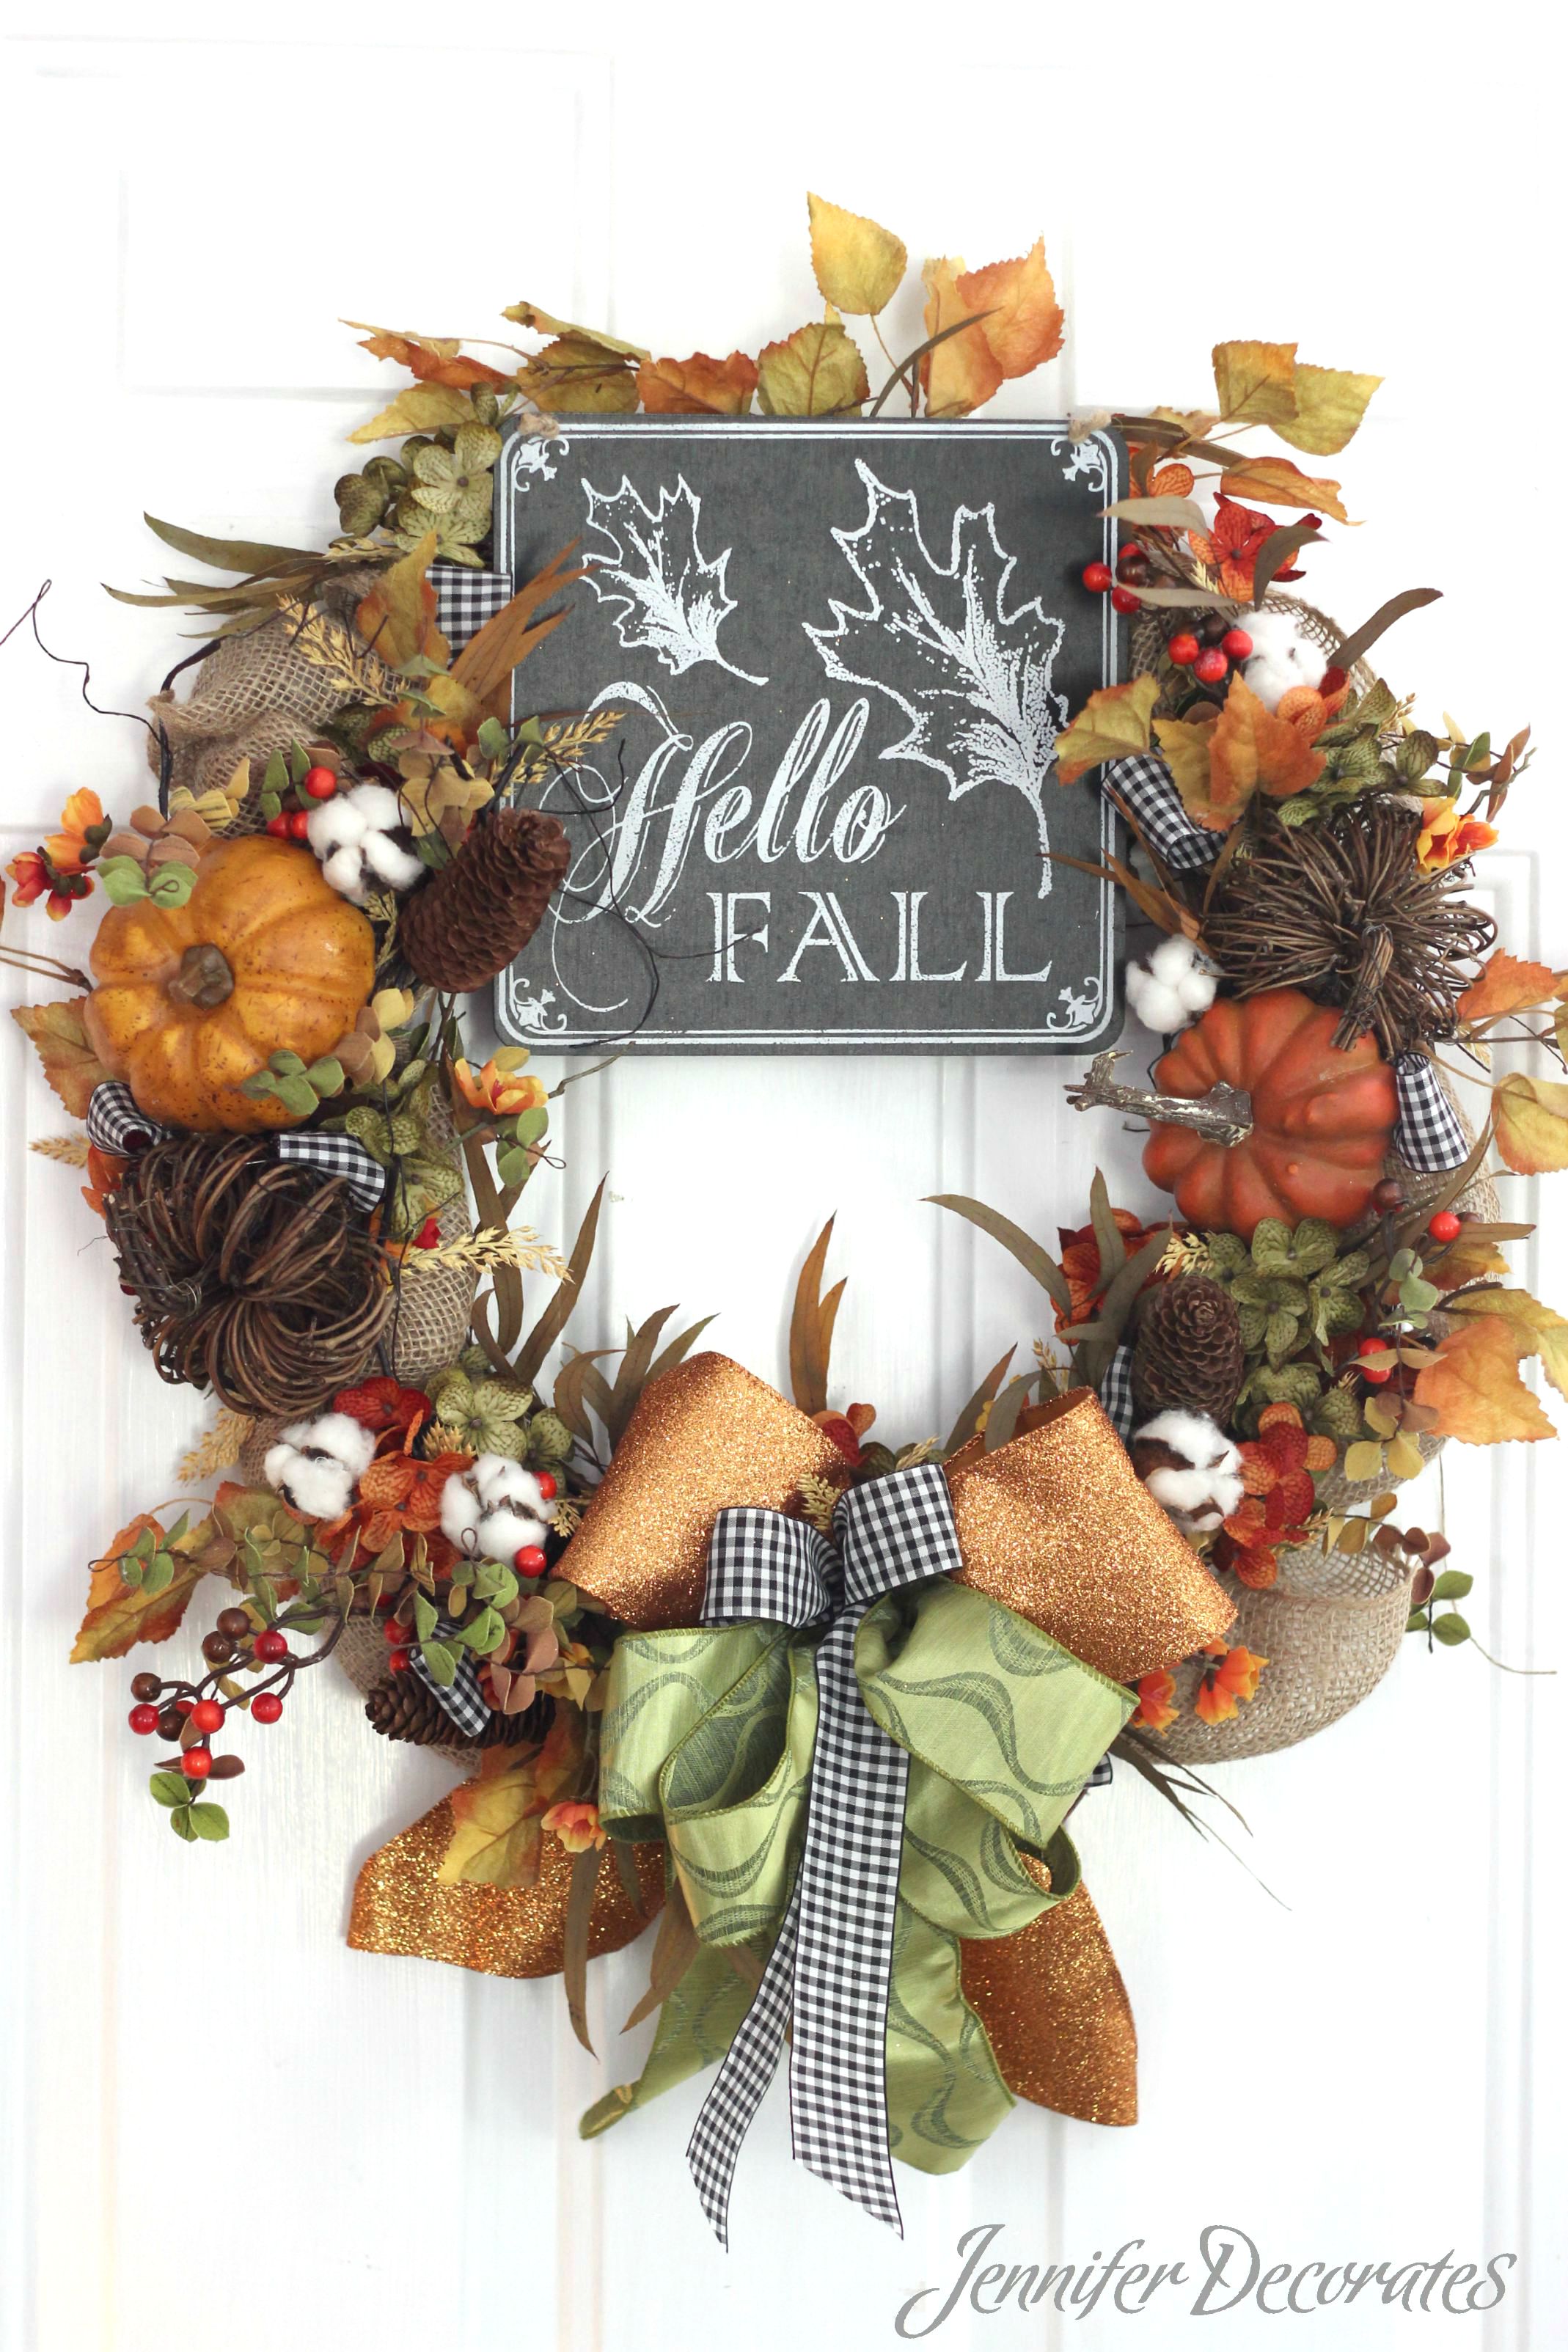
 Learning to make wreaths for fall isn’t difficult at all, if you follow the correct steps. Below is an easy tutorial on making a fall wreath.
 Remember, “it’s all about that bow, ’bout that bow”. Okay, sorry, I love that song. But really, choose your ribbon wisely to create the highlight of the fall wreath.
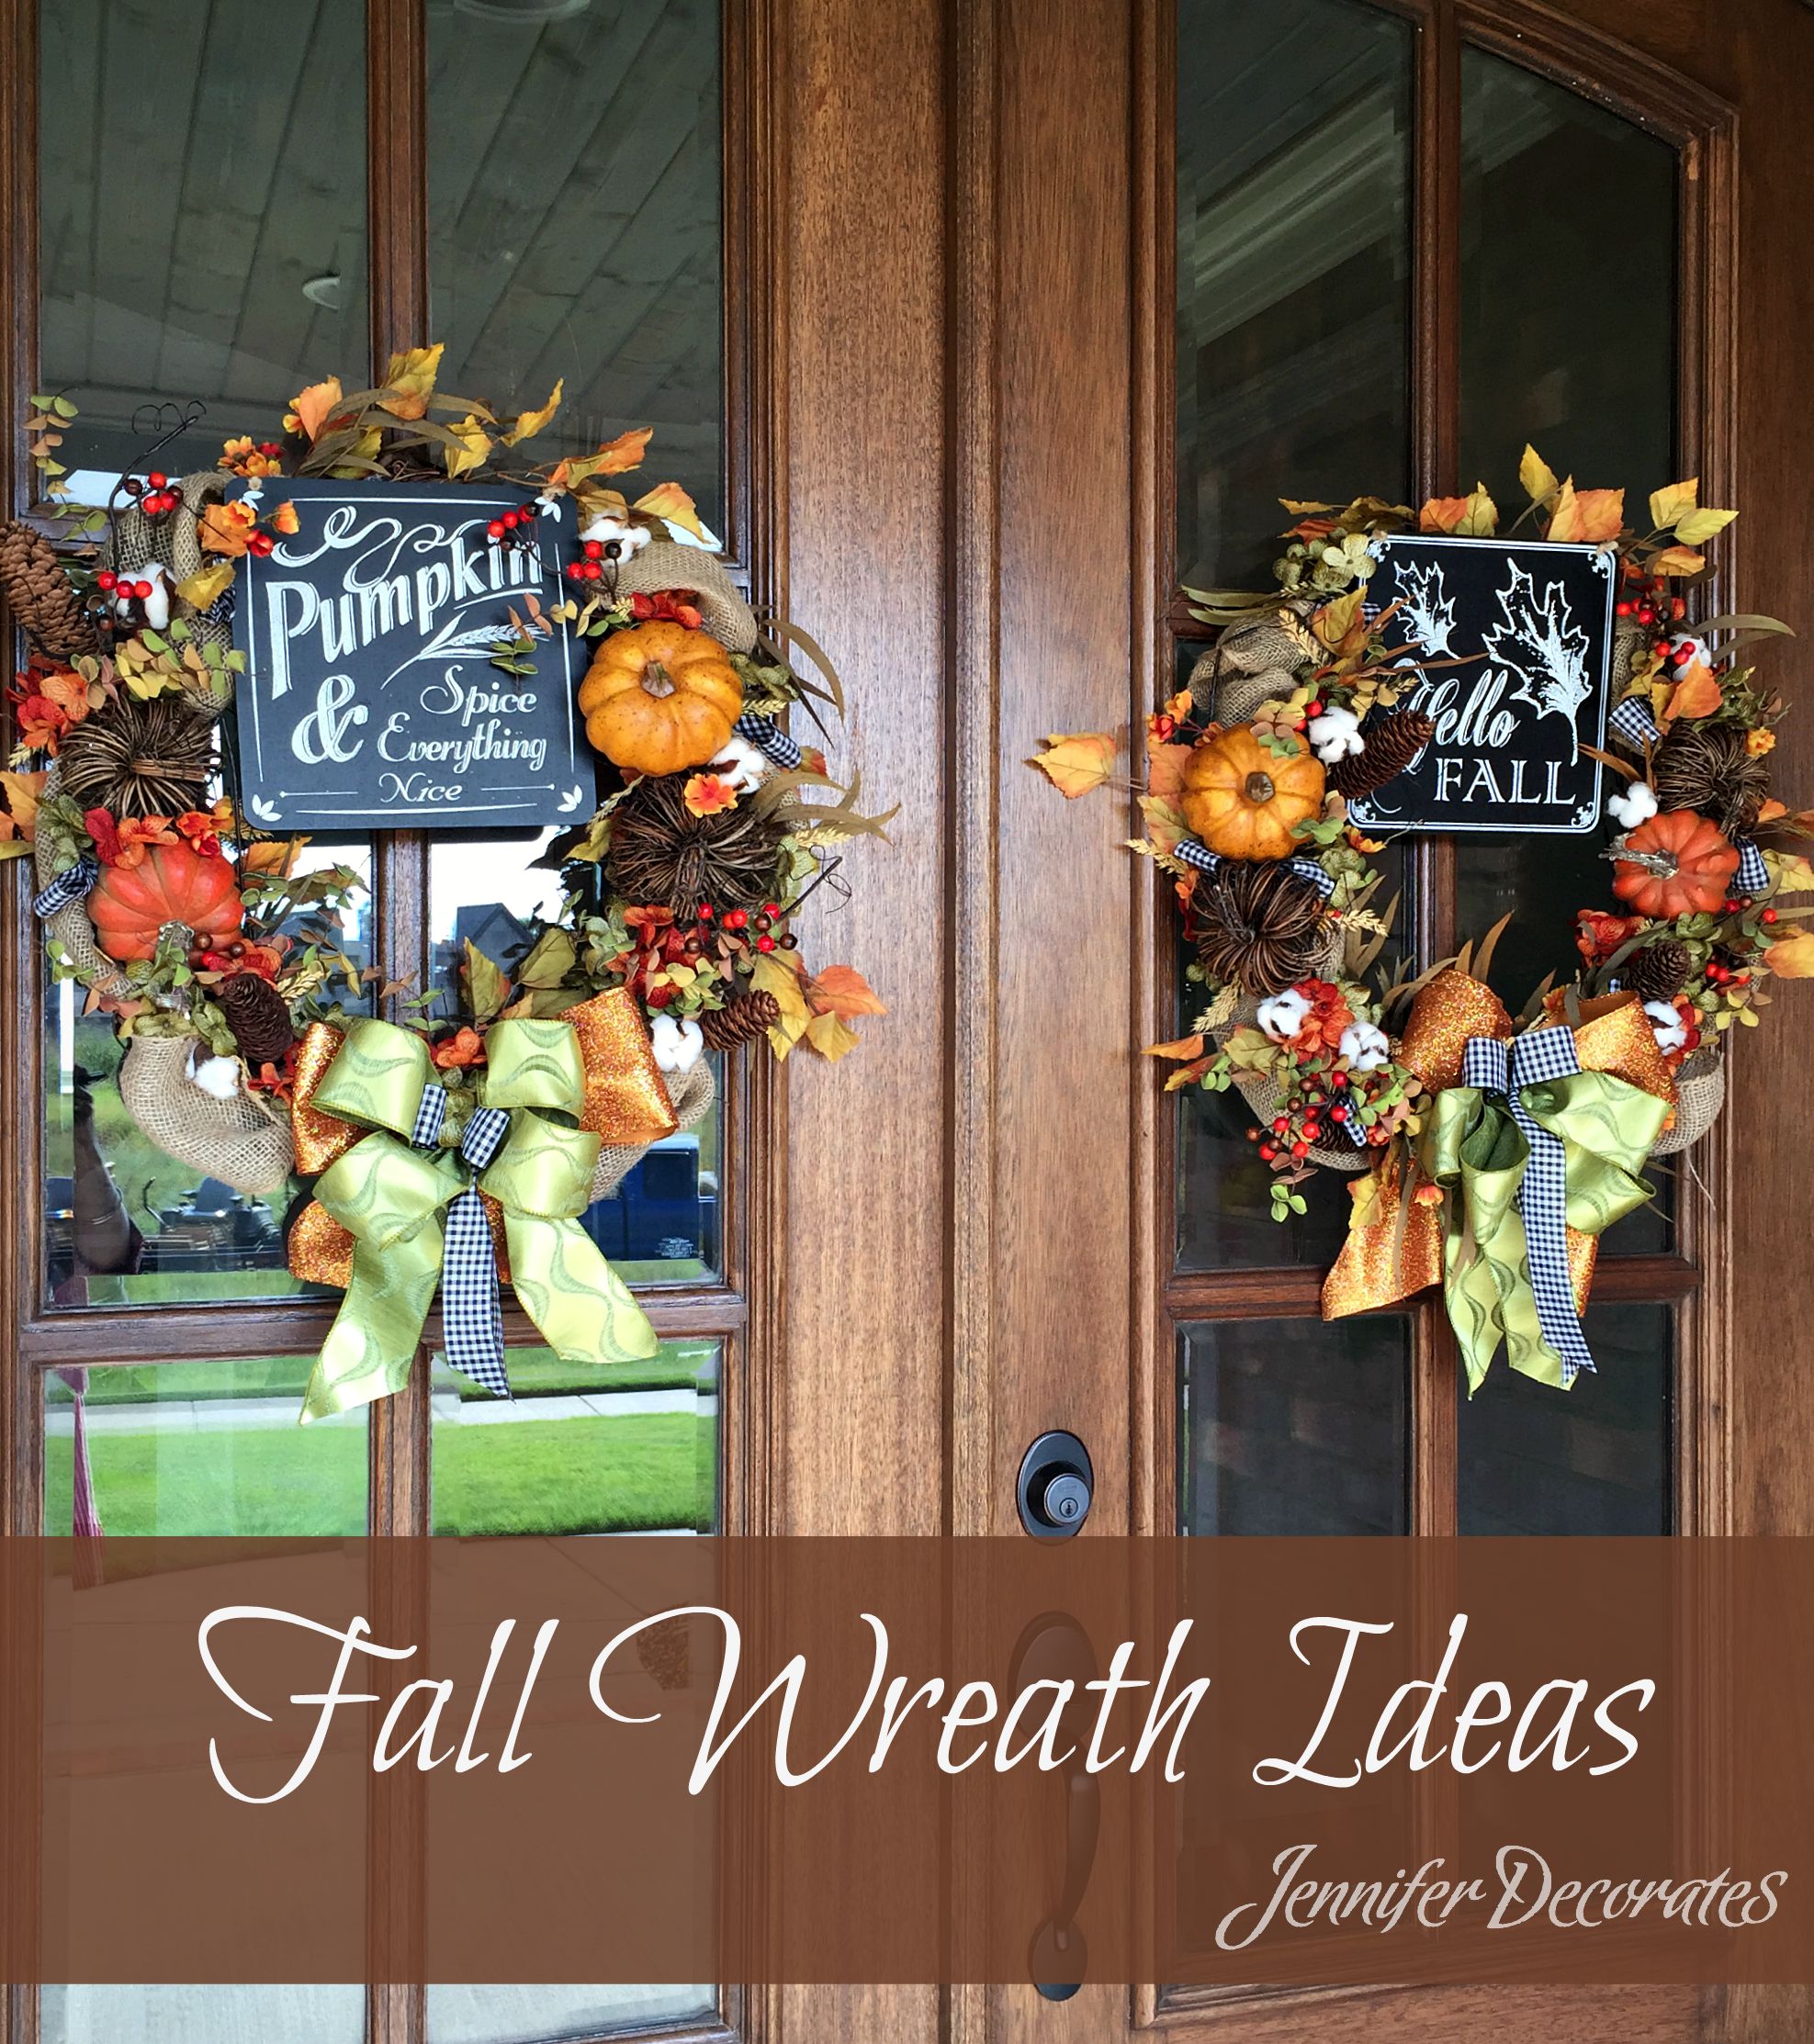
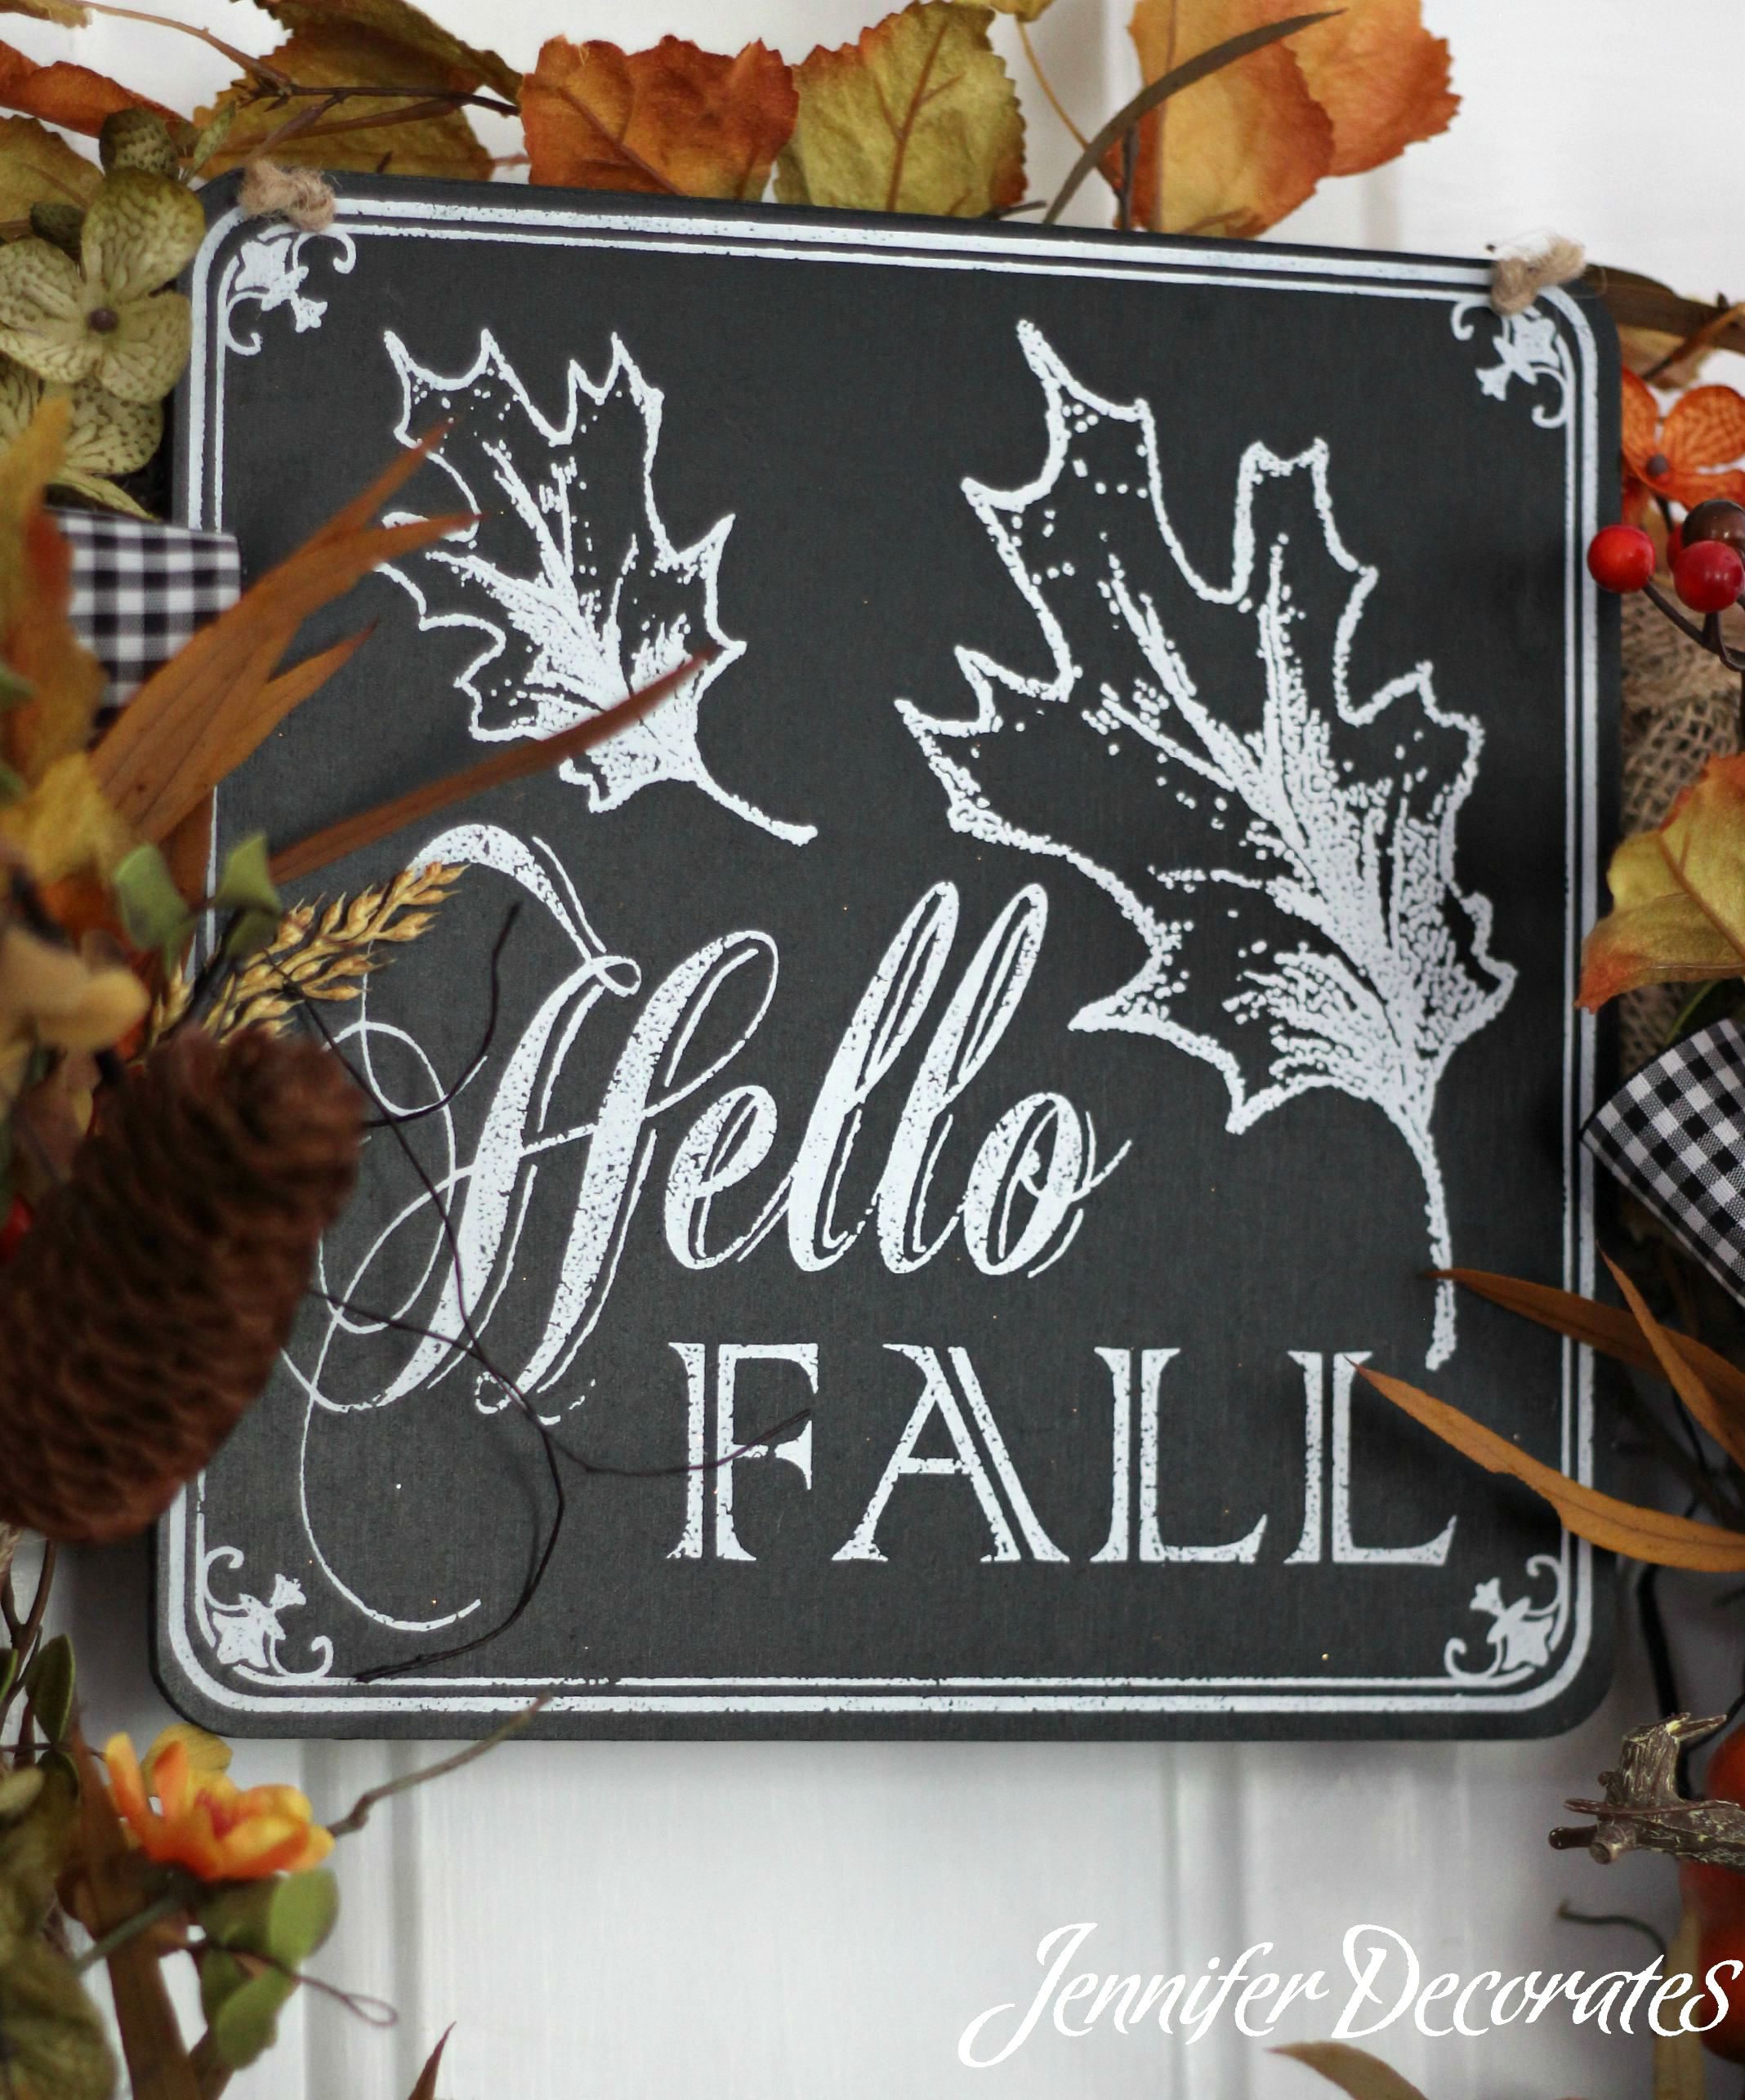 I found this neat chalkboard sign from Hobby Lobby! The green ribbon, and the black check ribbon is also from the “hoblob”, as my daughter calls it!
Have a double door? Make two fall wreaths!
Easy step-by-step instructions on making a wreath!
Learning how to make wreaths for fall is fun and easy. Nothing makes a home more inviting than front door wreaths. I love them! Below is an easy photo tutorial to help you create a fall wreath.
If you like to decorate on a budget, then be sure to buy your supplies on sale! I will show you all the different fall florals used to make this wreath. But, you can change things up, creating many different wreath designs. This tutorial will help you with the basic steps in making a wreath.
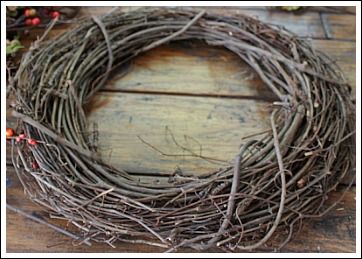
Start with a basic grapevine wreath. Choose a one that is slightly smaller than what you want your finished size to be. You want your florals to extend past the outline of the grapevine to create an airy and natural look.
Picking Some Picks
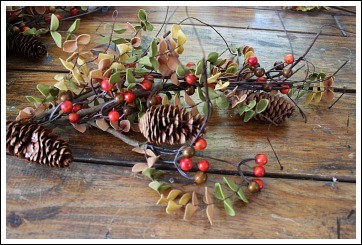
In most craft stores, you have fall picks, and fall floral stems. Floral stems are much longer, and usually look more natural than picks. Floral stems are the foundation of this wreath. Four stems will cover the entire wreath.
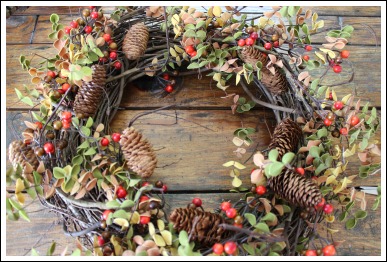
Trim your floral stem leaving about four inches of the wrapped wire. Use the wire to attach your stem to the wreath instead of hot glue. This will make it much more sturdy. Use a few of the smaller branches to attach the rest of the stem, wrapping them in and out of the grapevine.
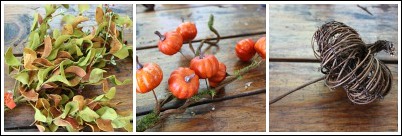
The basic principles in making a wreath are using larger floral decorations first, then medium, and last fill in with small items.
When making wreaths for fall, try to choose fall decorations that look very natural. It makes for a much more stunning wreath.
Grapevine Pumpkins…Love…
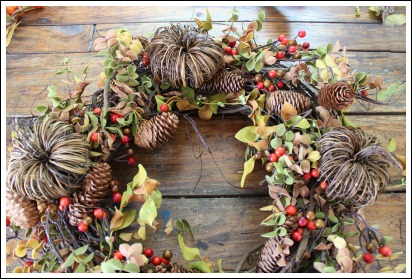
I love these grapevine pumpkins! I used them in a lot of my fall decorating ideas. They were actually picks, so again, attach by twisting the pick into the grapevine.
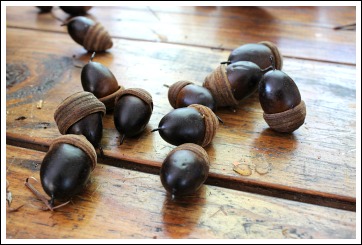
I was so excited to find a bag of acorns at the craft store. Nothing says fall like acorns!
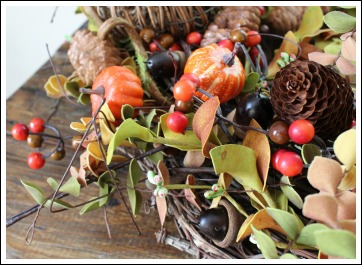
Glue your smaller items to fill in the empty spots on your wreath. Be sure to place them evenly around your wreath. Wired burlap ribbon is the best choice for this craft project! It is easy to work with and can be easily re-shaped after storage.
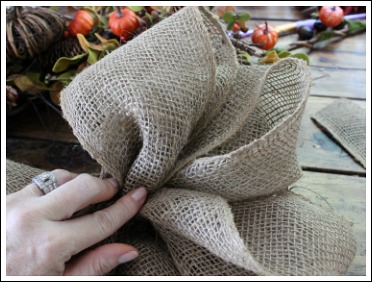
I like bows that have four loops instead of two. In order to find out how big to make your bow, make two loops and hold it up to the wreath to determine the right size.
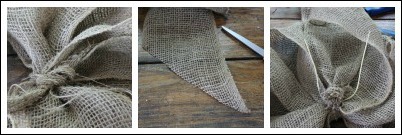
Cut a strip of burlap about 8″-9″ long, then cut in half. Make your bow and use the strip of burlap to tie around the middle of your bow. Cut your two tails at an angle. I like to use wire to attach my bow.
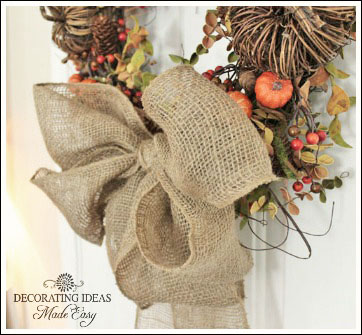
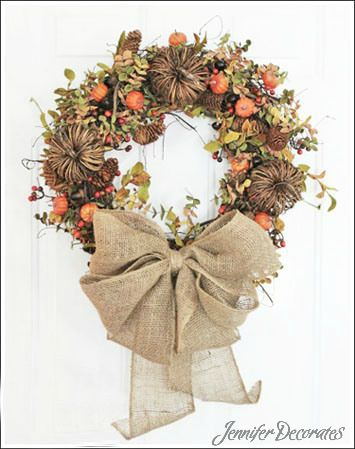
What a pretty burlap bow!
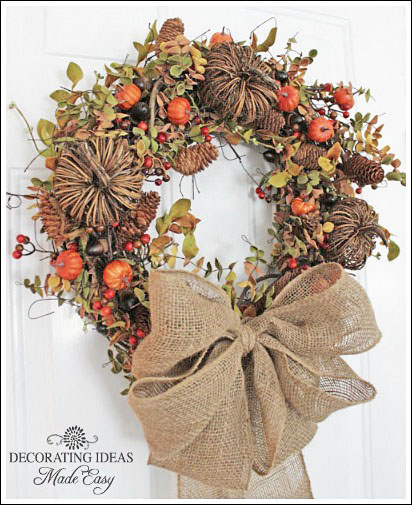
One of my favorite wreaths for Fall!

Leave a Reply
You must be logged in to post a comment.