Save money by making your own curtains. It’s easy!
Box pleat curtains are one of the easiest window treatment ideas to make. Another plus for “budget watchers” is that this particular curtain doesn’t take much fabric at all!
Depending on what fabric you choose, this style of curtain can go from traditional to contemporary. So, below are the step-by-step instructions along with photos. Good luck, and happy sewing and saving!
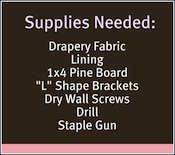
| This is a photo of a “L” shaped bracket. They come in a pack of four, and run about $2.75. | 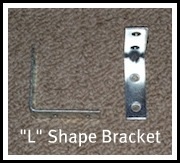 |
Step 1
Before cutting your fabric, you need to get your window measurements. For the box pleat curtain example, the window measured 50″. If you are mounting your curtain on a 1×4 board, you need to add 5″ for the ends of the board, and 8″ for the pleat in the middle.

Step 2
Step 3
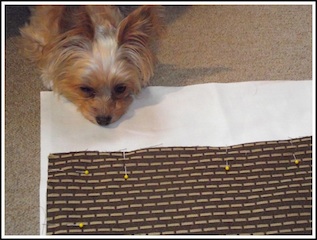
Once you have cut your fabric, lay the ride side of your drapery fabric down on top of your lining. Pin all the way around, and cut out your lining. As you can see, I always have extra help at my house. Then sew ONLY the sides, and bottom of the curtain. Turn, and press neatly.
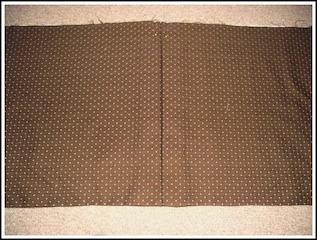
Lay your curtain on the floor. Mark the middle of your curtain with a pin at the top of your fabric. Measure 4″ on each side. Pull fabric over to middle to form pleat. Take a hot iron and carefully press pleat.
Step 4
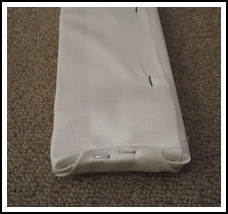
After you cut your 1 x 4, (if you have no way of cutting your own board, ask someone at the home improvement store) cover the board with your drapery fabric like pictured. Be sure to cover and fold in the ends of the board.
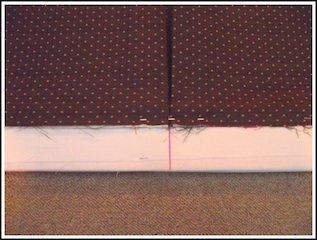
Next, lay your board with staple side up. Mark the middle of the board, and then on three sides of the board measure and mark an inch from the edge of the board all the way around.
Then staple the middle of the curtain to the middle of the board keeping it right at your inch mark, and work your way out to the edges.
Step 5
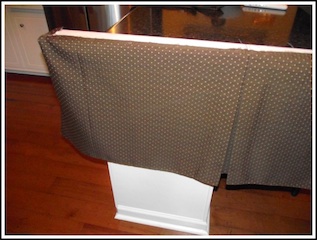
Once you have stapled the front of the curtain you will want to put the board on a table so that you can finish the ends. I usually put the curtain on my kitchen island.
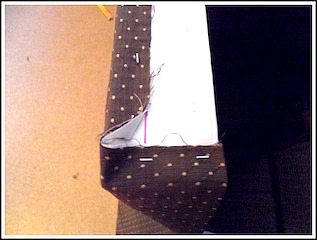
Staple the ends of the board, as shown and finish mounting curtain.
Step 6
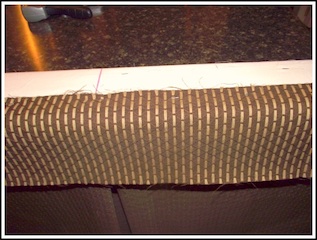
Now you are going to professionally finish the top of your curtain. Using your drapery fabric cut a strip that is 1 1/2 times wider than the top of your board, and then add 2″ to the total length of your board.
Begin stapling with right side of fabric down. Staple all the way across.
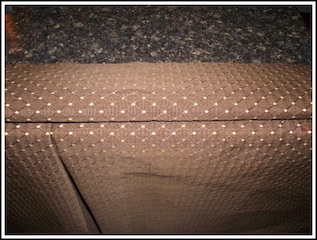
Then fold over, tuck in the fabric, and staple the fabric down all the way across the board.
Finish the sides by tucking fabric in and stapling down. Run a hot iron over the top of your upholstered board to flatten down the fabric! And WOW, now all you have to do is hang your curtain!
Step 7
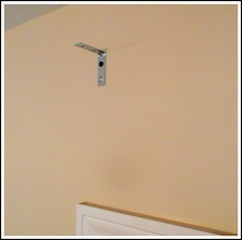
Hanging these box pleat curtains is SO easy!!! Get out your two “L” shape brackets, and four dry wall screws.
Starting from the very end of the window trim, measure 6″ up, and mark with a pencil. Do this on both sides. Screw your “L” shape bracket in the wall at your 6″ marks. Place your valance on top of both brackets, make sure to push the board all the way to the wall, and reach under curtain and while holding the top of the board, place two screws in through the bracket and into your board. Repeat on the other side! If you can use an electric screwdriver, you can mount your own box pleat curtain!
And, ladies, they make a very powerful, small, compact screwdriver! Mine is in a lime green color. Doesn’t help the job go faster, but it looks cool.
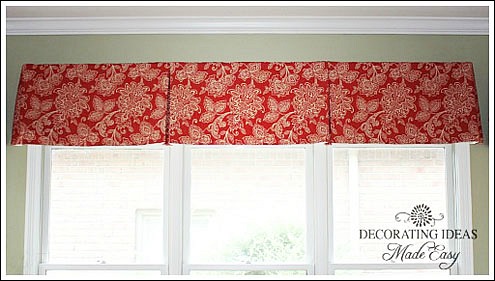
Here is a box pleat curtain I made for a client’s kitchen window curtains. I love the red and green together.
Add a Covered Button to Your Box Pleat Curtain
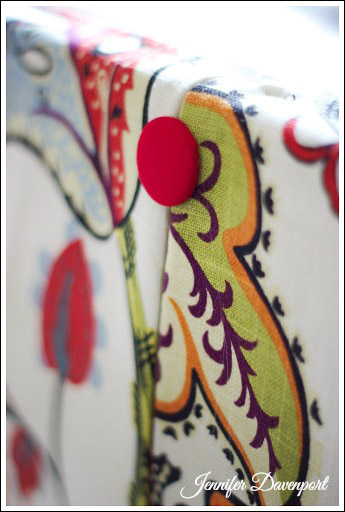
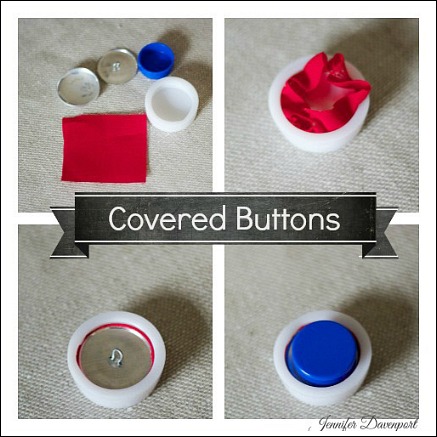
| Craft stores carry a button covering kit. They are super easy to use!Don’t feel like going to the store? Order your button kit on line by clicking the link to the right. |
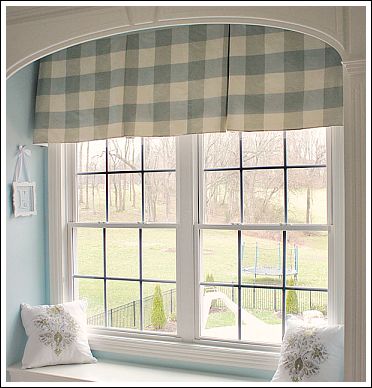
You can’t go wrong with box pleat curtains. They are simple an elegant. And nothing beats having your own custom curtains you made yourself!